
LaTeX is a typesetting system widely proffered by professionals and researchers for preparing technical and scientific documents. LaTeX provides more control over your document preparation than a typical word processor. If you are working on a scientific document on Ubuntu then you can install LaTeX and modify documents right from your Ubuntu terminal.
In this guide, I will explain the step-by-step process of installing LaTeX on Ubuntu 24.04 and how to use it to create and compile a document.
Table of Contents:
- Install LaTeX on Ubuntu 24.04
- Using LaTeX on Ubuntu 24.04
- LaTex Editing Tools
- Removing LaTeX on Ubuntu 24.04
Install LaTeX on Ubuntu 24.04
The Ubuntu’s default repository contains different LaTeX packages; core LaTeX packages are listed below:
| Package Name | Description | Disk Space |
|---|---|---|
| texlive-base | Contains minimal program and files for basic preparation of LaTeX documents | 223 MB |
| texlive-latex-recommended | Contains the additional recommended LaTeX packages along with the basic package | 264 MB |
| texlive-latex-base | Contains basic packages of LaTeX with some additional tools for LaTeX documents such as graphics and amsmath | 273 MB |
| texlive-latex-extra | Contains LaTeX and some additional packages such as scientific tool pdfplots, chemfig and minted | 884 MB |
| texlive-full | Contains all the packages and tools for LaTeX documents | 7882 MB |
Each package has a different disk space requirement; depending upon usage any package from the above list can be installed.
To list all the available packages, use the apt-cache command.
spt-cache search texlive
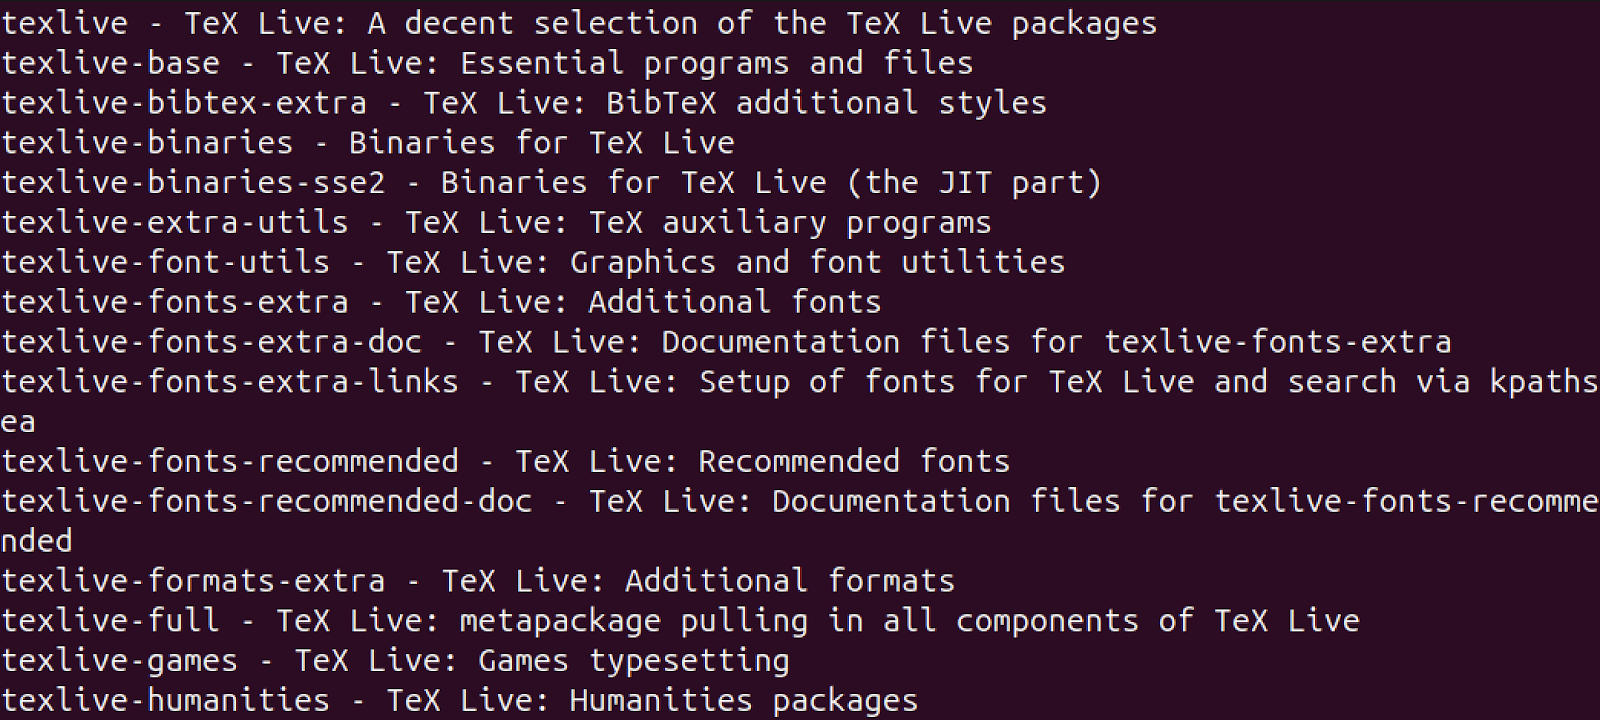
All packages and their brief description will be listed in the terminal as shown in the above image.
To use LaTeX and its features, I will install the texlive-full package. To get it on Ubuntu 24.04, open the terminal and go through the steps given below:
Step 1: Update the Packages List
To update the packages list using the apt update command.
sudo apt update
Step 2: Install LaTeX
To get the basic version of LaTeX, use the apt install command with the package name.
sudo apt install texlive-latex-base
To get a full version, use:
sudo apt install texlive-full
Note that the full version will take more disk space as it comes with all the components and tools required for LaTeX document preparation.
Step 3: Verify the Installation of LaTeX
To verify, check the version of the LaTeX.
latex --version
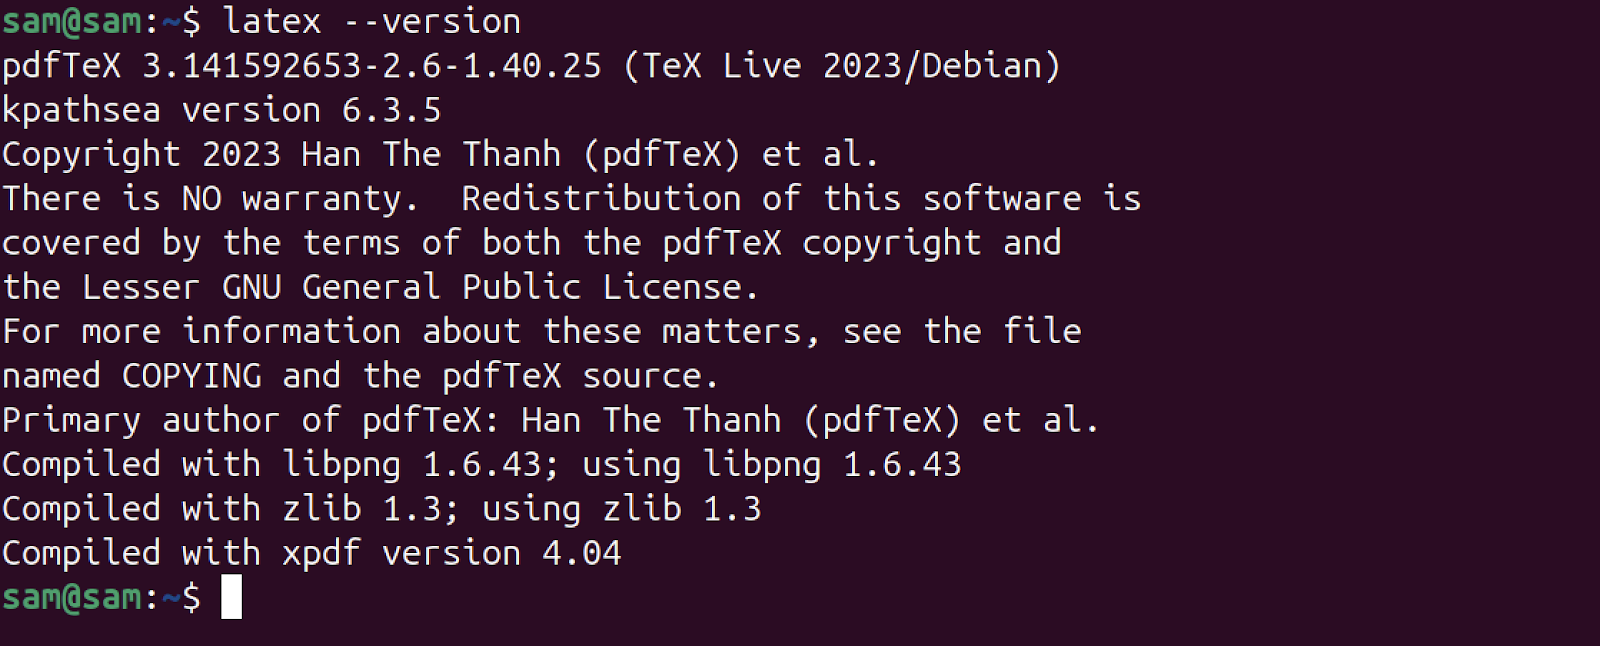
The LaTeX has been installed on Ubuntu.
Note: To create a LaTeX document, you must have a basic understanding of LaTeX tags.
Using LaTeX on Ubuntu 24.04
In this section, we will explore how to create a LaTeX document, how to compile it, and how to view it.
Step 1: Create a .tex File
The LaTeX files are in .tex extension. It can be created through the touch command or simply using the nano editor.
sudo nano mydocument.tex
It will display a blank terminal window to create the document.
Step 2: Edit the Document
Add the lines given below in the document and save it.
\documentclass{article}\begin{document}This is my first LaTeX document!\end{document}
Step 3: Compile the Document
To preview the document, you need to compile it using pdflatex utility that comes with the LaTeX package to compile the tex file to PDF.
pdflatex mydocument.tex
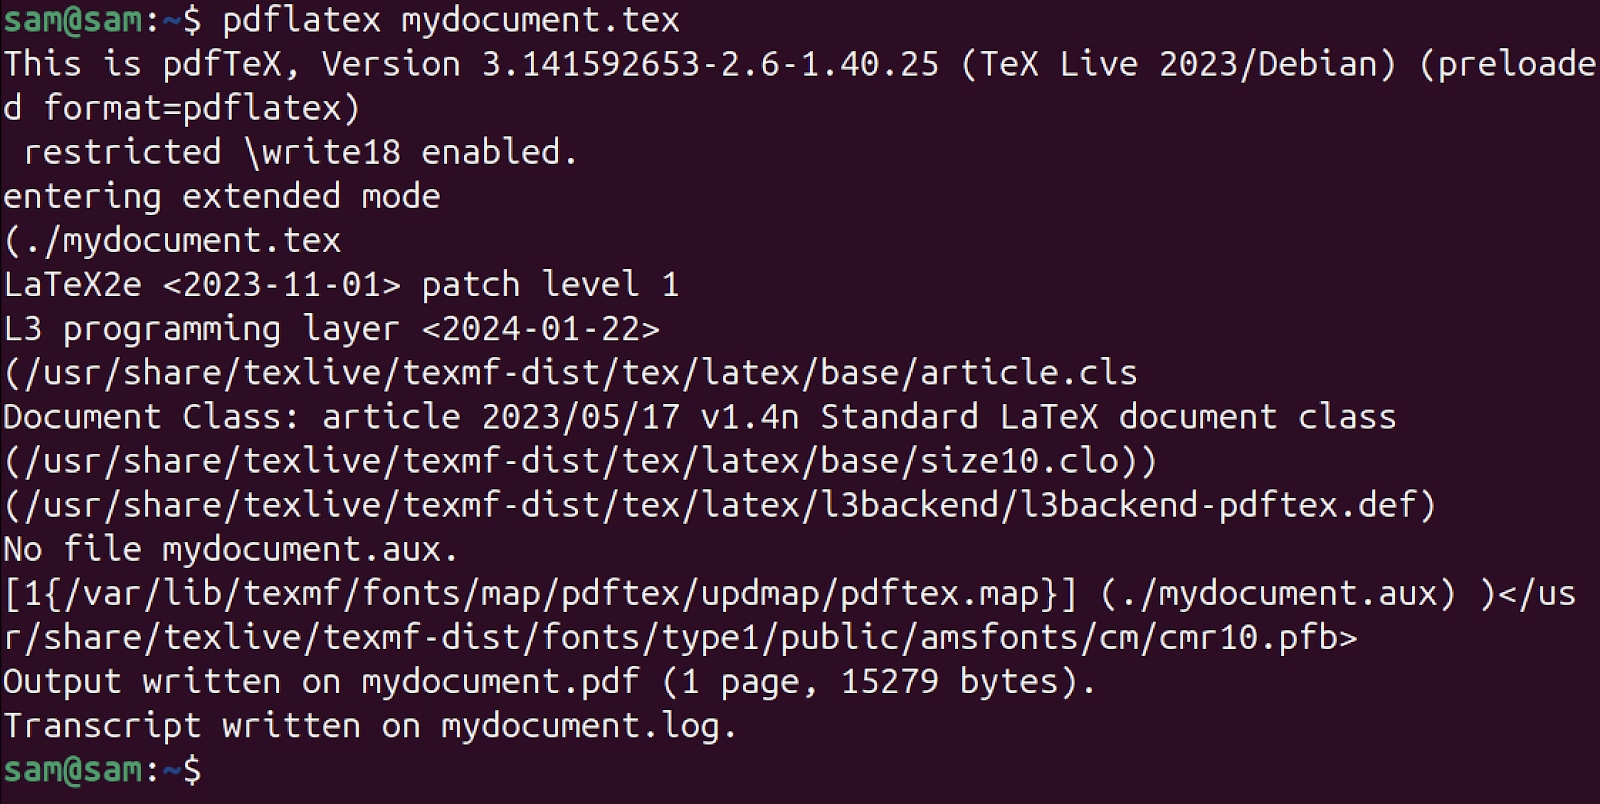
A PDF file with the same name will be generated in the current working directory, as shown in the image below.

Step 4: Preview the LaTeX Document
To view it open the converted PDF document in any PDF reader or browser.
evince mydocument.pdf
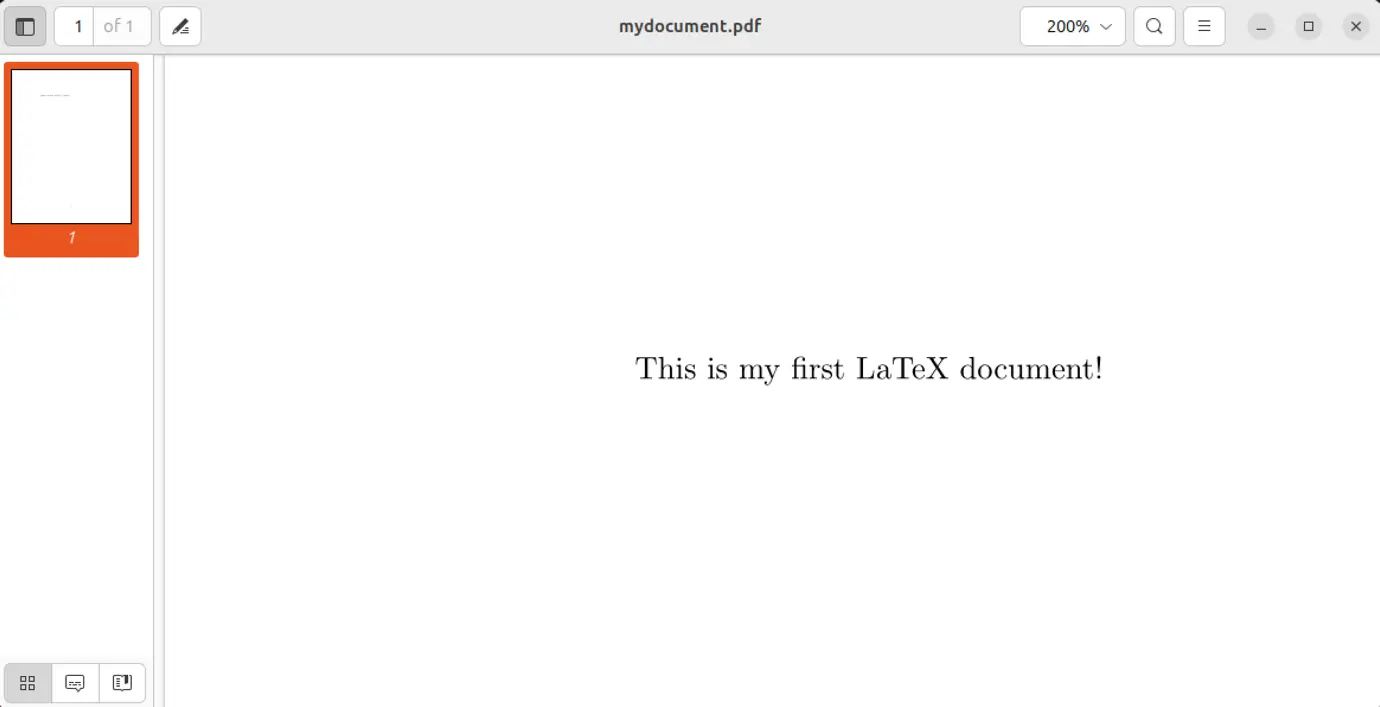
The evince command is used to launch the Evince, a default Ubuntu document viewer.
To learn more about LaTeX documents and its tags find its cheat sheet here.
LaTeX Editing Tools
There are many LaTeX editing tools, that are not only useful for creating LaTeX documents but also for live previewing them.
The LaTeX editing tools that can be installed on Ubuntu are listed below:
These tools are free to install.
Removing LaTeX from Ubuntu 24.04
If you no longer need LaTeX, then it can be removed using the apt command.
Launch the terminal and follow the steps given below:
Step 1: Remove LaTeX Package and its Configuration Files
First, remove the LaTeX package, and all the associated configuration files using the apt remove command with the –auto-remove option.
sudo apt remove --auto-remove texlive-*
Step 2: Remove the LaTeX Directories
The /texmf directory located at /usr/share/, contains all essential tools used for LaTeX editing. Removing this directory will completely delete the LaTeX from Ubuntu. Use the rm command -r option to delete /texmf directory.
sudo rm -r /usr/share/texmf
Step 3: Verify Uninstallation
To confirm the removal of the LaTeX package from Ubuntu 24.04, check its version.
latex --version

LaTeX has been completely uninstalled from Ubuntu.
Conclusion
LaTeX is a typesetting system largely used to prepare scientific documents with more control. To create and compile LaTeX documents on Ubuntu, LaTeX and associated tools need to be installed. To install it use the apt package manager which also comes LaTeX compilation tool called pdflatex. This guide comprehensively discusses the installation method of LaTeX, its usage, and its removal from Ubuntu 24.04.

Check our LinkedIn company page