
Drivers are a tool that allows various software and hardware to interact with each other smoothly and perform all their functions. Microsoft ODBC driver, which stands for Open Database Connectivity and allows various apps to be able to interact with the databases by making use of the SQL language.
This article will demonstrate how the Microsoft ODBC driver can be installed on the Ubuntu operating system to use a SQL server.
How to Install Microsoft ODBC Driver on Ubuntu?
Now that you have learned what the ODBC driver is and what it is used for, it is time to see how this driver can be installed on your Ubuntu system. The step-by-step guide is provided below:
Step 1: Check the Version
Before we get started, it is important to check which version of your system is running as this driver is only supported on Ubuntu versions 18.04, 20.04, and 22.04. Run the command shown below to check the version on your system:
$ lsb_release -rs

Step 2: Switch to Super User
Run the following command to switch to the superuser, which will automatically grant us many permissions that are required to make changes to the system:
$ sudo su

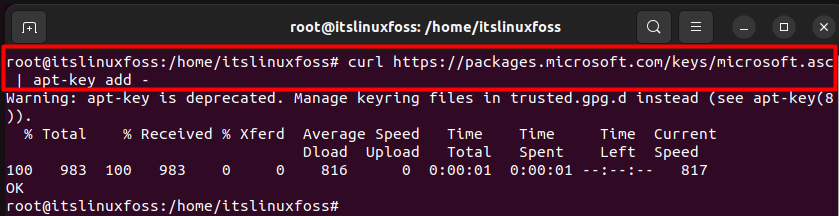
Step 3: Download the Key
The next step is to install the keys from the official Microsoft website by utilizing the curl installation command as shown below:
# curl https://packages.microsoft.com/keys/microsoft.asc | apt-key add -
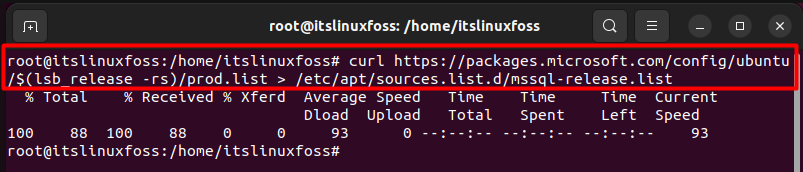
Step 4: Add the Repository
Once you have installed the key, install the config file using a similar curl command which takes in the Ubuntu version that you are currently running on your system as demonstrated below:
# curl https://packages.microsoft.com/config/ubuntu/$(lsb_release -rs)/prod.list > /etc/apt/sources.list.d/mssql-release.list
Once completed, run the following command to leave the superuser mode:
# exit
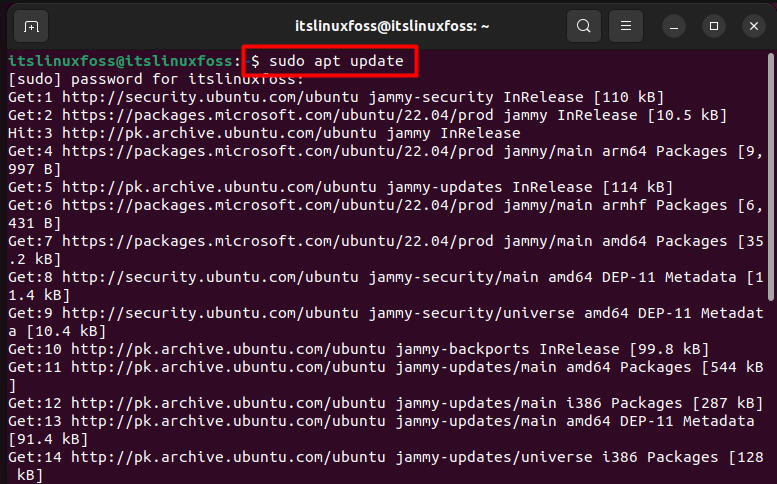
Step 5: Update the System Packages List
After exiting, update the system repositories by executing the command shown below:
$ sudo apt update
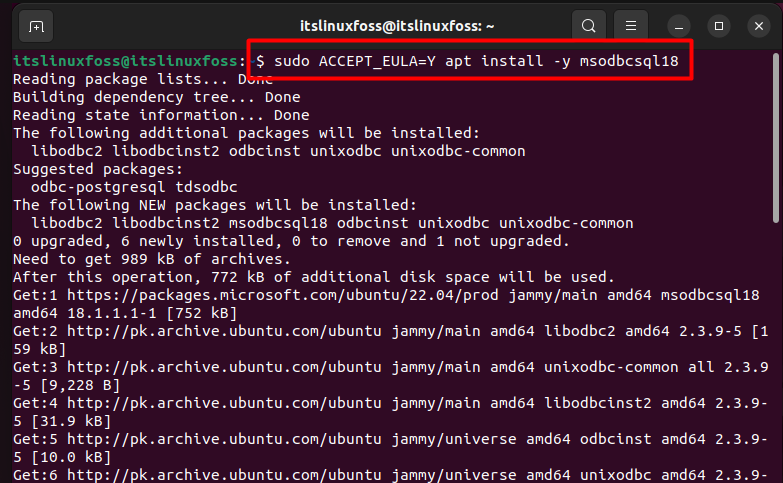
Step 6: Install ODBC for MySQL
Finally now you can install the ODBC driver package onto your system by executing the command below:
$ sudo ACCEPT_EULA=Y apt install -y msodbcsql18
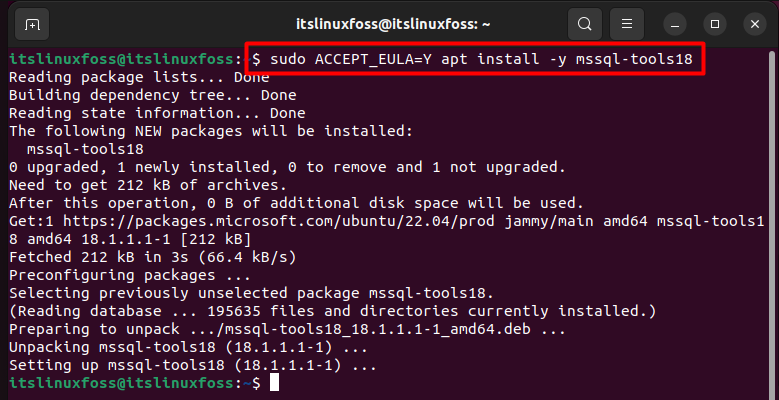
The driver is now installed on your system. Optionally, you can also install additional tools for this driver. Follow these steps for installing and setting these tools on your system. Firstly install the tools using the following command:
$ sudo ACCEPT_EULA=Y apt install -y mssql-tools18
Step 7: Set the Environment Path Variable
Once installed, you need to create and add the Path variable for this tool using the two commands shown below:
$ echo 'export PATH="$PATH:/opt/mssql-tools18/bin"' >> ~/.bashrc
$ source ~/.bashrc

Through this process, the Microsoft ODBC driver has been successfully installed on your Ubuntu system, and it can be used for SQL servers.
Conclusion
First, add the GPG key and repository for Microsoft ODBC. After that, the apt package manager can be used to install Microsoft ODBC for the SQL server. This post has demonstrated all the required steps to install the Microsoft ODBC driver for the SQL server. The installation steps also include

Saryia is a technology entrepreneur and digital publisher specializing in Linux, open-source technologies, and developer education.