MySQL is a standard language for relational database management systems that use structured query language for data management. MySQL is popularly used to create a database for storing and managing data. While Linux is the favorite OS for several network/system administrators, it also permits the smooth organization of data through database management systems. Considering its importance,
This write-up will discuss the methods to install MySQL on Ubuntu 22.04.
- How to Install MySQL on Ubuntu 22.04?
- How to Configure MySQL on Ubuntu 22.04?
- How to Uninstall MySQL From Ubuntu 22.04?
How to Install MySQL on Ubuntu 22.04?
MySQL server is available on the default repository of Ubuntu 22.04, it can be installed via simple commands. This section provides a step-by-step procedure to install MySQL on Ubuntu 22.04:
Step 1: Update System Repositories
Before using the system default repository, it is recommended first to update the system repositories using the command:
$ sudo apt update
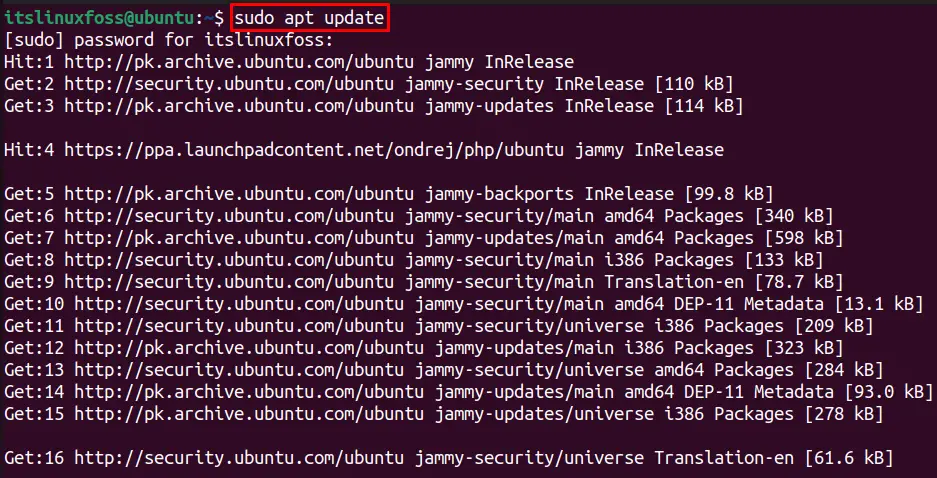
The already installed packages in the system repo are updated now.
Step 2: Install MySQL on Ubuntu 22.04
Use the command written below to install MySQL server on Ubuntu 22.04:
$ sudo apt install mysql-server -y
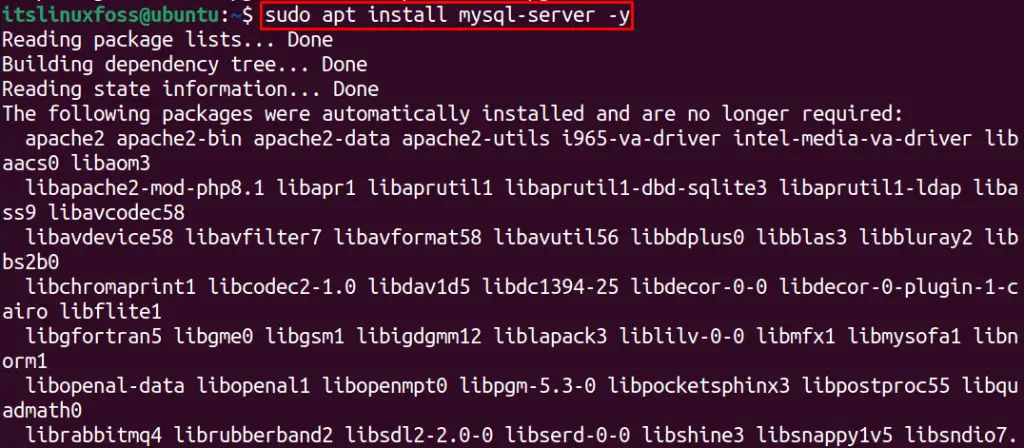
After execution, MySQL is installed on Ubuntu 22.04.
How to Configure MySQL on Ubuntu 22.04?
After installation, the configuration is the key process to perform. The steps to do so are demonstrated below:
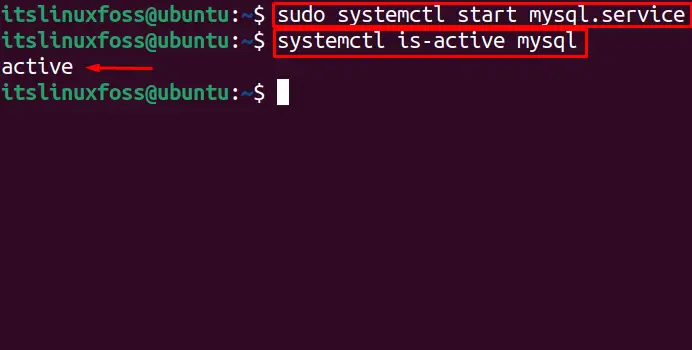
Step 1: Manage the MySQL Service
First, start the MySQL server’s service on Ubuntu 22.04. The first command written below will start the service and the second command shows the status of the service:
$ sudo systemctl start mysql.service
$ systemctl is-active mysql
MySQL service can be “stopped” using the “stop” flag of the systemctl utility. It can be confirmed by checking its active status.
$ sudo systemctl stop mysql.service
$ systemctl is-active mysql

The output clearly shows the service is “inactive”, which verifies the service is stopped.
Update: As of September 2022, we will get an error if we directly try to configure the MySQL using the “$ mysql_secure_installation” command. First, we must change the root user authentication method to “mysql_native_password” and add a “password”.
Step 2: Change Authentication Method for MySQL Secure Connection
First, We will start MySQL using “$ sudo systemctl start mysql.service” as we closed in the last part. Now, we can create a secure connection to our MySQL database using:
$ sudo mysql_secure_installation
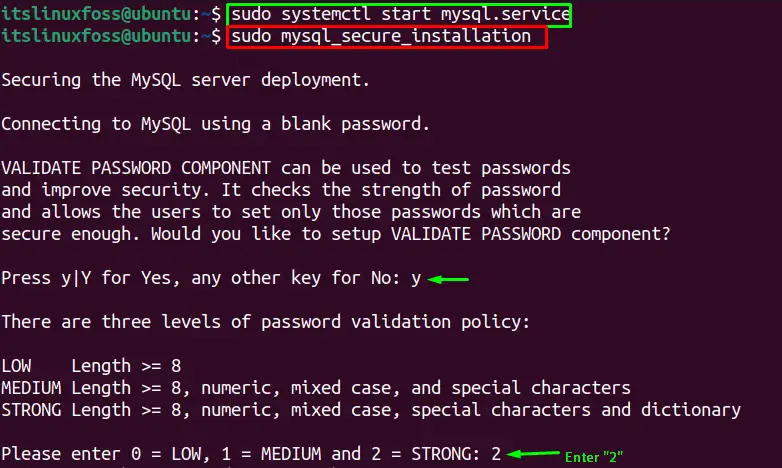
Press “Y” when asked to continue, and press “2” to create a “STRONG” password.
Note: Below, A error will occur when you try to set a password for the root MySQL account using the “$ sudo mysql_secure_installation” command. By default, no password is set for Ubuntu installations, and the system is not configured using a password.

Error Solution:
To remove this error, we have to run the “ALT USER” command to set the root user authentication password.
First, open the MySQL prompt using the command:
$ sudo mysql

MySQL prompt is opened to run the “ALTER USER” command.
The command we will execute is:
mysql> ALTER USER 'root'@'localhost' IDENTIFIED WITH mysql_native_password BY 'password'
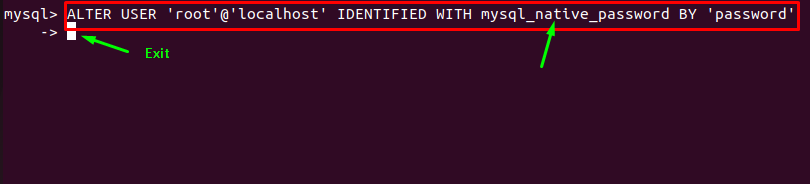
The root user authentication login method is changed to “mysql_native_password” and set “password” for login password (Create a strong password for your configuration).
To exit the mysql prompt, use the following command:
-> \q

Step 3: Configuration for MySQL Secure Connection
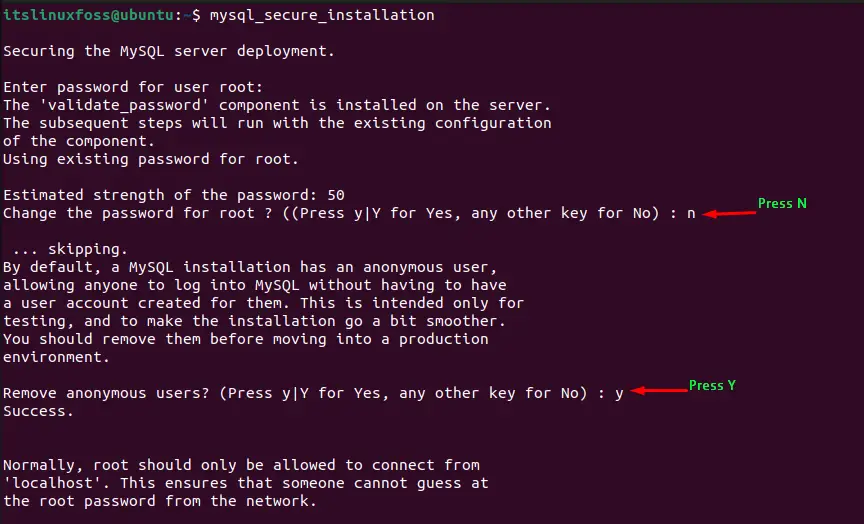
$ sudo mysql_secure_installation
To secure the MySQL server deployment, we have to set the below options as directed in the following screenshots:
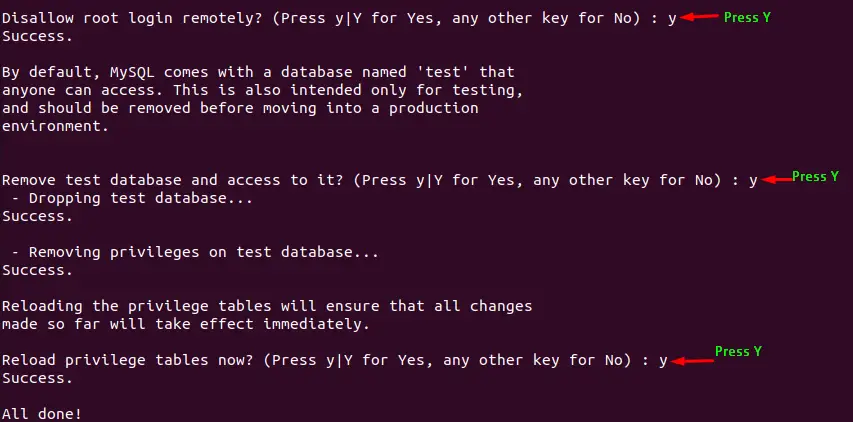
Now, we have created a secure MySQL installation.
Step 4: Verify MySQL Service
MySQL configuration status can be verified using the following command:
$ systemctl status mysql.service
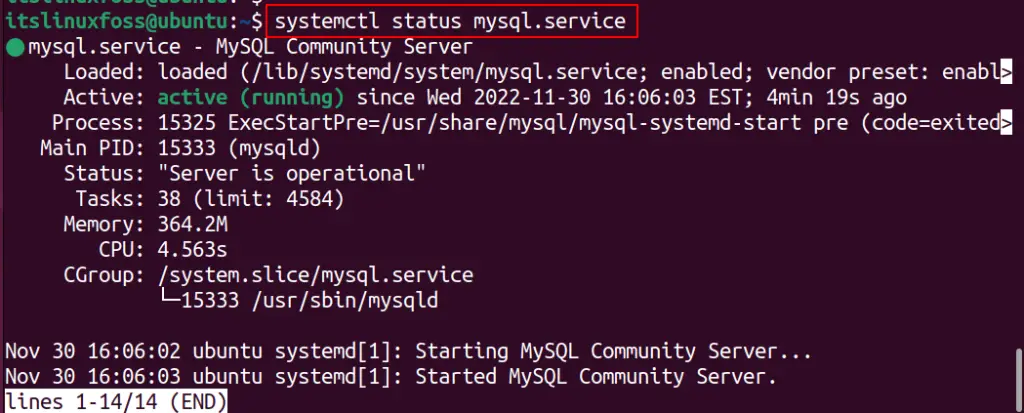
Active status shows a successfully configured MySQL secure connection is established.
How to Uninstall MySQL From Ubuntu 22.04?
To uninstall MySQL on Ubuntu 22.04, we have to stop the mysql service using the “$ sudo systemctl stop mysql.service” command.
After stopping the MySQL service, we will run the below command to completely remove MySQL from the system.
$ sudo apt autoremove mysql-server

Doing so, the mysql-server will be removed from the system.
Conclusion
MySQL server can be installed on Ubuntu 22.04 using the “$ sudo apt install mysql-server -y” command. After that, we can configure it to our system by executing the “sudo mysql_secure_installation“ command, which needs to change the root authentication method to “mysql_native_password”. This post has demonstrated all the installation and configuration steps in detail.