
Nginx is a lightweight web server that is used to handle website traffic and due to its lightweight architecture, it consumes fewer system resources which is one of the reasons for its popularity.
It is similar to the Apache web server and can be installed on different operating systems including Linux distributions. This post will discuss the installation methods of the Nginx on Debian 12 using the command-line methods.
Note: Users are requested to make sure that no other web server has already been installed on the system. Especially the Apache web server, if it is installed then remove it by the methods explained in the post.
What are the Installation Methods of Nginx on Debian 12?
Nginx can be installed on Debian 12 by two different methods:
Method 1: Installation of Nginx by Using the Default Repository of Debian 12
Use the below-mentioned steps to install Nginx with the default package of Debian’s 12 repositories.
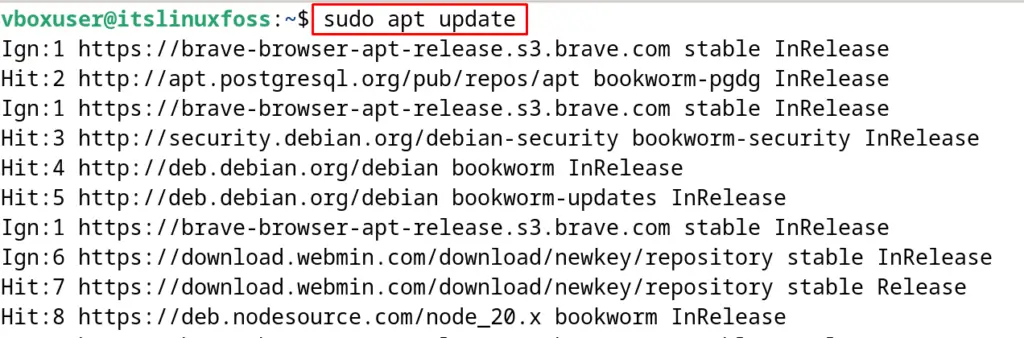
Step 1: Update the Packages
To ensure that the updated package is going to be installed, update the packages:
$ sudo apt update
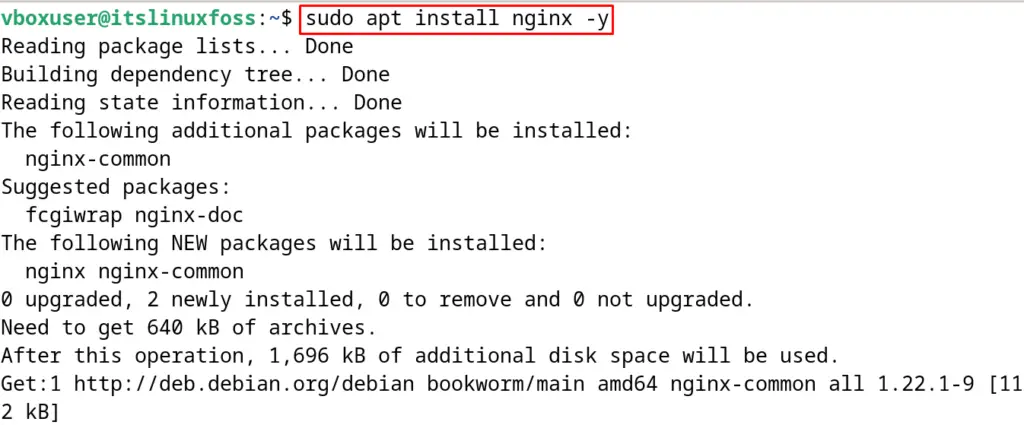
Step 2: Install Nginx
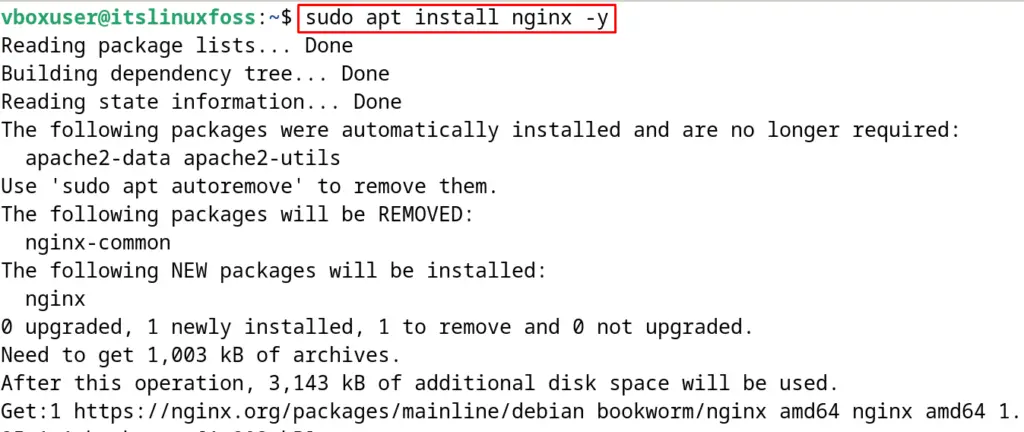
After updation of the packages, install the Nginx:
$ sudo apt install nginx -y
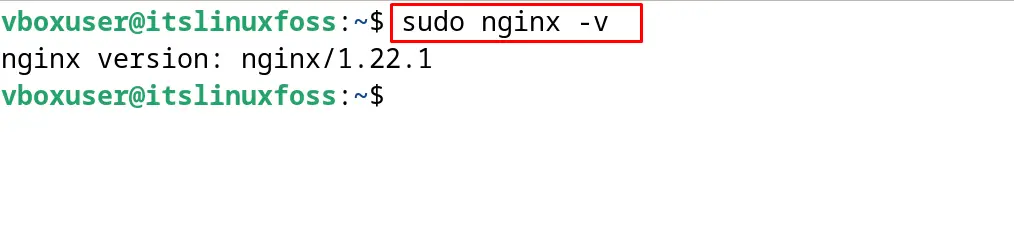
Step 3: Verify the Installation of Nginx
Now confirm the installation by displaying the installed version of Nginx:
$ sudo nginx -v
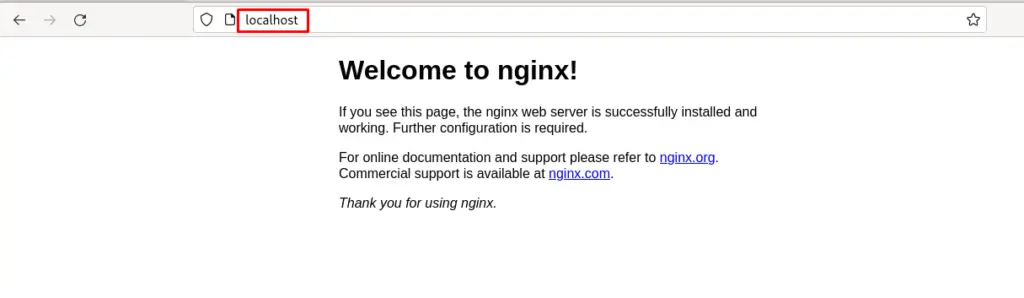
The Nginx has been installed successfully on Debian 12 by using the available package in the default repository of Debian 12. Also, open the “localhost” in the web browser:
How to Uninstall the Nginx on Debian 12?
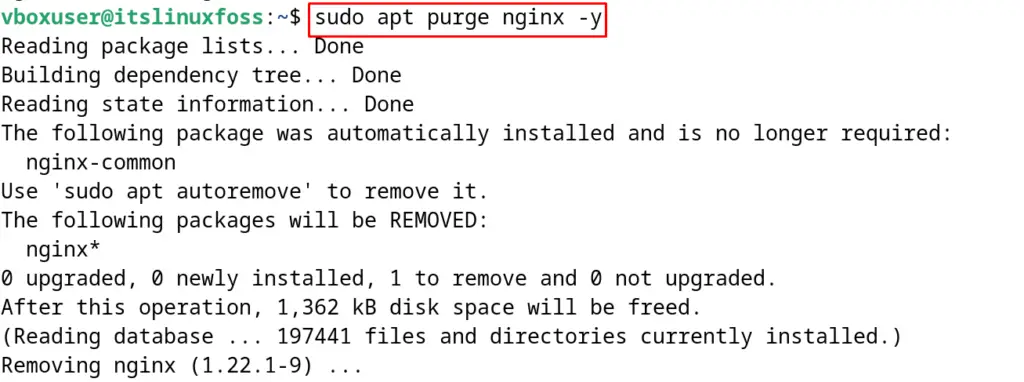
To uninstall and remove the Nginx, use the purge option of the apt command utility:
$ sudo apt purge nginx -y
Method 2: Installation of Nginx by Using the Source Code of Nginx
Another method of installing the Nginx on Debian 12 is by compiling from its source code. The below instructions will guide this installation method.
Step 1: Add the Signing Key of Nginx
First, add the signing key of Nginx by downloading it from its official website:
$ sudo wget https://nginx.org/keys/nginx_signing.key && sudo apt-key add nginx_signing.key

Step 2: Edit the sources.list File
After adding the downloaded signing key of the Nginx, open the source.list file with the nano text editor:
$ sudo nano /etc/apt/sources.list
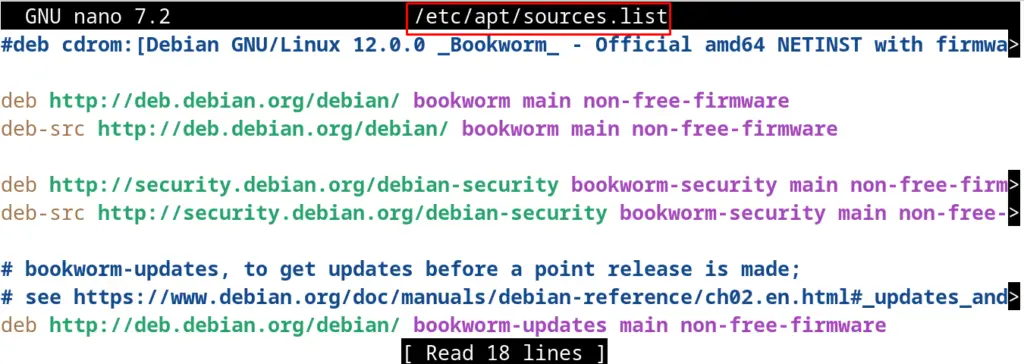
Now, add the below-mentioned script lines in the last of the file:
deb https://nginx.org/packages/mainline/debian/ bookworm nginxdeb-src https://nginx.org/packages/mainline/debian bookworm nginx
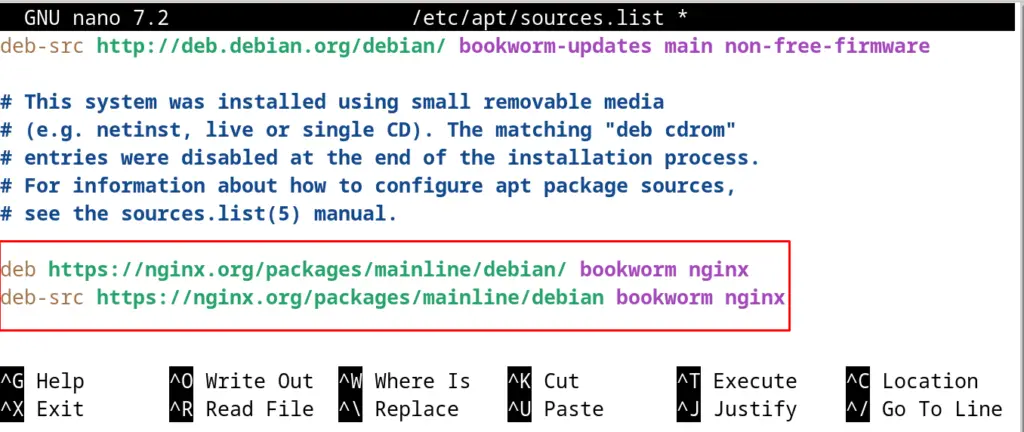
Close the file with the CTRL+X after saving it with the shortcut key CTRL+S.
Step 3: Update the Packages
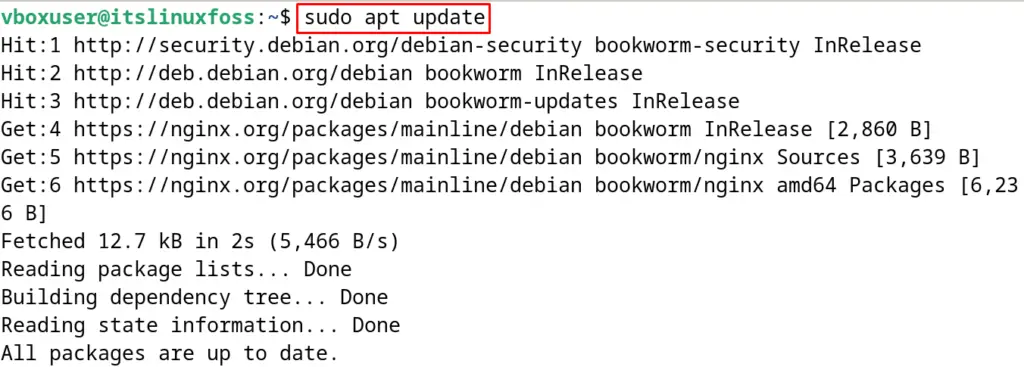
Again update the packages and repositories of Debian 12:
$ sudo apt update
Step 4: Install the Ngnix
Finally, install the Nginx with the command:
$ sudo apt install nginx -y
How to Adjust the Firewall for Nginx on Debian 12?
Nginx by default uses the port 80 of the system. To allow the network traffic through port 80, use the UFW.
To install the UFW on Debian 12 if it is not already installed, follow the post. After ensuring the installation of the UFW, use the next steps.
Step 1: Allow the Port 80
To allow the network traffic on port 80, run the command:
$ sudo ufw allow 80

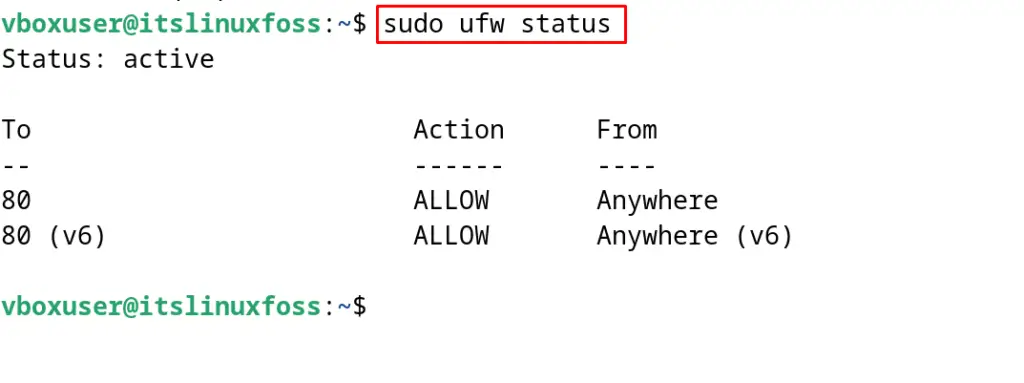
Step 2: Verify the Status of UFW
Display the status of the UFW for the confirmation of execution of the above command:
$ sudo ufw status
How to Manage Nginx Service on Debian 12?
The Nginx service can be managed by using the systemctl command utility with the mentioned-below commands.
| Service | Commands |
|---|---|
| Start Nginx | $ sudo systemctl start nginx |
| Stop Nginx | $ sudo systemctl stop nginx |
| Restart Nginx | $ sudo systemctl restart nginx |
| Status of Nginx | $ sudo systemctl status nginx |

How to Configure the Nginx on Debian 12?
To host the websites and the web applications, different server blocks are to be set up. The server blocks of Nginx are similar to the virtual hosts of Apache web servers.
To understand the configuration, we will assume a dummy domain with the name “example.com” to demonstrate it. Users are requested to replace the “example.com” with their specific domains in the next explained steps.
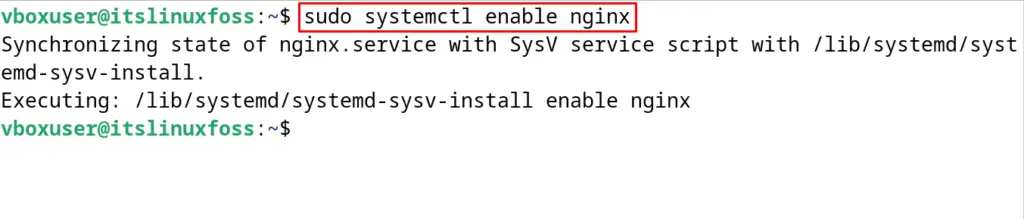
Step 1: Enable the Nginx
Enable the Nginx to start automatically on every boot of the server:
$ sudo systemctl enable nginx
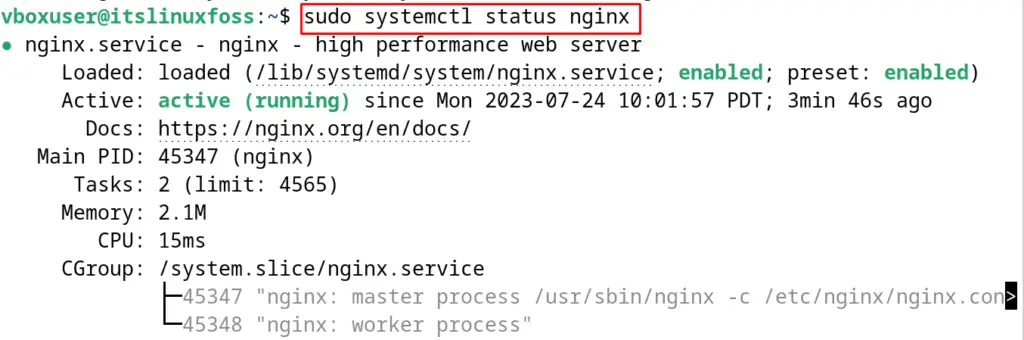
Step 2: Check the Status
To confirm the status of the Nginx service, use the command:
$ sudo systemctl status nginx
Step 3: Create a Directory
To keep the data of the website hosted using Nginx, create a directory:
$ sudo mkdir -p /var/www/example.com/html

Step 4: Set the Permissions
Set the permissions of the newly created directory so that the Nginx service can access the folder:
$ sudo chown -R www-data:www-data /var/www/example.com/html && sudo chmod -R 755 /var/www/example.com/html

Step 5: Create a Sample Web Page
For understanding purposes, create an HTML page with the nano text editor:
$ sudo nano /var/www/example.com/html/index.html
Now write the HTML script or simply copy-paste the below-mentioned HTML script:
<!DOCTYPE html>
<html>
<head>
    <title>Welcome to ItsLinuxFoss</title>
</head>
<body>
    <h1>Hello, welcome to ItsLinuxFoss Tutorial!</h1>
</body>
</html>
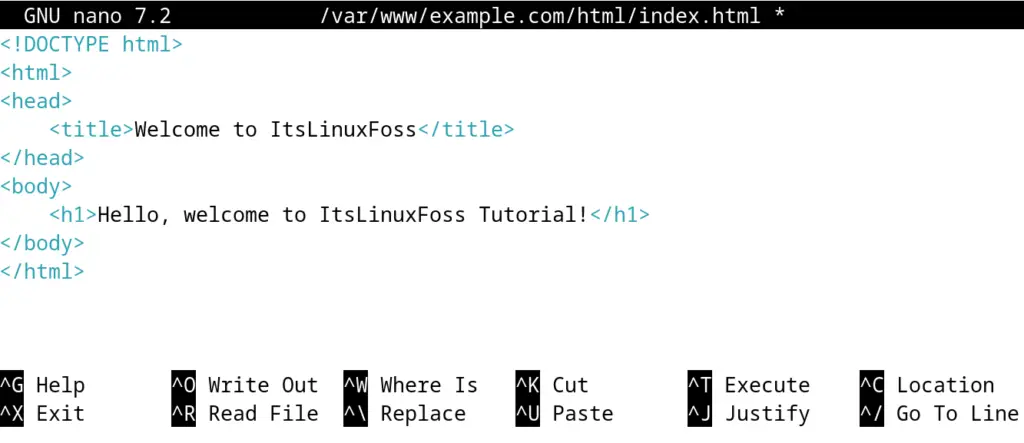
Close the file by saving it with the CTRL+S keyboard shortcut.
Step 6: Create a Server Block
Create a server block to configure the above-created sample HTML web page using the nano text editor:
$ sudo nano /etc/nginx/sites-available/example.com
Step 7: Enable the Server Block
The server block which has been created needs to be enabled; to enable it and create a symbolic link:
$ sudo ln -s /etc/nginx/sites-available/example.com /etc/nginx/sites-enabled/
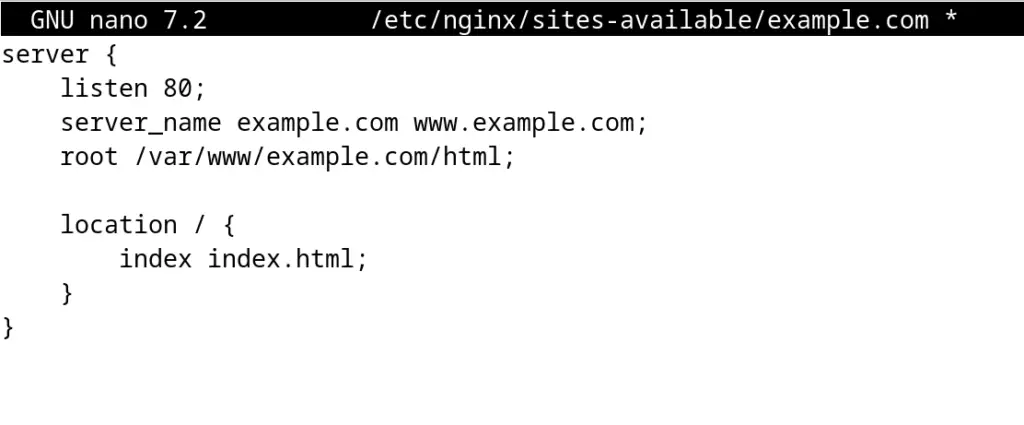
Add the below script and save the file:
server {
    listen 80;
    server_name example.com www.example.com;
    root /var/www/example.com/html;

    location / {
        index index.html;
    }
}
Step 8: Test the Nginx Configuration
After the configuration of Nginx is completed, test it with the command:
$ sudo nginx -t

Step 9: Reload the Nginx
To save the configuration of the Nginx and apply it, reload the service of Nginx:
$ sudo systemctl restart nginx

Now, the Nginx is configured and ready to host the specified website.
Conclusion
To install the Nginx on Debian 12, launch the terminal and run the command “sudo apt install nginx -y”. The installation and configuration of the Nginx have been explained in this post. Also, the management of the Nginx on Debian 12 and the adjustment of UFW for Ngninx have been explained.
