As developers we all want to test various OS environments and work in them. But, here the downside is the cost of each operating system and the time of installation etc. So for this, the easiest solution would be having a single device in which we can use various OS all at once.
VMware Workstation Player allows users to run various OS at once in a single virtual machine. It’s free of cost for personal non-commercial use only, hence saving the cost and time of buying and installing each OS.
Today in this article we’ll learn how to install VMware Workstation Player on Ubuntu 20.04. Having VMware Workstation Player on your system is what you all need if you want to test and work in various OS. So, for this follow the steps provided below in this article.
Step By Step Guide for the Installation
Following requirements should be met before installing the VMware Workstation Player on your system:
- 1.3GHz or faster 64-bit CPU
- 2 GB RAM memory minimum/ 4GB RAM or more recommended.
If you meet the above given requirements, then get started with the below steps.
Step 1: Update your system & Install Build Dependencies
Before anything we need to update our system and for that following command should be run:
$ sudo apt update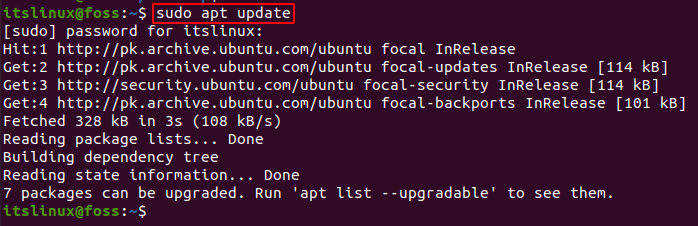
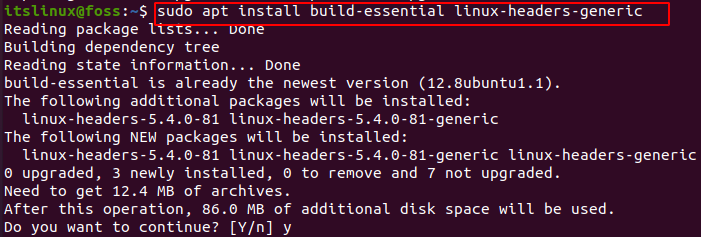
Now, we need to install all the build dependencies. For this:
$ sudo apt install build-essential linux-headers-genericThis command might take a few seconds.
Step 2: Downloading VMware Workstation Player
In order to download it, we’ll use the “wget” command. Run the following line:
$ wget --user-agent="Mozilla/5.0 (X11; Linux x86_64; rv:60.0) Gecko/20100101 Firefox/60.0" https://www.vmware.com/go/getplayer-linux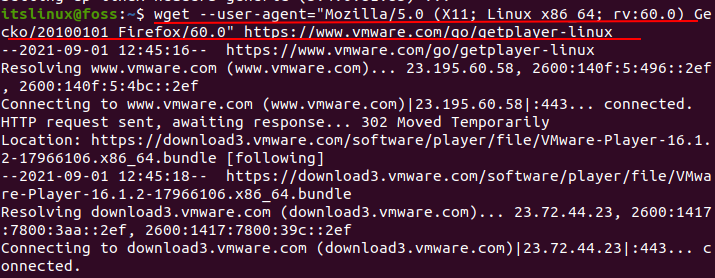
This will take a few mins, and download the software on your system.
Step 3: Installation of VMware Workstation Player
After successfully downloading it, we need to follow the steps below for the installation. Firstly, make the installation file executable:
$ chmod +x getplayer-linux
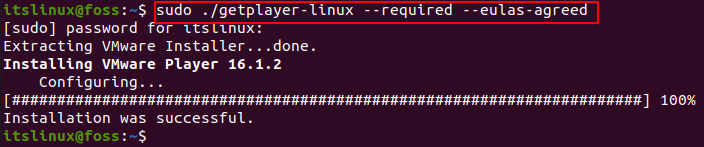
After this, run the following command for successful installation:
$ sudo ./getplayer-linux --required --eulas-agreedThis might take few mins, and at the end a message like this will be displayed:
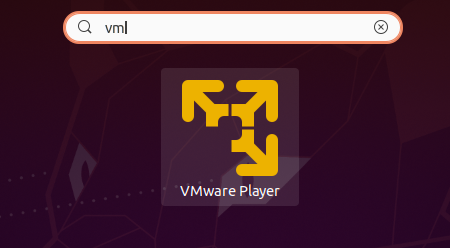
After this you’ll have the VMware Workstation Player successfully installed on your system. In order to launch it, go to the search bar and search for “Vmware Workstation Player”:
Now click on the VMware PLayer to launch it, a window will pop up asking if you’re using it for personal non-commercial use or for commercial use:
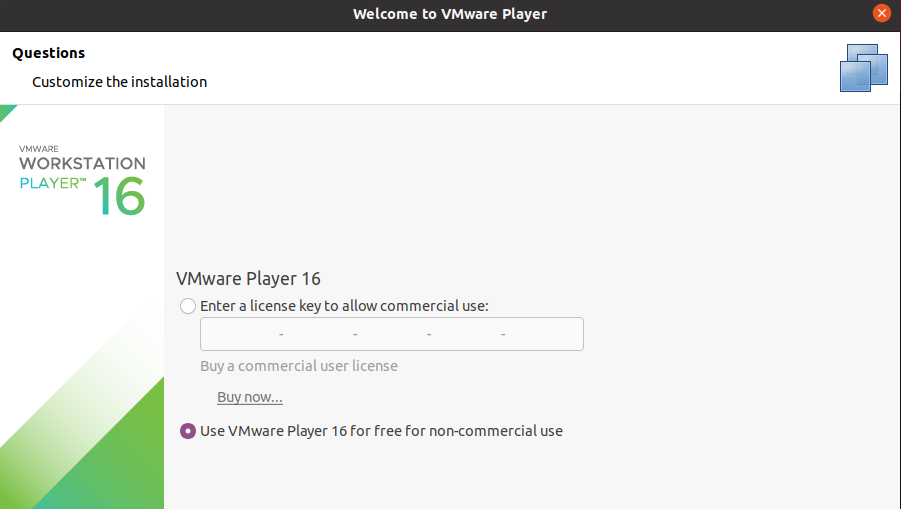
Select the option and click “Finish”, it’ll launch:
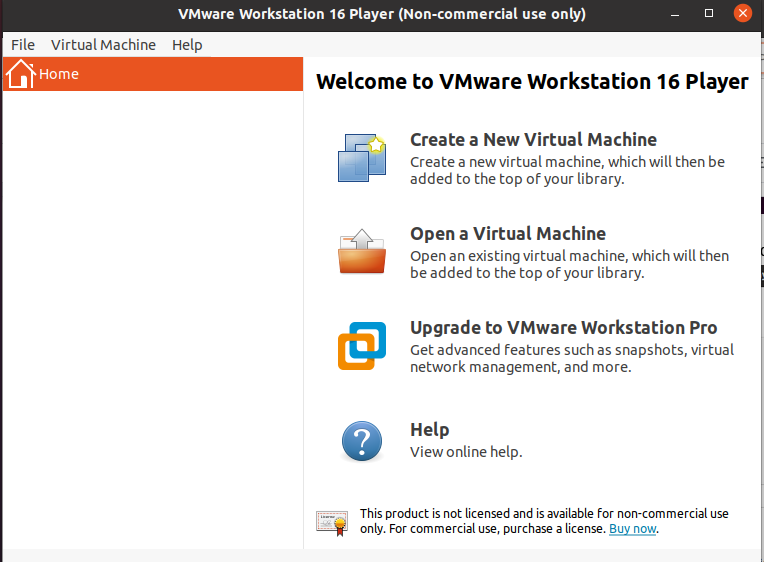
Now, you’ve the VMware PLayer Station on your system. Start using it.
Conclusion
VMware Workstation Player is a useful tool to have on your system. Through this, various OS environments can be used in a single virtual machine. In todays how-to guide we learned the successful installation of Vmware Workstation Player.
Following the above steps you’ll have an error free installation of it. Now you can easily use it and test various OS environments, cost free as well as saving your time.

Check our LinkedIn company page