A poster is used for advertising, social media marketing, public campaigns, or print media. The Google Docs support allows the content creators to make a poster. A poster can be of varying dimensions which is set as per the target locations requirement. This post demonstrates the method for making a poster on Google Docs.
How to Make a Poster on Google Docs?
The “Drawing” option of Google Docs facilitates adding a text box, shapes, or an image.
It is also utilized for making a poster as well. To perform this task, follow the essential steps that are described below:
Step 1: Open a Google Docs
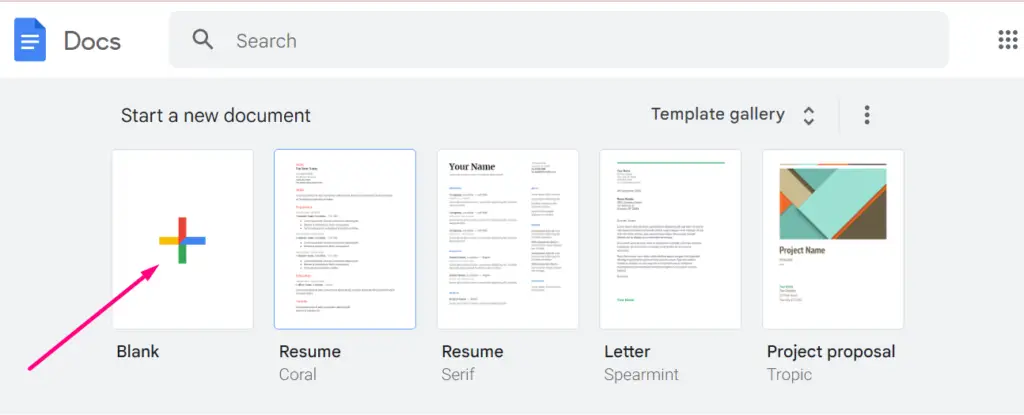
Firstly, open the Google Docs window and select the “Blank” document template (The user may choose the existing document as well).
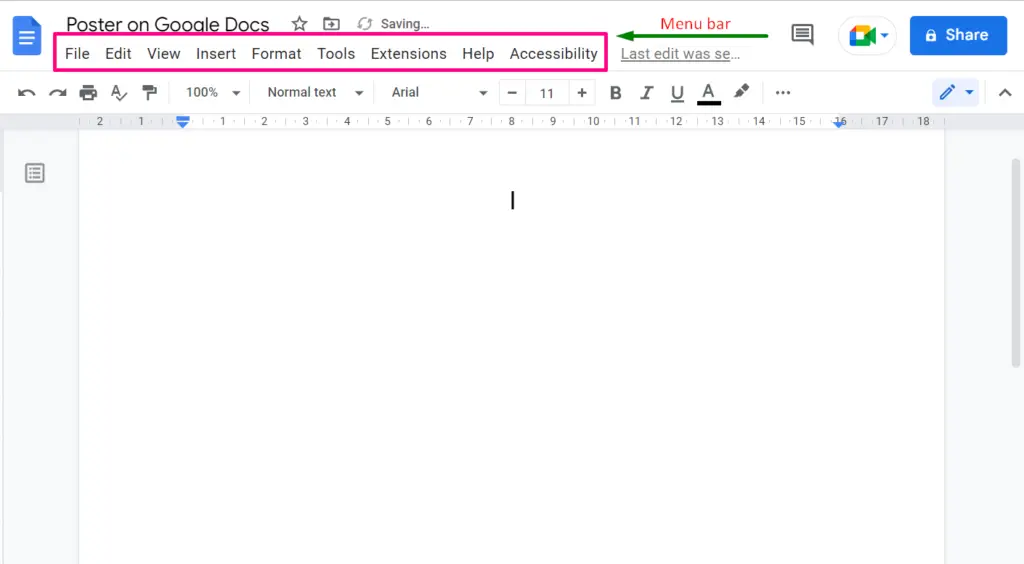
After opening the blank document, move to the menu bar having “File”, “Edit”, “View”, “Insert”, and other tabs.
Step 2: Open the Drawing Tool
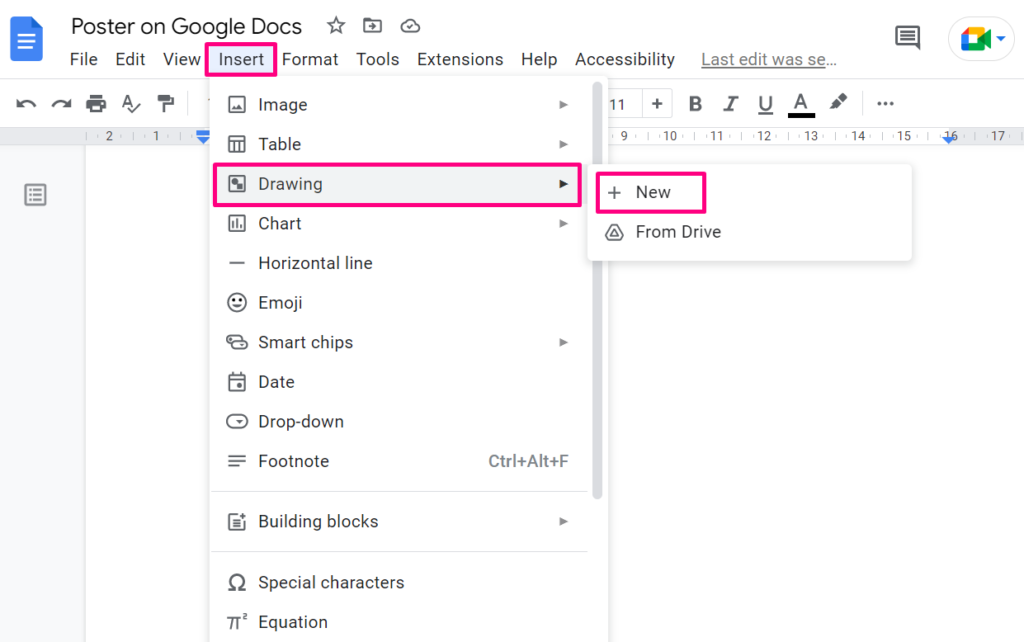
From the menu bar of Google Docs, click on the “Insert” tab, and a drop-down list appears in front of the user. Select the “Drawing” subheading and move on to the “New” option.
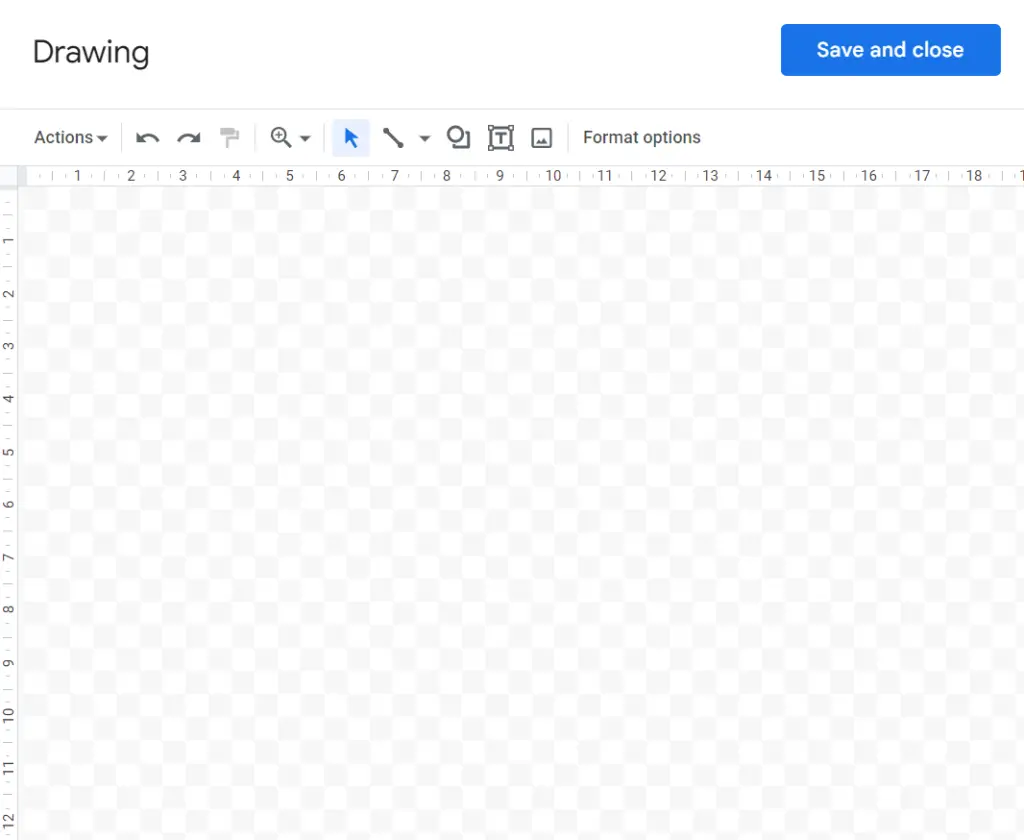
A drawing canvas will appear, which will be used to make a poster.
Step 3: Choose a Shape
Select the “Shapes” option from the toolbar for making a Google Docs poster.
In this scenario, we have selected a “Rounded Rectangle” shape. The user can also choose different shapes according to their requirements.
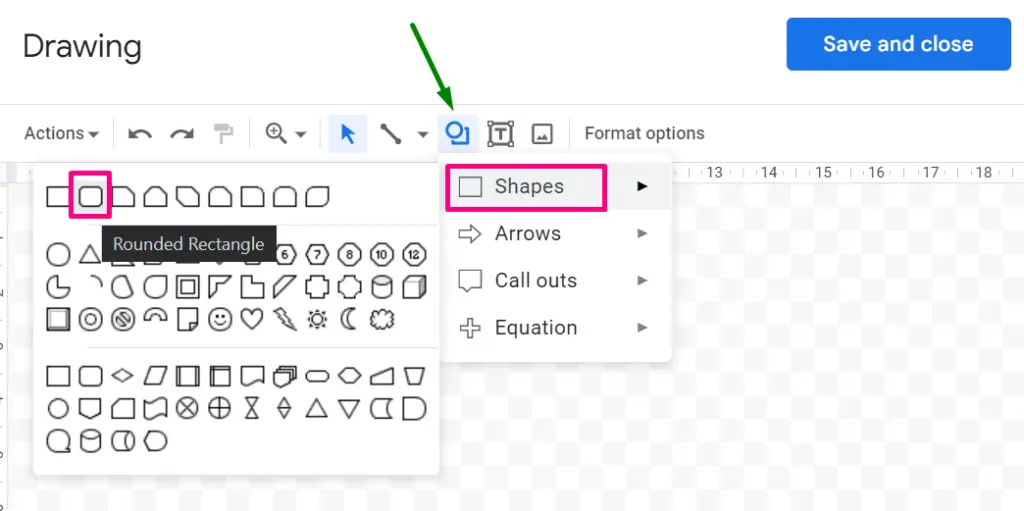
The selected shape can be customized by using “border thickness”,“border-color”, “background-color”, and many other options. In this case, we customized the shape according to our requirements.
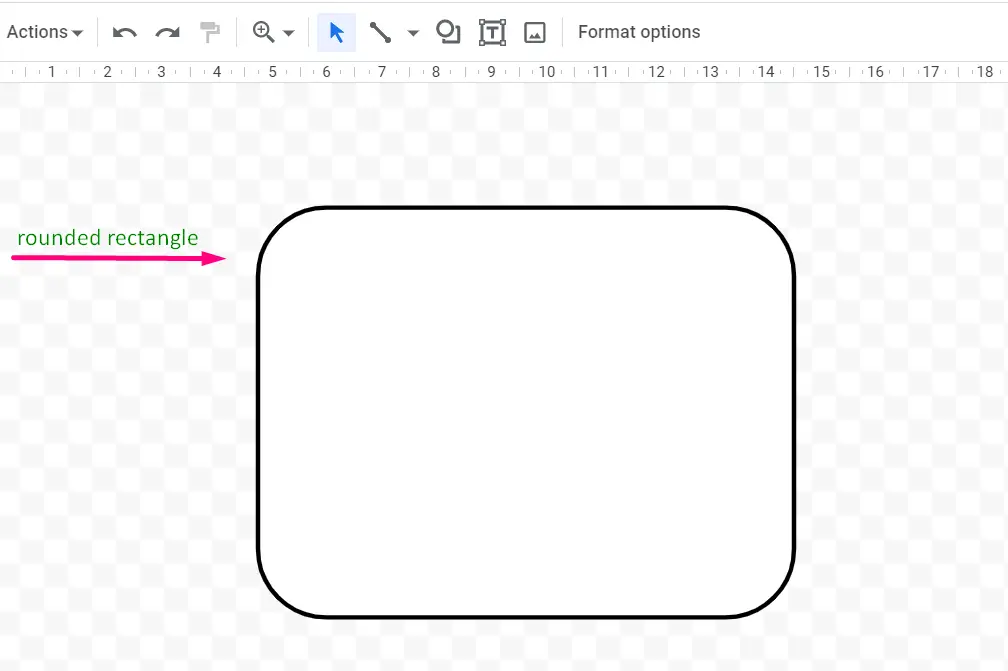
Here is the selected “Rounded Rectangle” shape shown on the drawing window.
Step 4: Add a Text Box
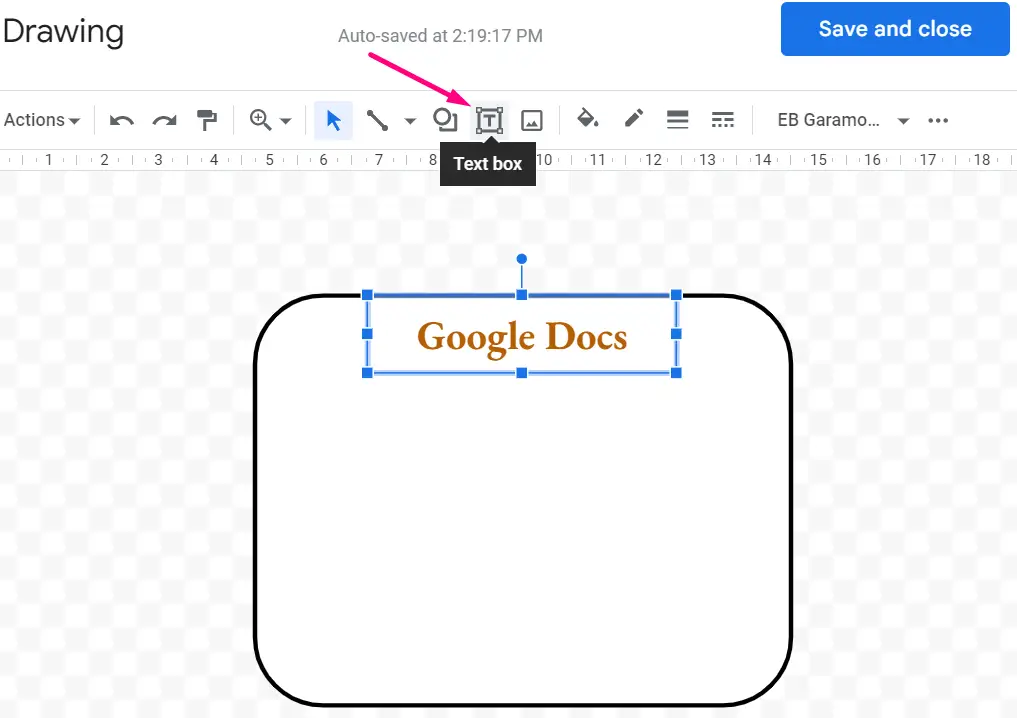
The next step in making a Google Docs poster is to add a “Text box”. It is used for writing text in a specific rounded rectangle or an area where the user wants to add some text. Similarly, text can also be customized by changing its “font size”, “font alignment”, “color”, and “font style”.
In this rounded rectangle shape, we have written “Google Docs” and changed its font size and font style as we want.
Using a “Text box”, we have written the essential information relevant to the poster’s subject.
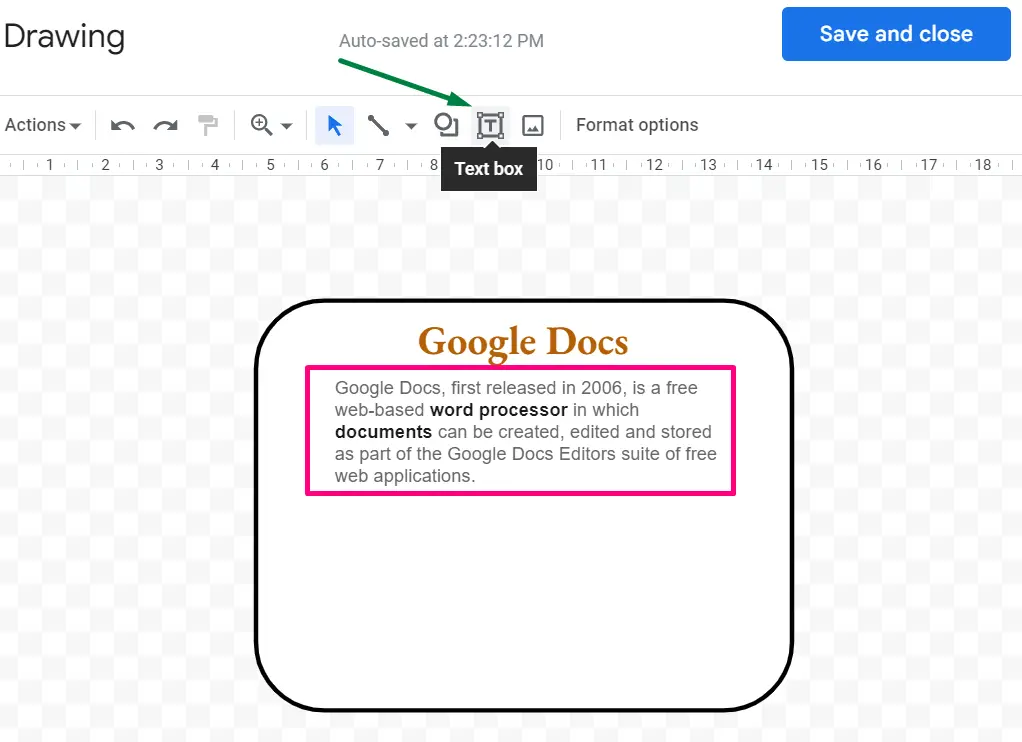
Text is adjusted in the specific rounded rectangle shape. Now we will add an image to it.
Step 5: Insert an Image
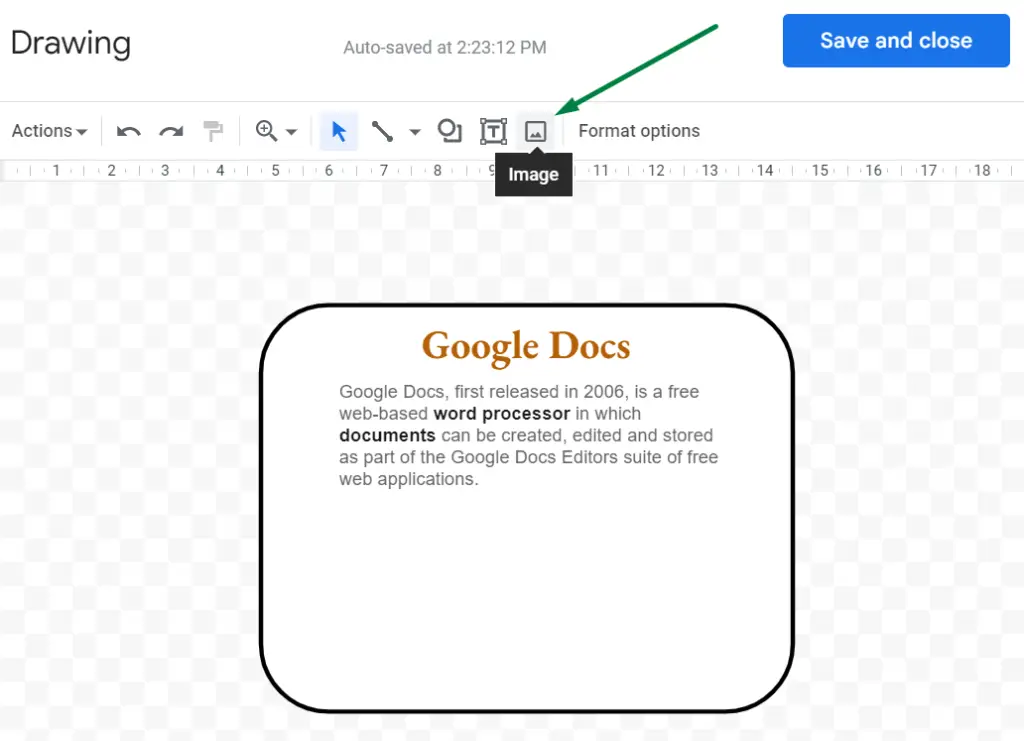
For inserting an image in the poster, use the highlighted “Image”option in the toolbar.
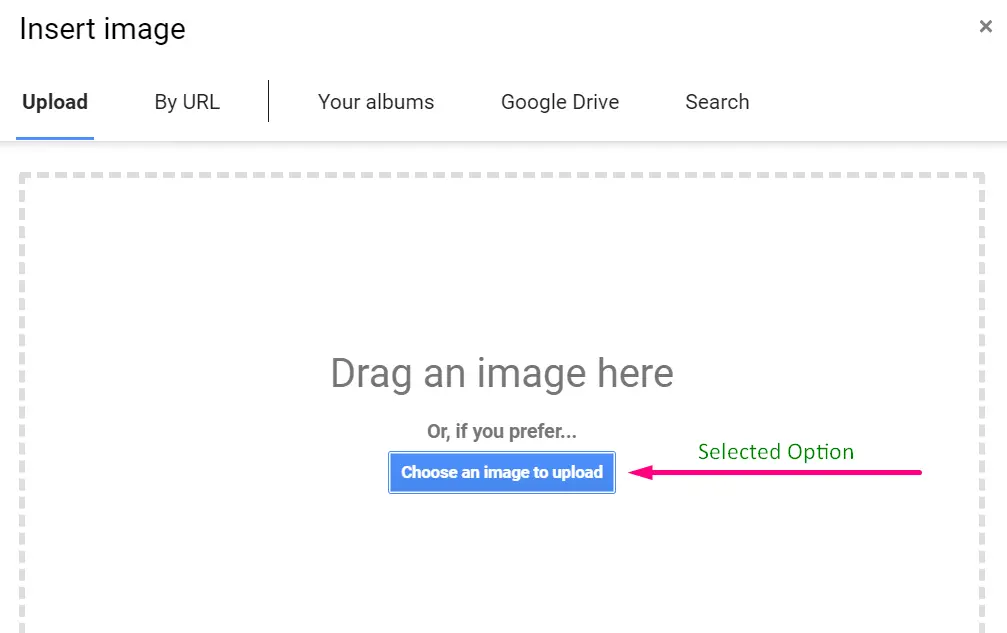
In the opened sub-window, you can either “drag and drop” the required image or click on the
“Choose an image to upload” to upload an image from the local system:
For instance, we have selected the second option, “Choose an image to upload”.
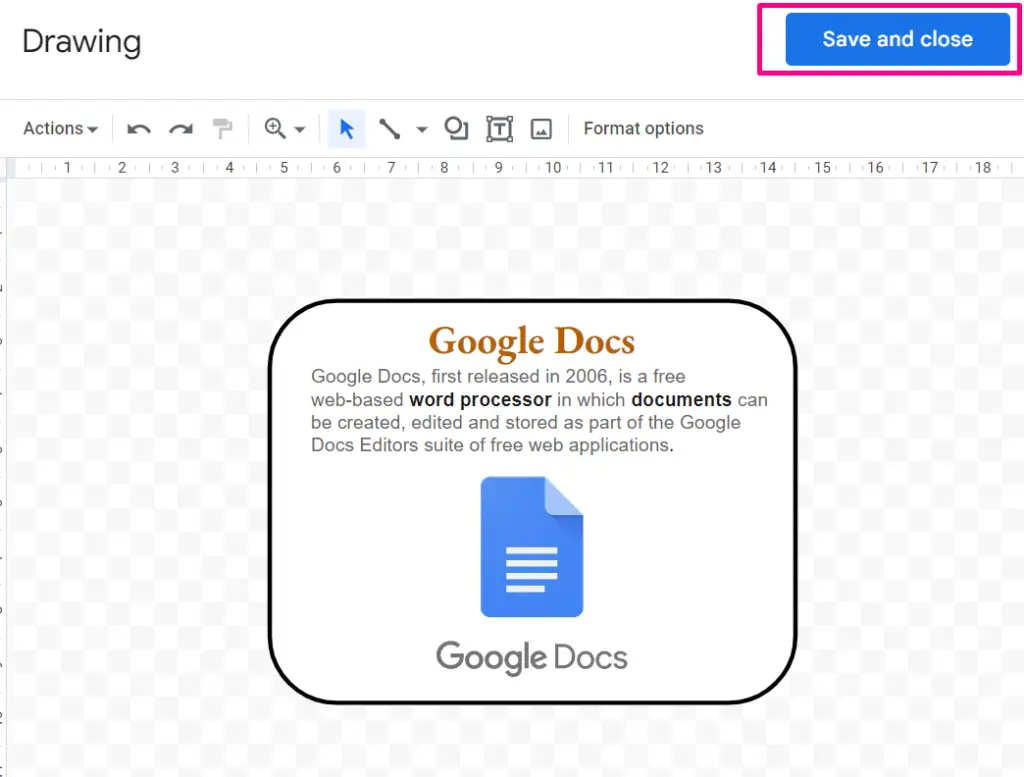
The image is inserted below the text area in the selected shape.
When the designing process is completed, the poster is saved by pressing the “Save and close” button. It is located in the right corner of an Insert image window.
When we press the Save and close buttons, the created poster is saved, and the drawing window is closed. The ready poster will be saved automatically in the opened document.
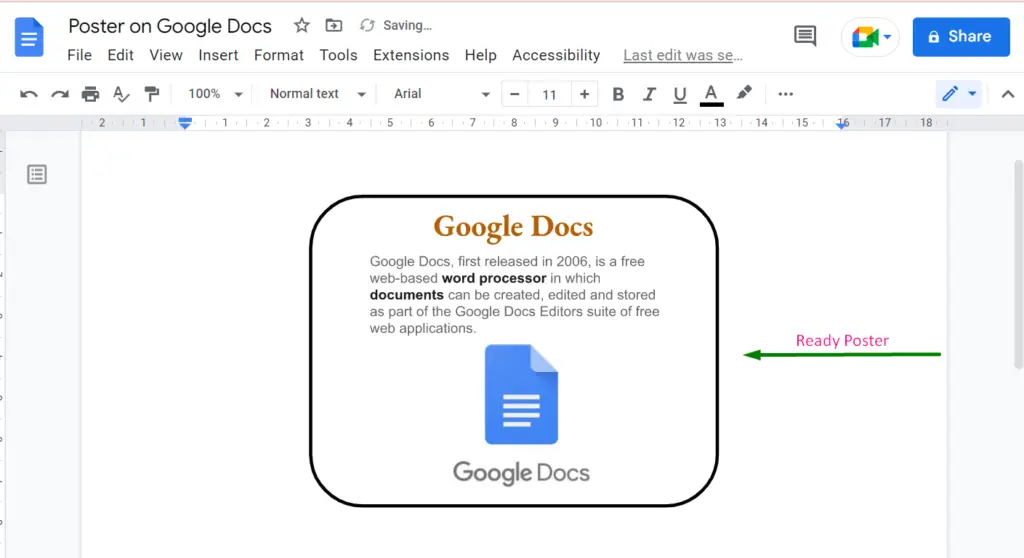
The poster dimensions and designs are based on the requirement of the user. The process defined here can be followed to create a customized poster.
That’s all from this guide!
Conclusion
For making a poster on Google Docs, the “Drawing” option can be utilized. After creation, the poster can be customized using different options such as “Image”, ”Text box”,” Shapes”, etc. The users can also make posters on the drawing window of Google Docs as per requirements. This post has demonstrated the list of procedural steps to make a poster on Google Docs.
