
A collection of typography or text characters present in a certain style and size is referred to as a font. Graphic designers can create new fonts. Also, many sites allow us to download fonts free of cost; the official Google website also offers a huge selection of Google Fonts, including Roboto, Macondo, font Bureau, and many others.
This post will discuss the methods to manually install fonts on Ubuntu 22.04.
How to manually install fonts on Ubuntu 22.04
To install fonts on Ubuntu 22.04, go through the steps given below carefully.
Step 1: Download Font
Navigate the Google Fonts website and download the required font:
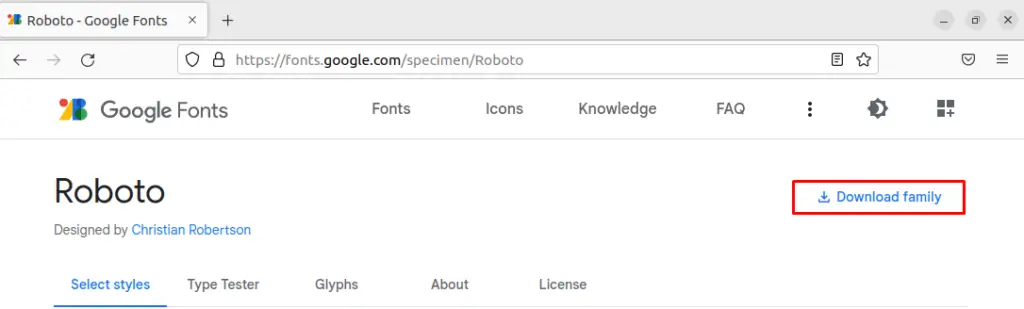
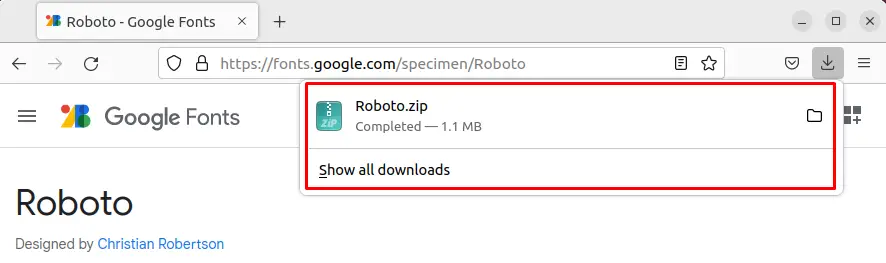
As you can see, we have downloaded the “Roboto font” family, and it will be saved in the “Downloads” directory:
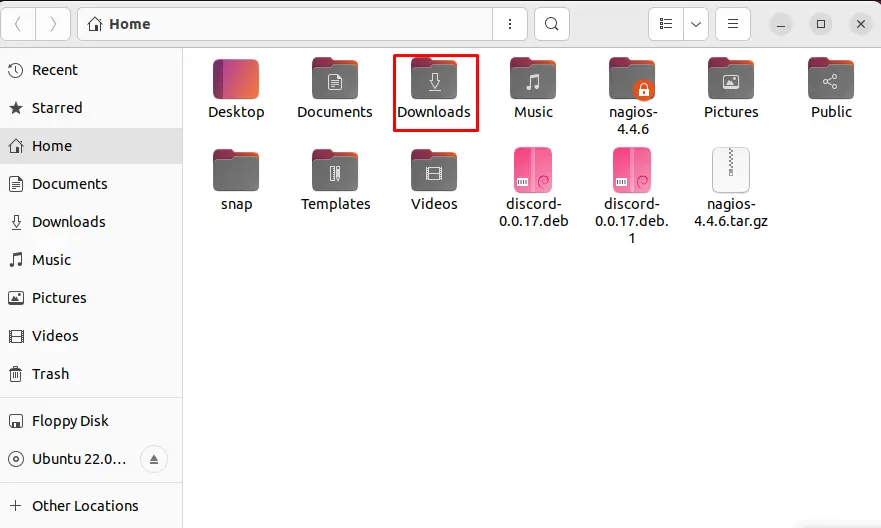
Step 2: Open Downloads
Go to the Home directory and open “Downloads” directory:
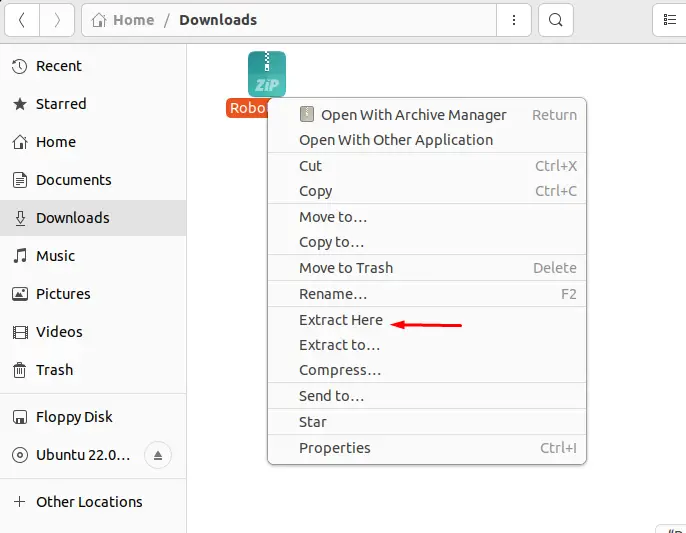
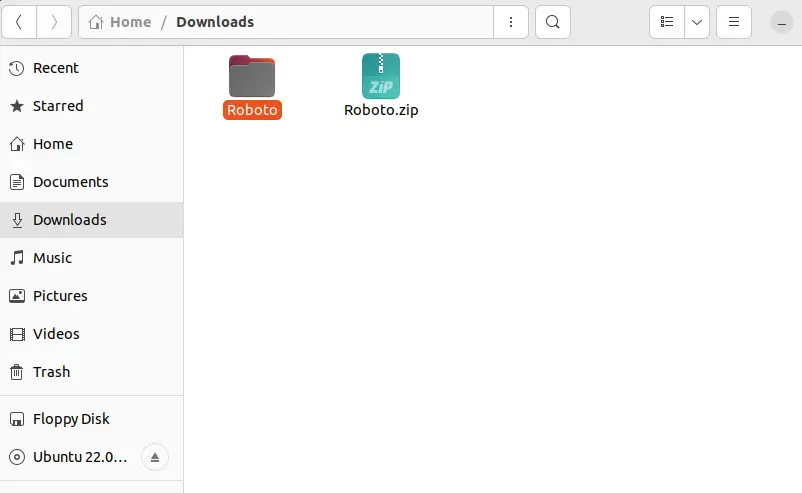
Step 3: Extract Font
The downloaded font is saved in the “Downloads” folder, right-click on it and select “Extract here” from the given options:
Step 4: Open downloaded font file
Open the Extracted file of the font:
Step 5: Copy Font
Copy the required font from the given output:

Step 6: Make a new Directory
Open up the terminal using “CTRL+ALT+T” and create a new directory with the name “.fonts”:
$ mkdir .fonts
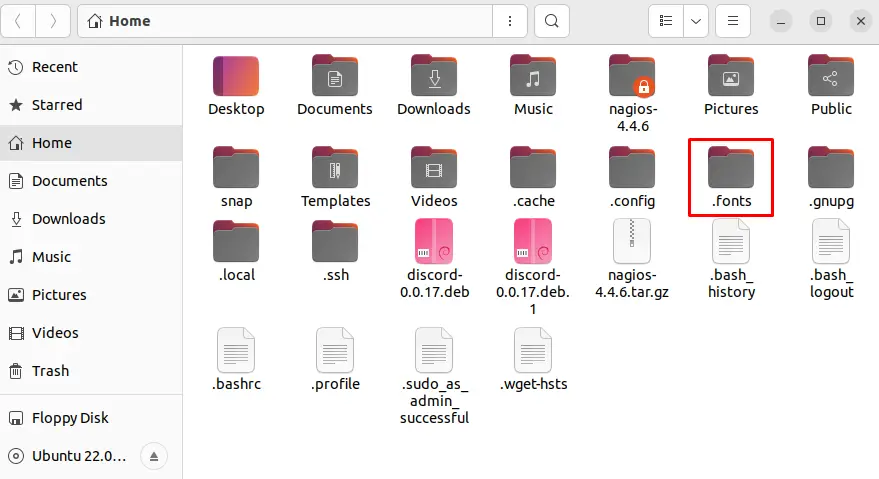
Open the Home Directory and press the “CTRL+H” key to view hidden folders, including the “.fonts” folder and open it:
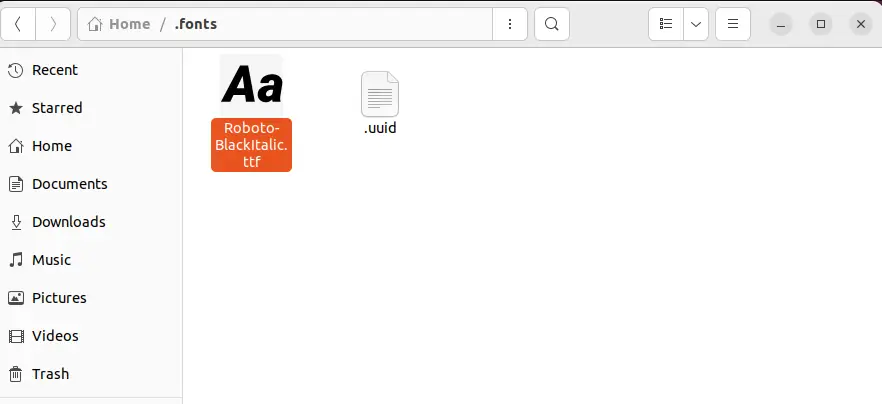
Step 7: Paste Font in new directory
Paste the copied Font in side the “.fonts” directory to manually add the specified font in Ubuntu 22.04:
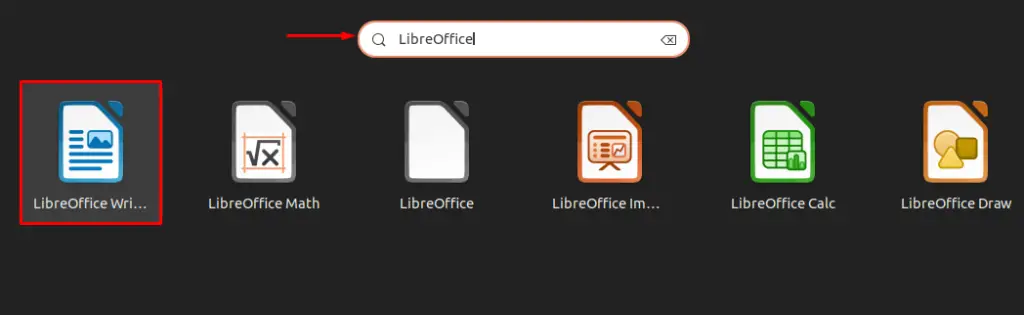
Step 8: Verify Font installation
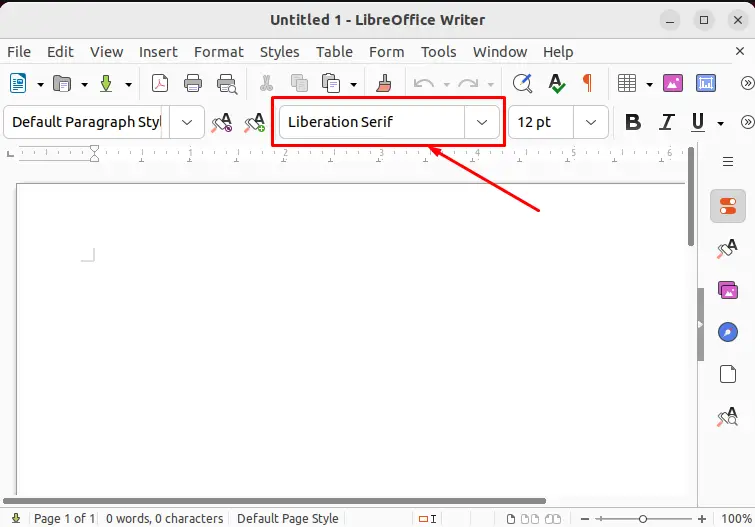
Let’s verify the installation of the added font. For this purpose, we will check available fonts in the “LibreOffice” application. To do the same, search “LibreOffice” in the “Activities” menu and open it:
Click on the font drop-down list:
Find and select the installed font from the displayed list:
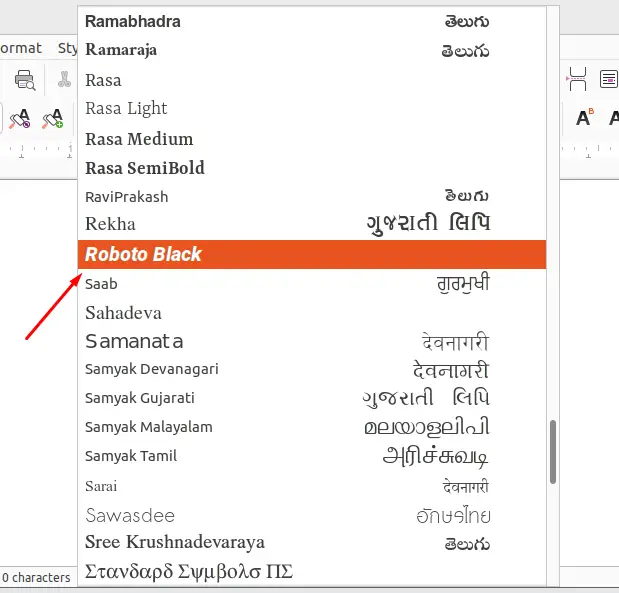
As you can see, we have successfully installed Font in Ubuntu 22.04:

Let’s move ahead to uninstall the font from Ubuntu 22.04.
How to uninstall Fonts from Ubuntu 22.04
In order to uninstall fonts from Ubuntu 22.04, follow the below-mentioned procedure.
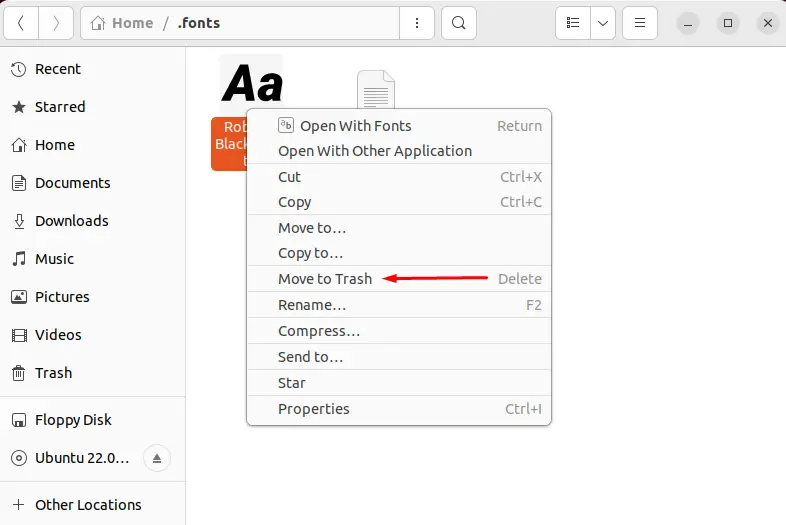
Go to the “Home” directory, press “CTRL+H” and open the “.fonts” folder:

Right-click on the font and select “Move to Trash” to delete the font:
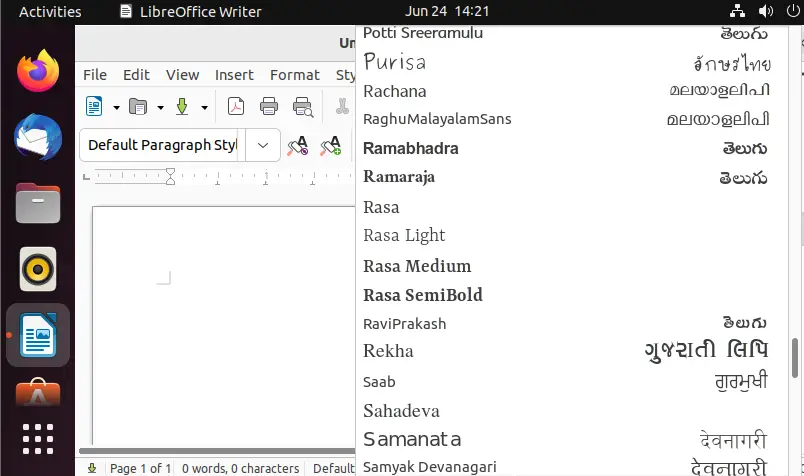
Now you can see we have successfully uninstalled the Font from Ubuntu 22.04:
We have effectively demonstrated the method to install and uninstall fonts from Ubuntu 22.04.
Conclusion
To manually install fonts in Ubuntu 22.04, download their respective file. Then, open the downloaded fonts file by extracting it from the “Downloads” directory. Copy the preferred font. Make the “.fonts” directory using the “$ mkdir .fonts” command on the terminal and paste the copied font into the “.fonts” directory. This article has effectively described how to manually install and uninstall fonts in Ubuntu 22.04.

Saryia is a technology entrepreneur and digital publisher specializing in Linux, open-source technologies, and developer education.