
Data management or handling is mandatory for the smooth flow of work for every big organization. Python provides multiple tools/modules that are used for managing large collections of data. One such module/package is “mysql”, which is used to manipulate and handle data in Python. The error “no module named mysql” appears when we utilize the “mysql” module without installing it in Python.
This write-up will provide various reasons and solutions for the “no module named mysql” error in Python. The following aspects are discussed in this article:
- Reason: ‘mysql’ Module Not Installed in Python
- Solution (For Windows): Install Python ‘mysql’ Module
- Solution (For Linux): Install Python ‘mysql’ Module
So, let’s get started with the first reason.
Reason: ‘mysql’ Module Not Installed in Python
The “no module named mysql” error arises in the program when the user tries to import the “mysql” module without installing it in Python.
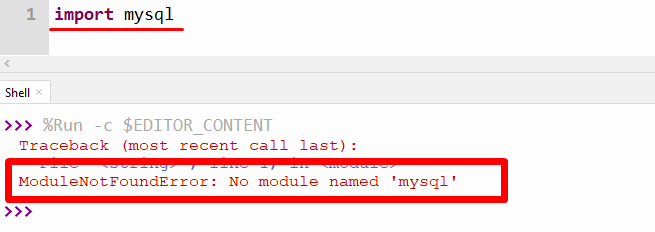
The above snippet shows “ModuleNotFoundError” because the “mysql” module is not installed in Python.
Note: The Error also occurs when the user installed the “mysql” module in the incorrect version of Python or installed it globally rather than in a virtual environment. Also, make sure that your IDE is running an appropriate version of Python.
Solution (For Windows): Install the Python ‘mysql’ Module
To rectify this error, you are required to install the “mysql” module using “the pip” package manager. If you are using Python 3.x then the “pip” package manager is already installed in your system. If it is not installed, then you can follow the instructions provided in this installation guide.
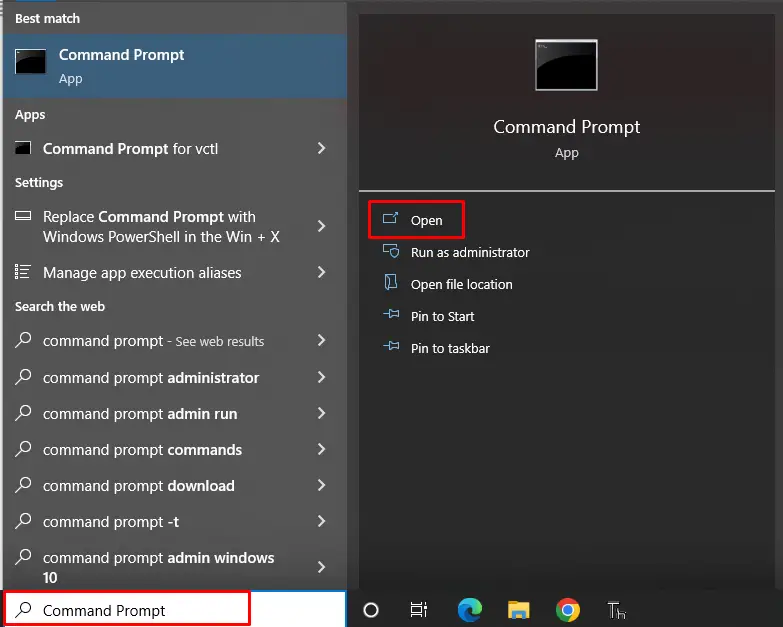
Step 1: Launch Command Prompt Terminal
Open the command prompt terminal by typing the “command prompt” in the start search bar as shown in the below snippet:
Step 2: Install mysql Using pip
To install mysql using pip, you can type the below command in cmd:
> pip install mysql-connector-python
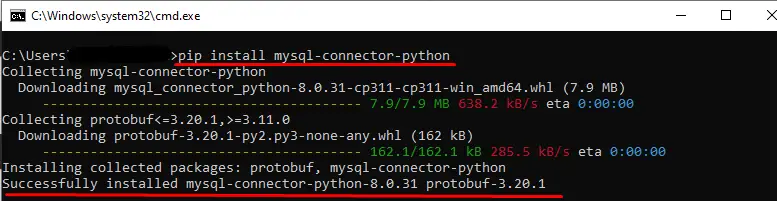
The above snippet verifies the “mysql” installation in Python.
If the above command shows a permission error. In that scenario, you can use the given below command:
> pip install mysql-connector-python --user
Step 3: Verification of mysql Module
To verify the “mysql” module installation in Python, type the given below command in Python:
> pip3 show mysql-connector-python
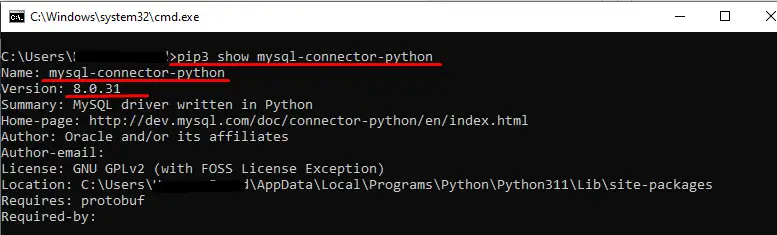
The above snippet shows “mysql” name and version that has been installed in our system.
Install mysql Module in Anaconda
To install the “mysql” module in Anaconda distribution, run the following command from the terminal:
> conda install -c anaconda mysql-connector-python
Install mysql Module in Jupyter Notebook
To install the “mysql” module in Jupyter Notebook type the following piece of code in terminal:
> !pip install mysql-connector-python
How to UnInstall Python mysql Module?
To uninstall the mysql module, you can use the below command:
> pip uninstall mysql-connector-python
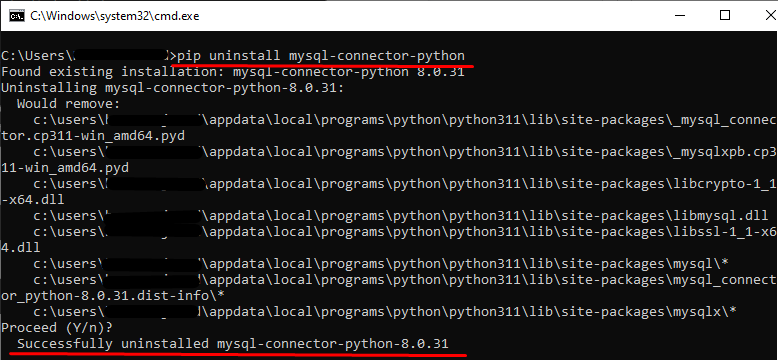
The above snippet shows that the “mysql” module has been uninstalled from Python.
Solution (For Linux): Install the Python ‘mysql’ Module
To install “the mysql” module in Linux, you can use the “pip” or “apt” command in the terminal. You can follow this guide if you don’t have a “pip” package manager.
The below command is utilized to install the “mysql” module in Python:
$ sudo pip install mysql-connector-python
Installing MySQL on Ubuntu 22.04
To install the “mysql” module in Ubuntu 22.04, you can follow the below-given steps:
Step 1: Update System Repositories
$ sudo apt update
Step 2: Using apt to Install the Python mysql Module
$ sudo apt install mysql-server
Step 3: Verification of mysql Module
$ mysql --version
Installing mysql on CentOS 7 Server
To install the “mysql” module on CentOS 7 server you can follow the below-given steps:
Step 1: Update Repository
$ sudo yum update
Step 2: Download mysql Repositories Using the Following Command
$ sudo wget https://dev.mysql.com/get/mysql80-community-release-el7-3.noarch.rpm
Step 3: Prepare Repositories By Following Command
$ sudo rpm -Uvh mysql80-community-release-el7-3.noarch.rpm
Step 4: Install Python mysql Module By Following Command
$ sudo yum install mysql-server
You can also go and check this specific Python guide for installation of the “mysql” module in Linux.
That’s all to fix the ‘mysqsl’ module not found error.
Conclusion
The “No module named mysql” error occurs in Python when we import the “mysql” module without installing it in the system. To fix this error, we need to install the “mysql” module using “pip” and “apt” commands. The “mysql” module on the CentOS 7 server can be installed using the “yum” package management. This article presented a detailed guide on how to install the “mysql” module in Python.