
The vnStat is a network monitoring utility designed to monitor incoming and outgoing network traffic, and it keeps all the information of the network traffic by obtaining the information from the Kernel as well. With the help of this utility, we can monitor the network traffic based on our choice, hourly, weekly, or monthly.
In this blog, we will monitor the network traffic with the utility of vnStat on Ubuntu Jammy Jellyfish using the terminal.
Prerequisite: Install vnStat on Ubuntu 22.04
The “vnStat” utility is not available on Ubuntu 22.04 by default. Before monitoring traffic through this, we will guide you on how vnStat can be installed on Ubuntu 22.04. The vnStat utility can be downloaded from its official website using the terminal. To do so, open your terminal first (CTRL+ALT+T) and follow the below-mentioned steps:
Step 1: Installation of Pre-requisite of vnStat on Ubuntu
We have first to install those packages on which the installation/working of vnStat is dependent, and for this, use the command:
$ sudo apt install build-essential gcc make libsqlite3-dev -y
Step 2: Download the vnStat
After making sure the dependency packages are all installed, download the installation package of vnStat from its official website. The “tar.gz” file of vnstat can be downloaded as follows:
$ wget https://humdi.net/vnstat/vnstat-2.9.tar.gz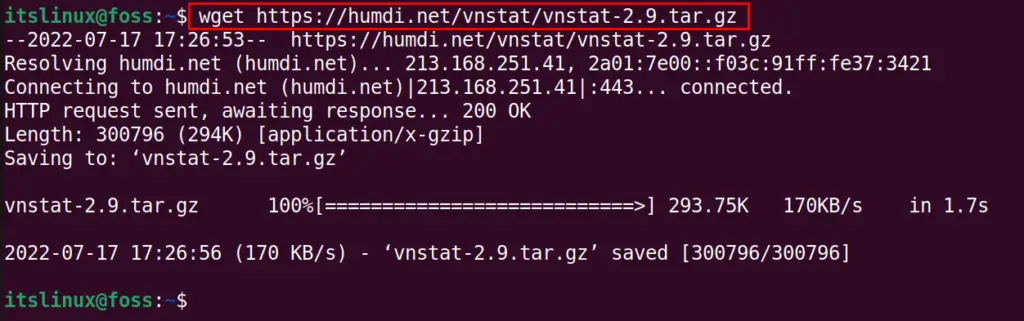
Note: You may visit the following link to check the availability of any latest release of vnStat: https://humdi.net/vnstat/
Step 3: Extract the downloaded tar.gz file
When the downloading is completed, we will extract the compressed package using the tar command:
$ tar -xvzf vnstat-2.9.tar.gz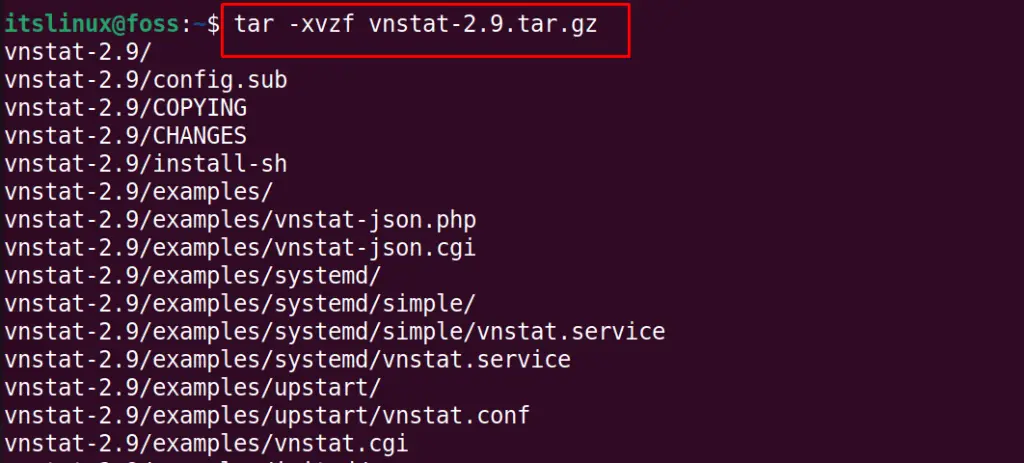
When the compressed folder of downloaded vnStat has been done, navigate to the folder using the command:
$ cd vnstat-2.9
Step 4: Configure the vnStat on Ubuntu
Now, when you are in the vnStat directory, configure the files to get ready for installation:
$ ./configure --prefix=/usr --sysconfdir=/etc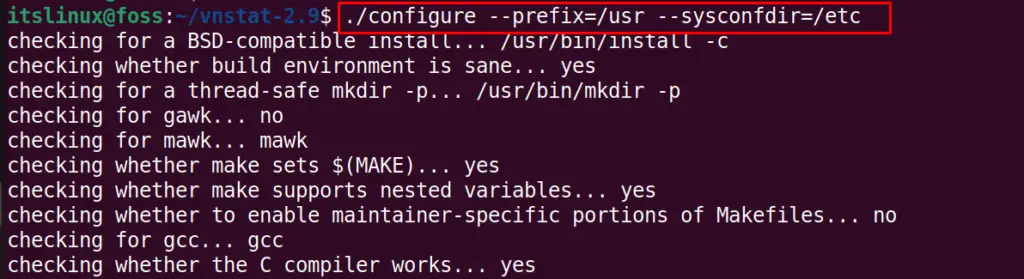
Step 5: Install the vnStat on Ubuntu
To install the vnStat, we will use the “make” utility. The “make” allows you to build and install applications from source code. The command written below will build and install the vnStat:
$ sudo make && sudo make install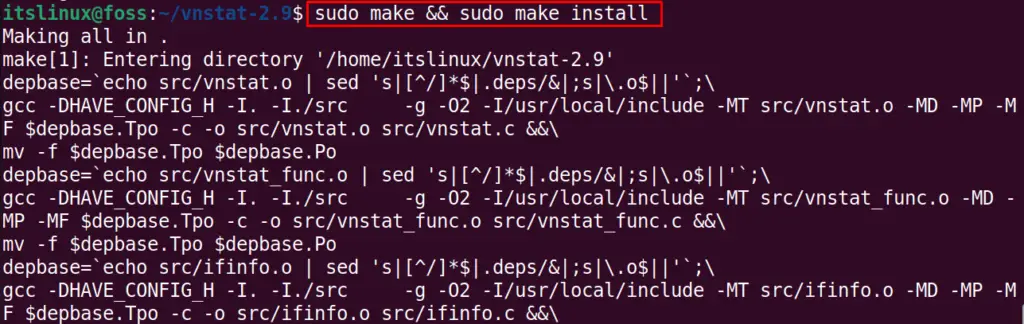
To confirm the installation of vnStat, we will check the version of the installed package using the command:
$ vnstat -v
Step 6: Configure the vnStat Service
First, copy the systemd file of vnStat from its extracted directory to the “/etc/” directory using the following command. By doing so, Ubuntu 22.04 considers “vnStat” as a service:
$ sudo cp -v vnstat-2.9/examples/systemd/vnstat.service /etc/systemd/system/
Enabling the service allows you to keep the status of the service on every reboot. Enable the service of vnStat on Ubuntu:
$ sudo systemctl enable vnstat
Start the service using the systemctl command:
$ sudo systemctl start vnstat
Check the status after starting the service of vnStat:
$ sudo systemctl status vnstat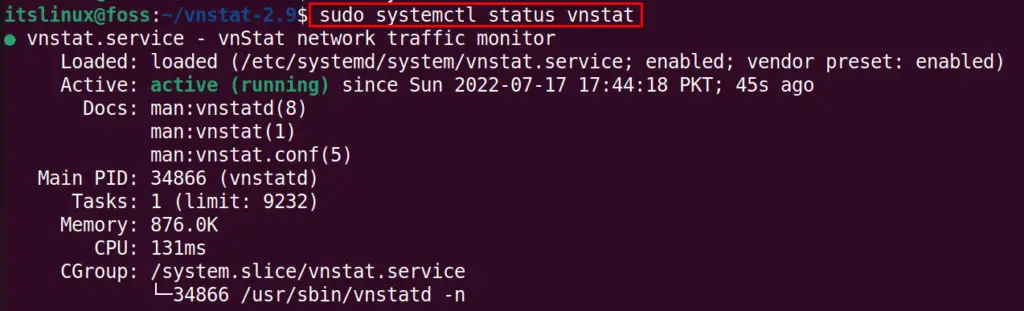
It is observed that the “vnStat” utility has been installed and is running actively.
How to Monitor Network Traffic With vnStat on Ubuntu 22.04?
The “vnStat” monitors the incoming and outgoing network traffic on Ubuntu 22.04. In this section, numerous example commands of the “VnStat” utility are described:
Analyze the Last 5 Minutes of Traffic on the Network Interface
The following “vnStat” command provides the information of transmitted (tx) and received (rx) signal rate on the network interface:
$ vnstat -5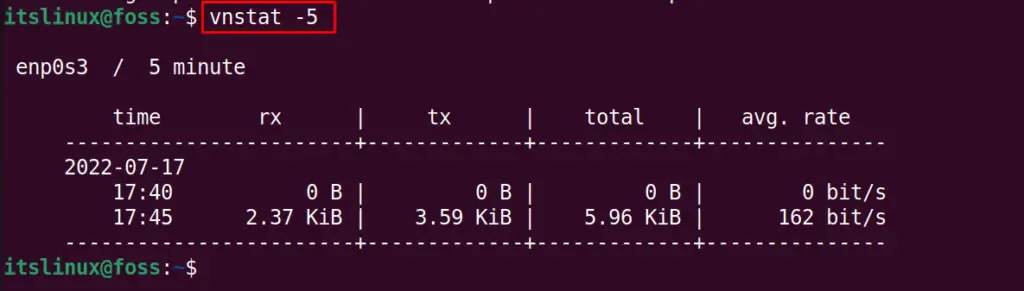
The output has four columns, the “tx” and “rx” refers to the signal rate transmitted and received in last 5 minutes. While the “total” column shows the total amount of “rx” and “tx”. The last column, “avg. rate” shows the average bandwidth consumed in the last 5 minutes.
Analyze the Daily Network Traffic
Likewise, to analyze the daily basis network traffic use the command:
$ vnstat -d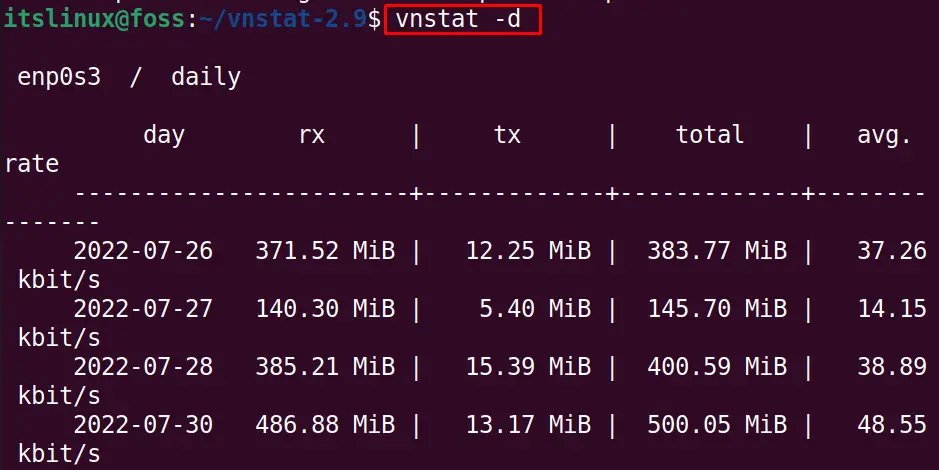
The output contains the day-wise values of “rx”, “tx”, “total”, and “avg. rate” respectively.
More Options on vnStat
To get more information on the vnStat options, run the command:
$ vnstat --help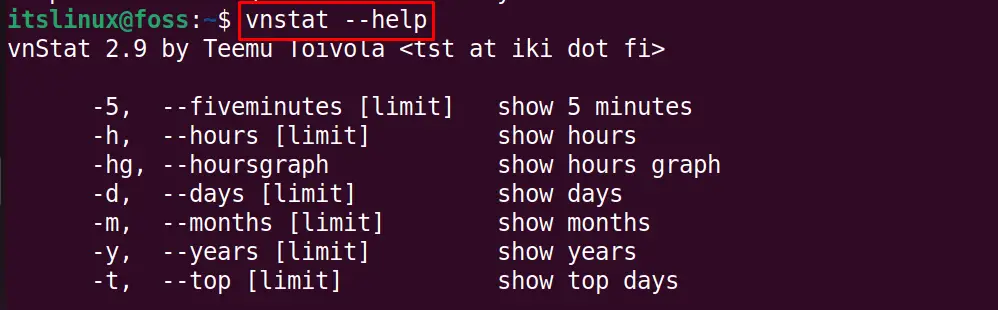
The output will list down all the possible options supported by the “vnstat” command. The users can use any of them as per their requirements.
That’s it from this informative guide!
Conclusion
The “vnStat” utility is used to monitor the network traffic on the Linux distributions through the command line without using the details of packets. In this blog, we have provided the installation method of vnStat and its usage on Ubuntu 22.04. Usually, the “vnStat” utility provides the received and transmitted signal rate alongside its average. Moreover, the average amount of bandwidth consumed can also be obtained.

Saryia is a technology entrepreneur and digital publisher specializing in Linux, open-source technologies, and developer education.