SMB Shares is also known as the Server Message Block, a communication protocol used to share files in a network. The SMB is a directory that can be accessed by all the network users, and they can access the data available in the SMB directory. The SMB help to read, edit, and update the files on the remote server; other than this, the SMB allows sharing files with users in a network, printer sharing, and network browsing.
This blog will demonstrate the way to mount the SMB Shares in Ubuntu 22.04.
How to Mount SMB Shares in Ubuntu?
To mount SMB Shares in Ubuntu, we have to run a few commands explained in different simple steps.
Step 1: Install the SMB Shares
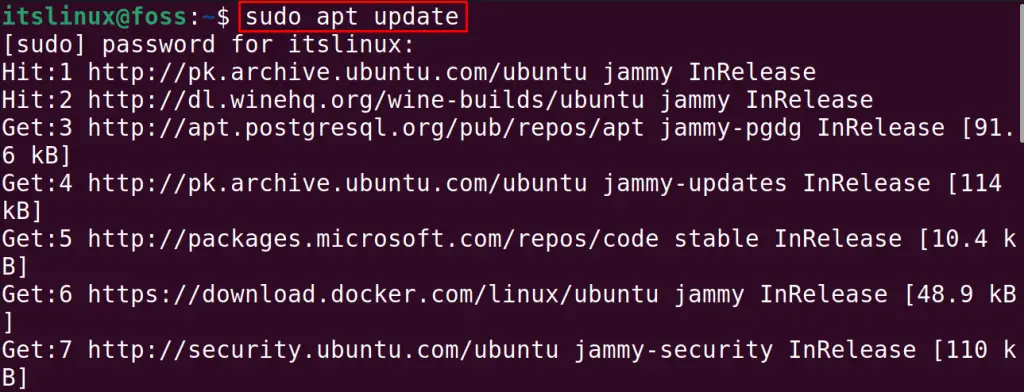
First, we will update all the packages of Ubuntu to make sure that the repository contains all the updated packages:
$ sudo apt update
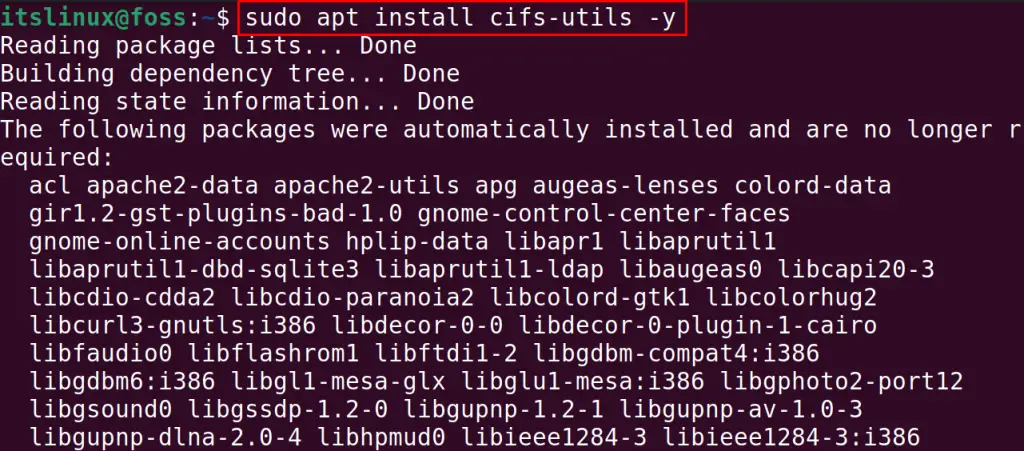
Now, install the package of the CIFS-utils comes in the default repository of Ubuntu:
$ sudo apt install cifs-utils -y
The package of the SMB Shares has been installed successfully on Ubuntu.
Step 2: Create a Directory for SMB Shares
After installing the SMB Shares, its time to create a directory in which we can share files, and it can be accessed in a network:
$ sudo mkdir /media/share

The directory with the name of “share” has been created in the /media/.
Step 3: Create a Credential File
Now, it’s time to secure the directory “/media/share” so it can be accessed by authorized users to keep the data secure. For this, create a file with the nano text editor:
$ sudo nano /root/.SMBcredentials

In the above command, we have used a full stop because we wanted to keep this file in the hidden files. When the file is open, copy and paste the below-mentioned script:
username=example_username password=example_password
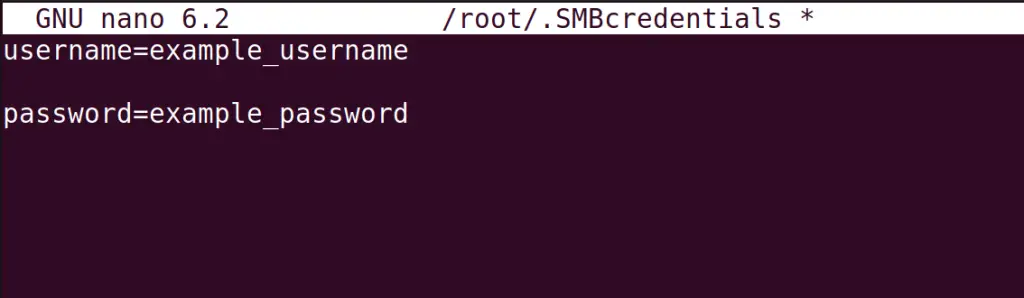
The username of the file is set to “example_username”, and the password is “exampe_password”. After pasting the text, close the file by saving its content with the shortcut key CTRL+X.
Step 4: Change the Permissions
Change the directory’s permissions and grant all permissions to the creator of the directory (so it can be protected from overwriting):
$ sudo chmod 400 /root/.SMBcredentials

The permissions of the SMBcredentials have been changed.
Step 5: Find the IP address
The IP address will be required for mounting the SMB Shares directory, which can be obtained with the “ip a” command:
$ ip a
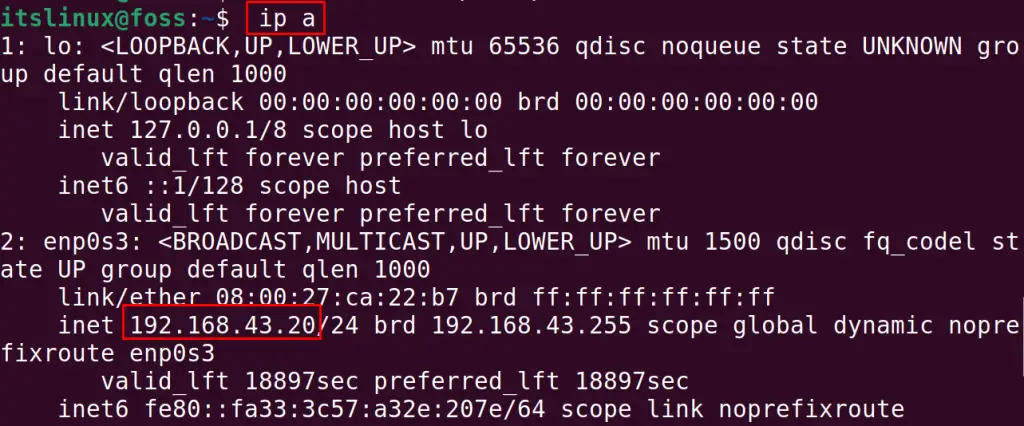
Note down the IP address of the machine on which SMB Share will be mounted.
Step 6: Mount the SMB Share in Ubuntu
To mount the SMB Share in Ubuntu, replace the ip address with your ip address in the below-mentioned command:
$ sudo mount -t cifs -o rw,vers=3.0,credentials=/root/.SMBcredentials //192.168.43.20/shared /media/share

The SMB Share has been mounted on Ubuntu.
How to Mount SMB Shares in Ubuntu Automatically?
Another approach to mounting SMB Shares on Ubuntu is mounting the directory with the auto method. It is noted that by following the above method, the SMB shares would not be useful once the system is rebooted.
You need to edit the “/etc/fstab” file to have the changes permanently by opening it with any text editor, i.e., as nano in our case:
$ sudo nano /etc/fstab

Then, copy and paste the below script by replacing your machine IP address at the end of the file:
//192.168.43.20/share /media/share cifs vers=3.0,credentials=/root/.SMBcredentials
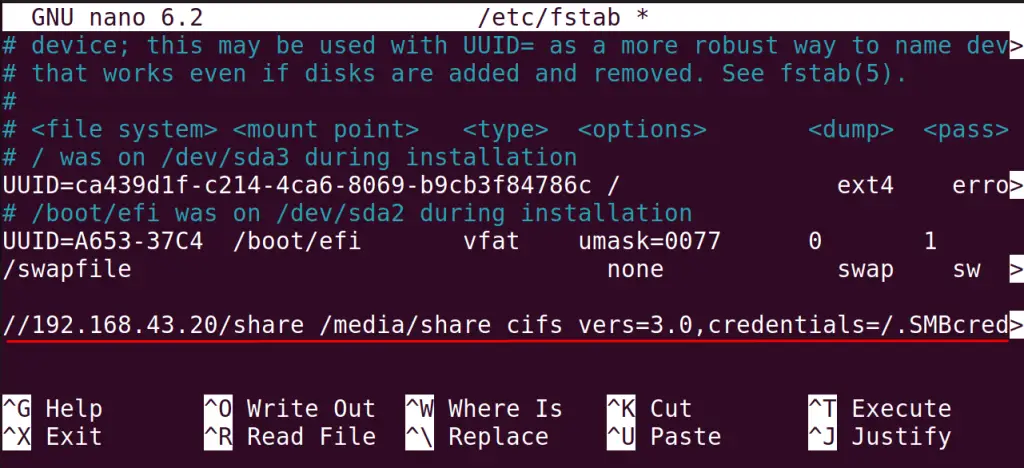
For successful changes, save (CTRL+S) and exit (CTRL+X) the editor. After that, the changes would not be affected by the reboot process.
Conclusion
To mount the SMB Shares in Ubuntu 22.04, install the CIFS-utils by running “sudo apt install cifs-utils -y” and perform the steps provided in this guide. You can mount the SMB shares directory for each session or reboot. This post has explained the methods to mount SMB shares on Ubuntu 22.04.
