Google Docs is a famous web-based text editor that allows users to share functionalities with other users. They can organize documents or folders through the shareable functionality of Google Docs. This tutorial comprises various methods to organize Google Docs. It is beneficial for managing all the records of documents efficiently via folder name. The content followed in this post is:
- Method 1: Organize Google Docs Through Google Drive
- Method 2: Organize Google Docs Through the Move Feature
Let’s start with the first method.
Method 1: Organize Google Docs Through Google Drive
A method is considered for organizing Google Docs by employing Google Drive. The organization of documents is useful for tracking documents in a specified folder. The step-by-step instructions are given below for creating a folder and storing Google Docs in it:
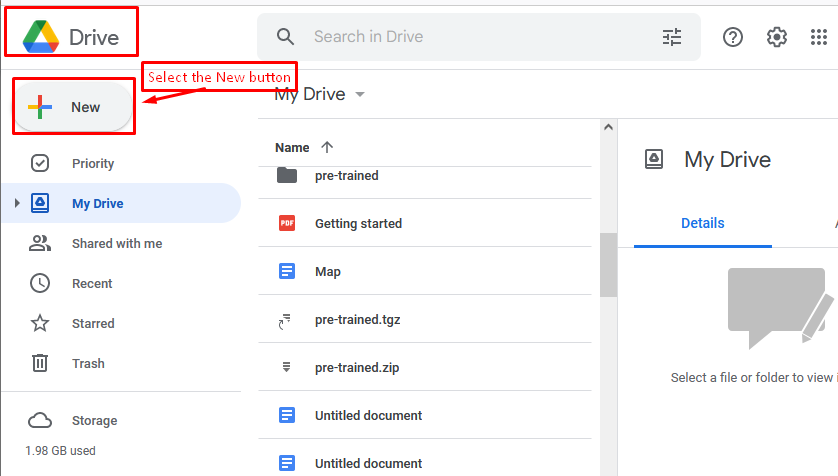
In the Google Drive window, hit the “New” button for creating a folder, as shown in the figure:
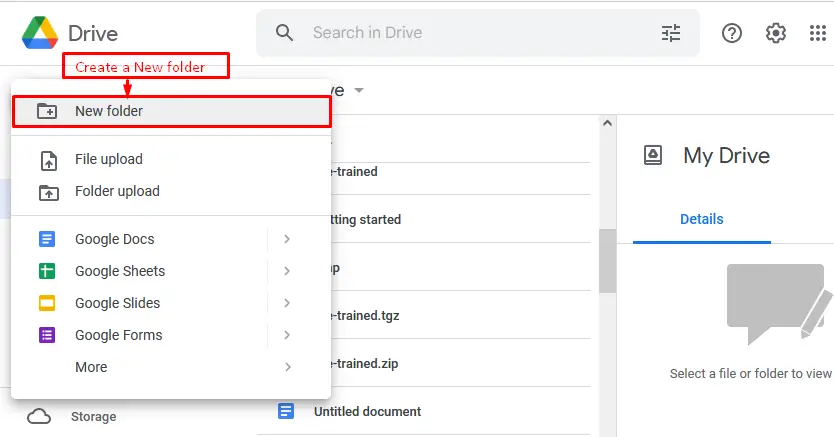
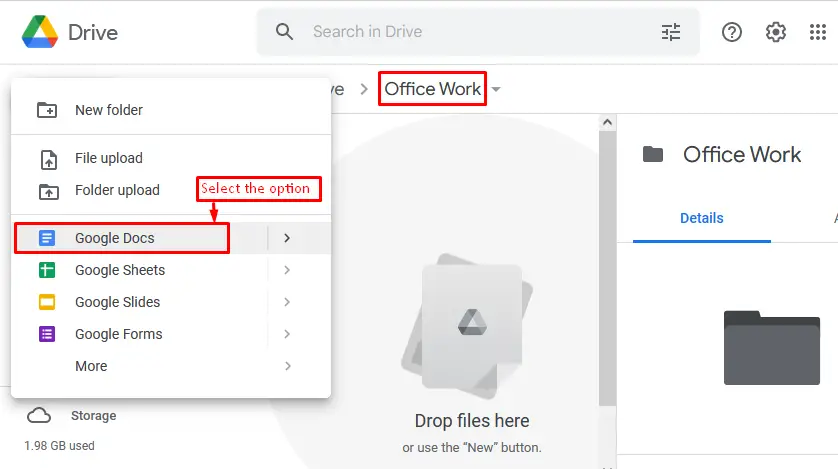
Choose the “New folder” option in the dropdown menu as shown below:
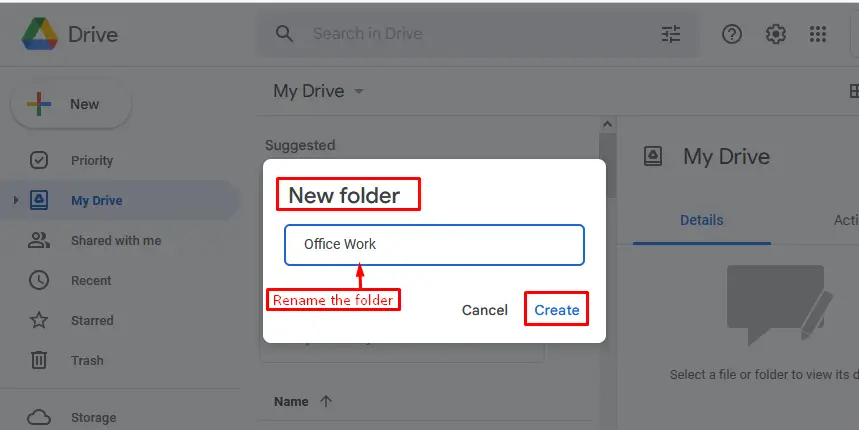
It navigates to the new pop-up window for renaming the folder. Type the name of the folder (such as “Office Work” in our case):
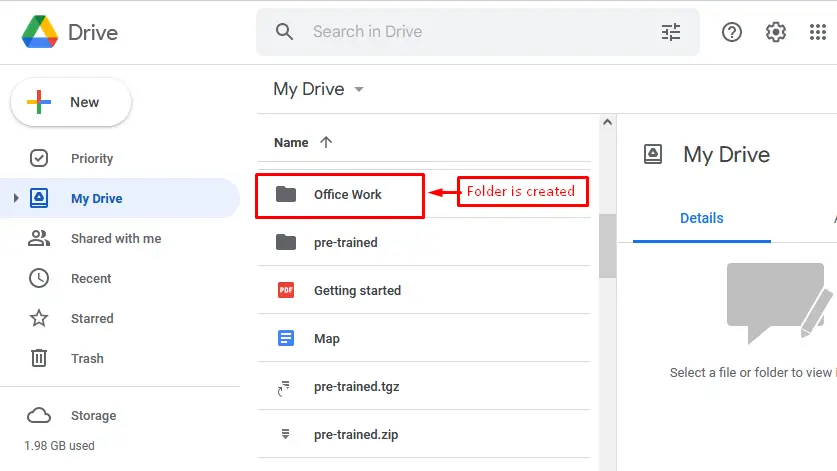
Hence, the “Office Work” folder is created in Google Drive, which can be seen below screenshot:
Afterward, double click on the created folder and jump into it; choose the “Google Docs” option by pressing the “New” button:
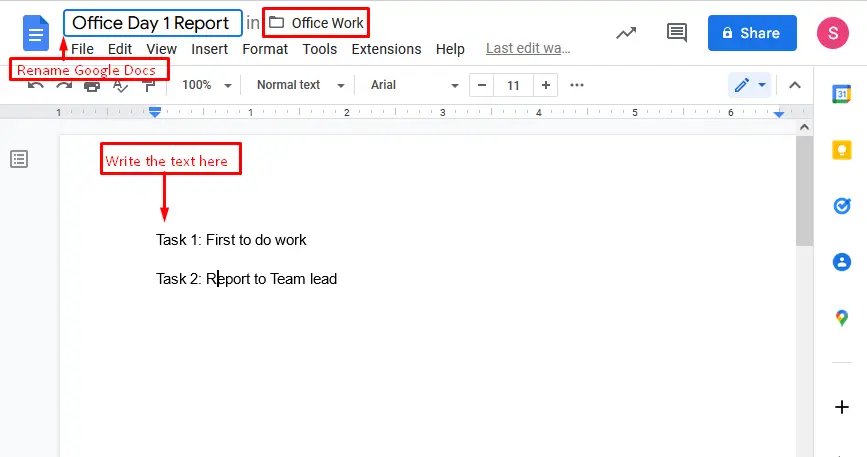
In this way, a Google Doc is opened. After that, rename the file as “Office Day 1 Report” in the “Office Work” folder as shown below figure:
You may create multiple folders and place the Google Docs in relevant folders.
That’s it! You have done the first method to organize the Google Docs through Google Drive.
Method 2: Organize Google Docs Through Move Feature
Google Docs allows users to create a folder quickly. Moreover, you can move to the new or existing folder specified. For this purpose, a method is adopted in which you can select the “Move icon” to organize the new or existing Google Docs in a specified folder. This method needs some description, which is given here:
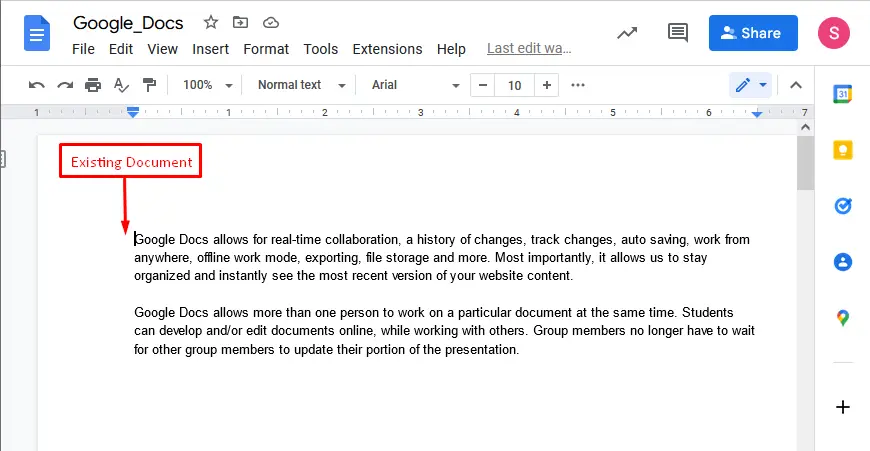
The following Google Doc is taken as an example:
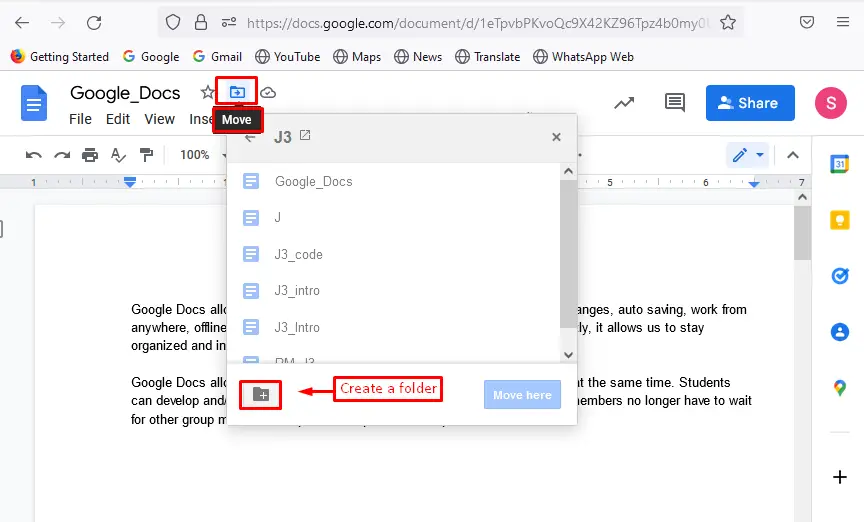
After that, a dropdown list is generated by hitting the “Move icon” and selecting the “New Folder” button located at the last of the list:
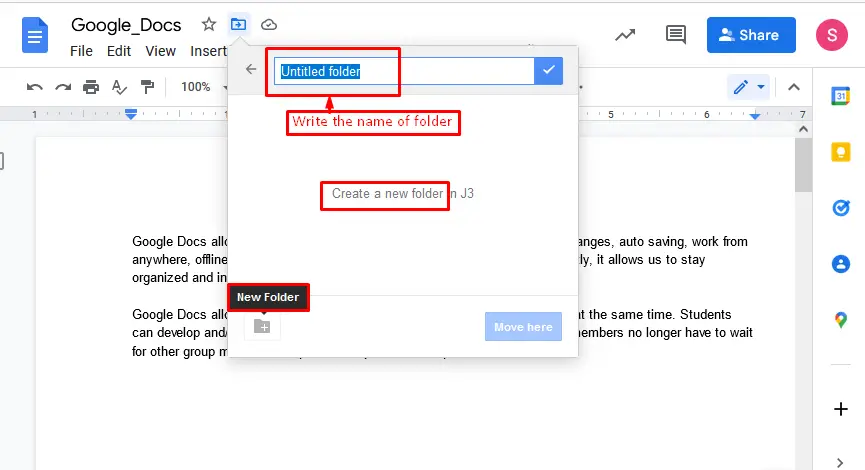
Press the “New Folder” button to generate the “Untitled folder” on which you can change the folder based on their demands:
Hence, change the folder to “Personal Document” and press the “Move here” button as seen below figure:
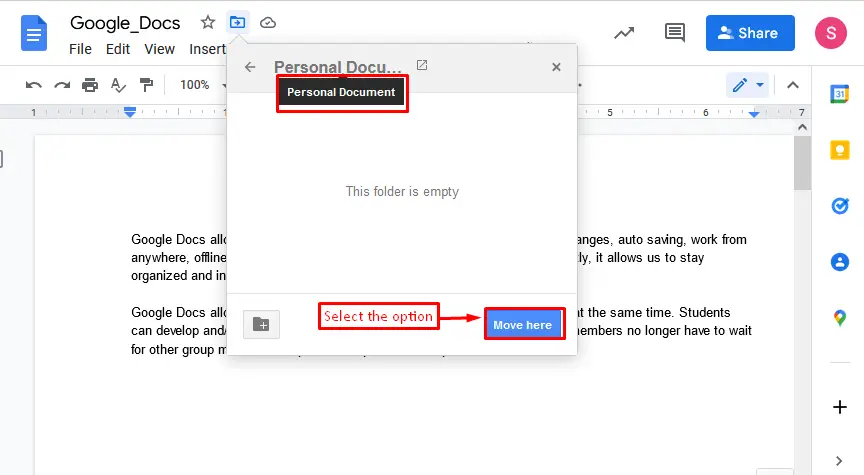
Furthermore, press the button “Move here” in the pop-up window, and the file “Google_Docs” will store in the “Personal Document” folder:
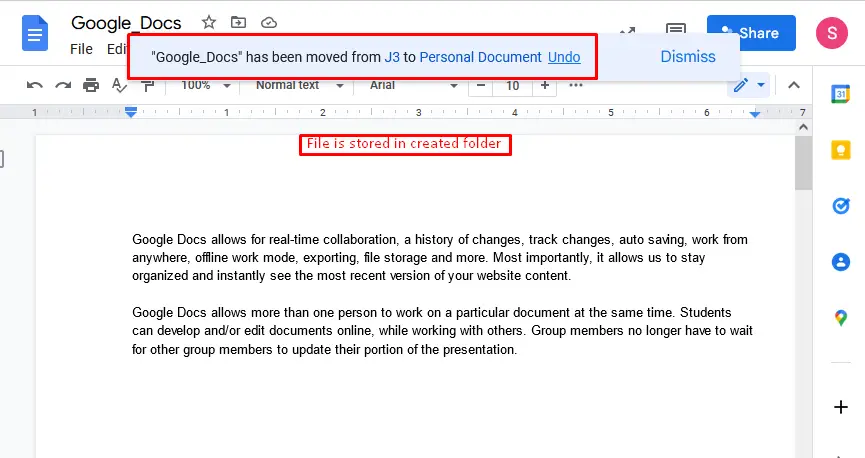
The selected Google Doc will be placed in the desired folder.
Best Wishes! You have learned the organization of Google Docs.
Conclusion
You can organize Google Docs by creating folders with particular names and storing them with the “Move icon”. Besides that, users can utilize the “New” button in “Google Drive” to create folders and Google Docs in the Drive folder. After that, store these documents in the specified folder. Both these methods are beneficial in enhancing the efficiency of tracking documents in Google Docs. Hence, this article has demonstrated two methods to organize Google Docs.

TUTORIALS ON LINUX, PROGRAMMING & TECHNOLOGY