
In curl, a user agent is a string that the program sends to the server as part of the HTTP request header. The user agent identifies the client software and version and possibly information on the client’s operating system, device, or application. By default, curl sends a user agent string that identifies itself as “curl/<version>“.
This article will illustrate the method to set the user agent in curl. The content of this guide is mentioned below:
- Using curl -A option to Set User Agent in curl
- How to Set User Agent in curl?
- Using the .curlrc File to Set the User-Agent in curl
- Using an Environment Variable to Set the User-Agent in curl
Note: Users can get user agents from the link.
Method 1: Using curl -A option to Set the User Agent in curl
In this method, you can set the user agent in curl using the “A” option followed by the desired user agent string. It represents the operating system, browser version, and browser type as below:
$ curl -A "Mozilla/5.0 (X11; Ubuntu; Linux i686; rv:24.0) Gecko/20100101 Firefox/24.0" https://example.com

The output allows you to specify the user agent string directly on the command line.
Set the User-Agent Header
The User-Agent header can be set by specifying the “user-agent” as seen below:
$ curl --verbose -H "User_Agent: Mozilla/5.0 (X11; Ubuntu; Linux i686; rv:24.0) Gecko/20100101 Firefox/24.0" https://example.com
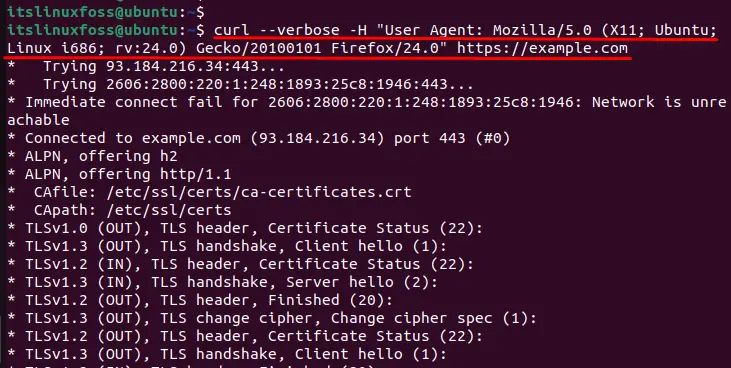
The output shows that the User_Agent has been set to the header directly.
Method 2: Using .curlrc File to Set the User-Agent in curl
The “.curlrc” file is a configuration file used by the command-line tool “curl” to set default options for its behavior. The user agent can be set from the configuration file so that you don’t have to specify it on the command line whenever you can curl. This can be done by creating a “.curlrc” file in your home directory and adding the following line:
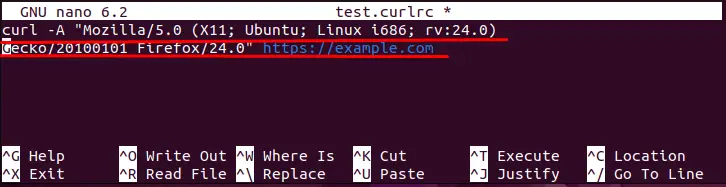
$ nano test.curlrc

It navigates to the specified file in the nano editor. At there, set the user agent by copying the below command:
$ curl -A "Mozilla/5.0 (X11; Ubuntu; Linux i686; rv:24.0) Gecko/20100101 Firefox/24.0" https://example.com
With this, you don’t need to specify user-agent every time you run curl, it will use the default user-agent specified in the .curlrc file.
Method 3: Using an Environment Variable to Set the User-Agent
You can set an environment variable “CURL_USER_AGENT” to your desired user-agent string. It will use the user agent specified in the environment variable.
$ export CURL_USER_AGENT="Mozilla/5.0 (X11; Ubuntu; Linux i686; rv:24.0) Gecko/20100101 Firefox/24.0"

This is how to set the user agent in curl.
Conclusion
Linux provides the “curl -A” option, the “.curlrc” file, and the “CURL_USER_AGENT” environment variable to set the user agent with curl. The correct and accurate user agent information in the request headers helps the server provide better client service. This article has explained different methods to set up user agents in Linux.
