Odoo is an open-source enterprise resource planning software that comes with a host of resource management tools to optimize their allocation and ensure maximum efficiency within an organization. These features are available as collections in the form of modules, of which there are 30 in total.
Odoo is available as Odoo Community, a free and open-source version of Odoo. A premium version, Odoo Enterprise is also available for high-end customers.
This post will go through the installation process of the latest Odoo Community v14 on an Ubuntu Linux 20.04 machine. We’ll demonstrate in the following step-by-step manner:
1- Run an update on your Ubuntu server
Before you start with the installation, update your server by typing in the commands below:
$sudo apt-get updateor
$sudo apt-get upgrade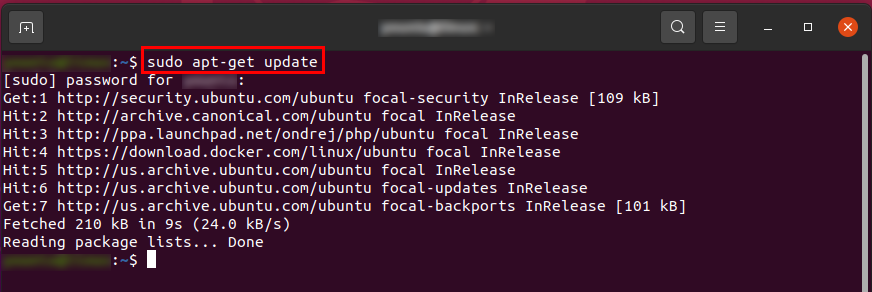
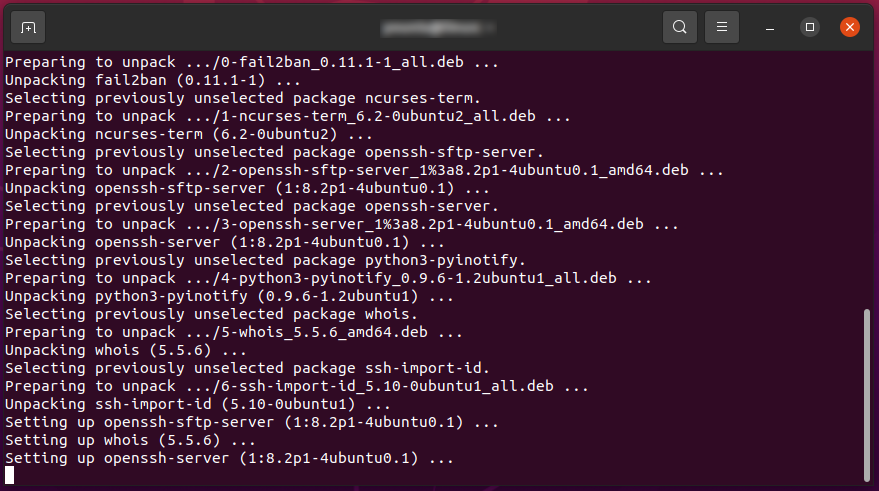
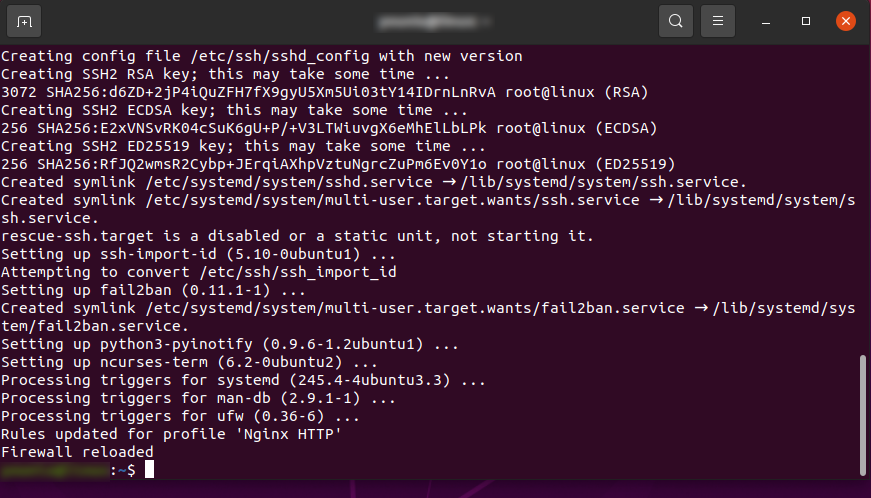
2- Protect your server
Once the server is updated, make sure the installation isn’t interrupted by an SSH attack. Install Fail2ban with the command below:
$sudo apt-get install openssh-server fail2ban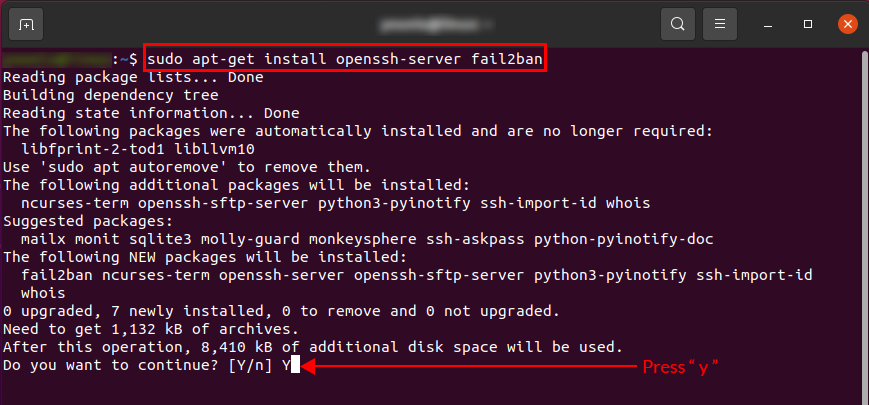
3- Add a user account to use Odoo
We’re creating a new user account on our system to manage the Odoo software on our server. Issue the command below:
$ sudo adduser --system --home=/opt/odoo --group odoo
4- Add supporting packages
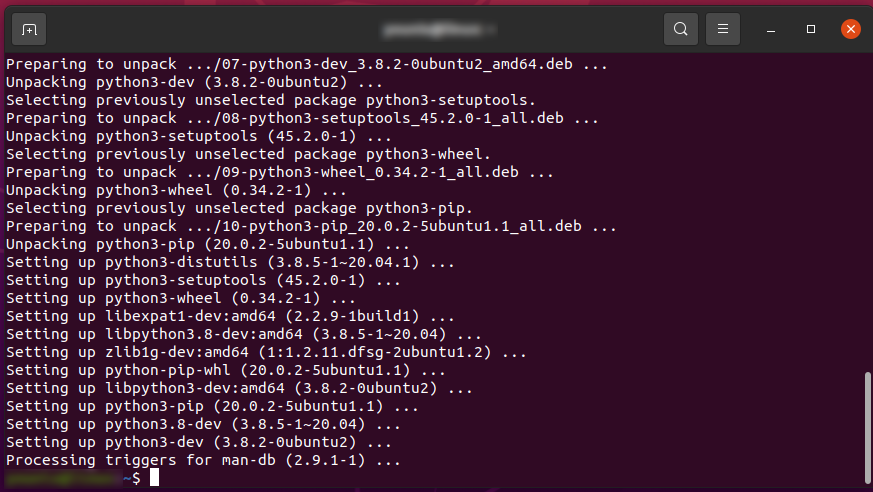
Fetch the necessary packages and libraries. Just move forward and write out the following commands:
$sudo apt-get install -y python3-pip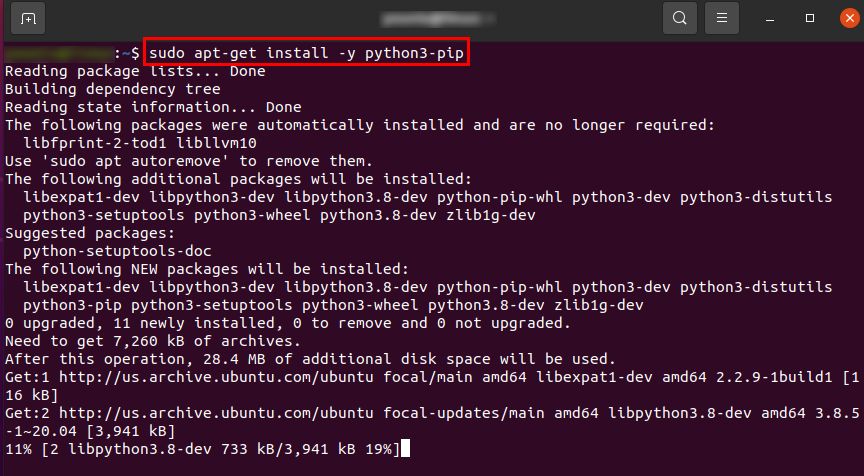
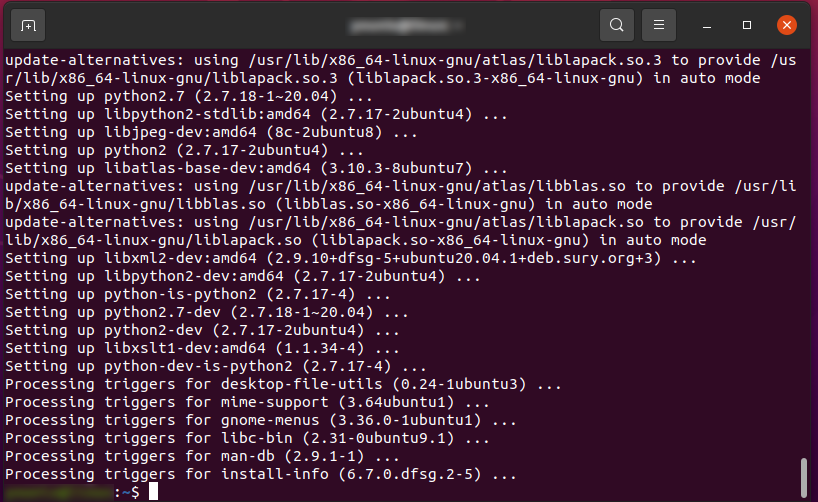
$sudo apt-get install python3-dev libxml2-dev 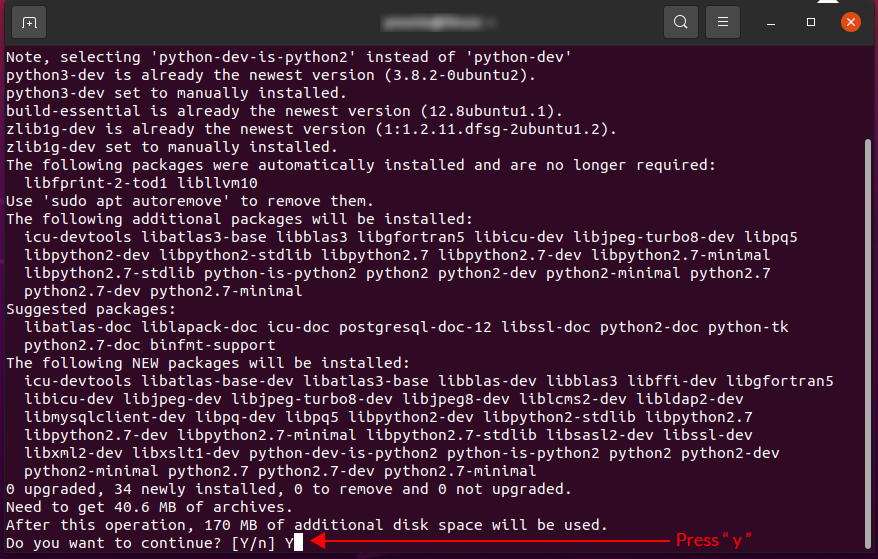
That’ll take care of the packages. To ensure maximum compatibility with internet usage, fetch some web dependencies as well with the following commands:
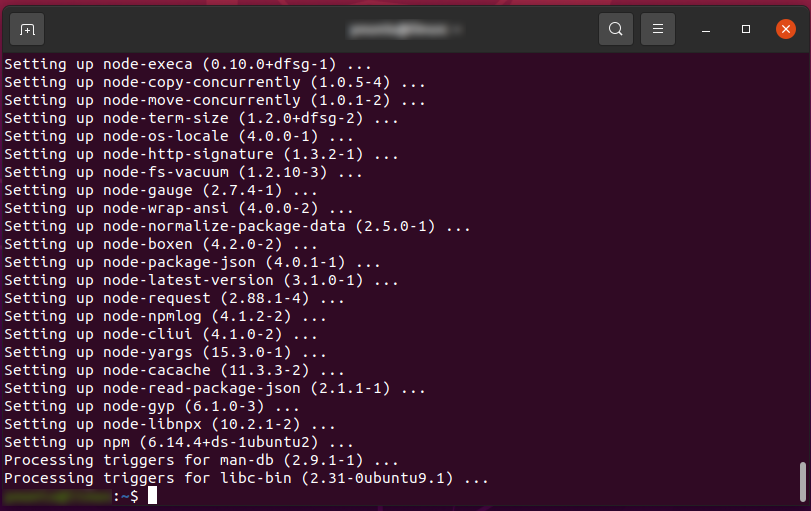
$ sudo apt-get install -y npm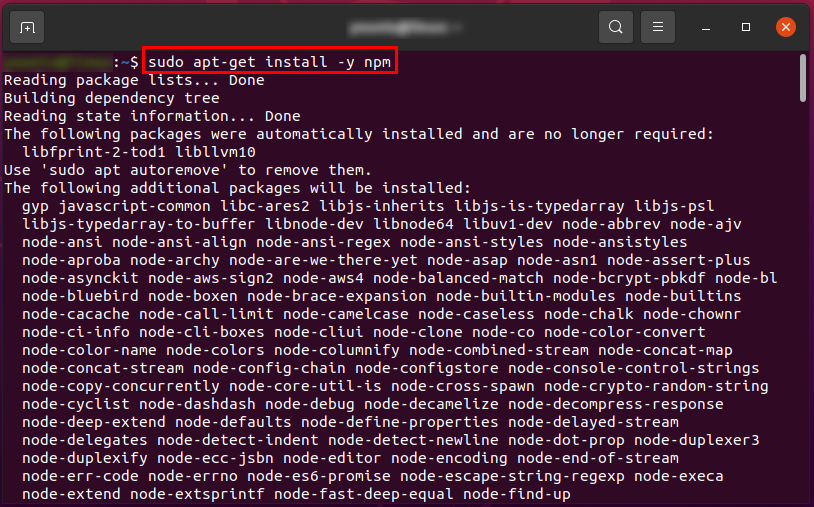
$sudo ln -s /usr/bin/nodejs /usr/bin/node$sudo npm install -g less less-plugin-clean-css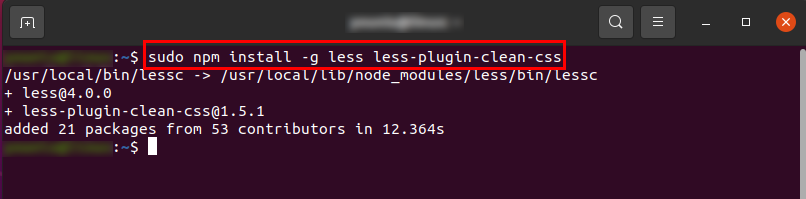
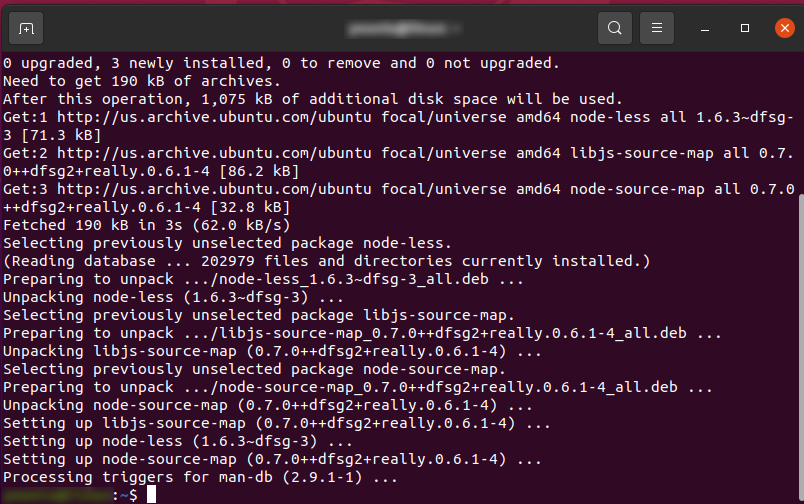
$sudo apt-get install -y node-less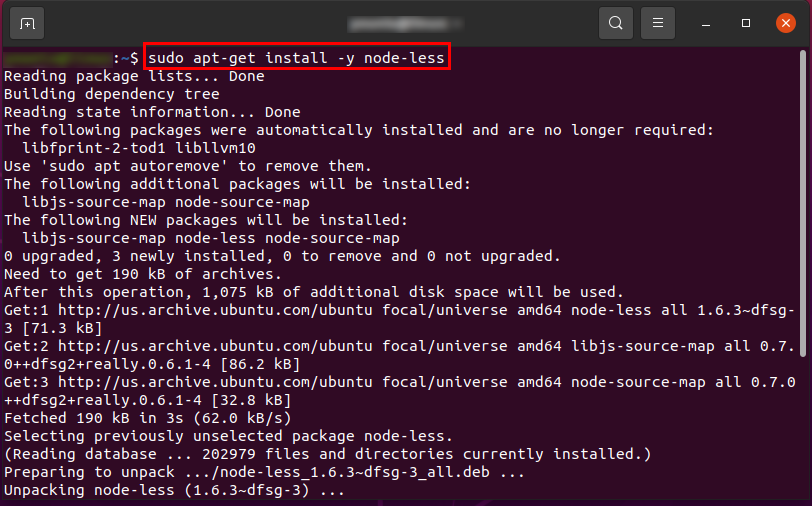
5- Optimizing PostgreSQL database server
To manage the Odoo database, we’ll need PostgreSQL. We can download it from the Debian repository:
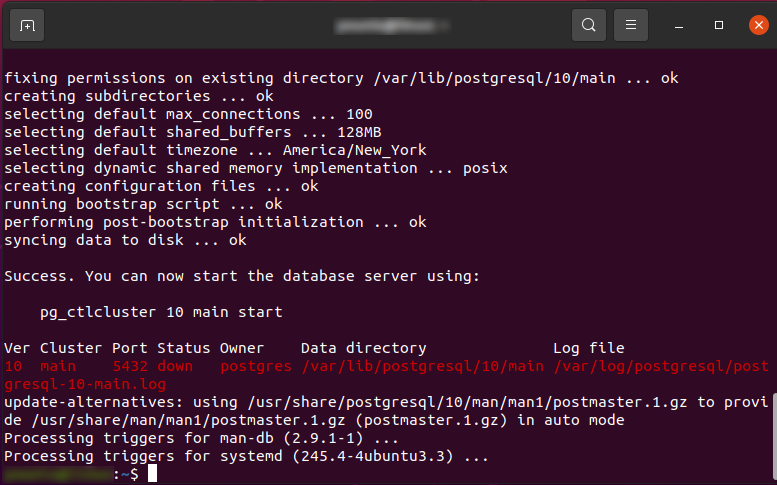
$ sudo apt-get install postgresql-10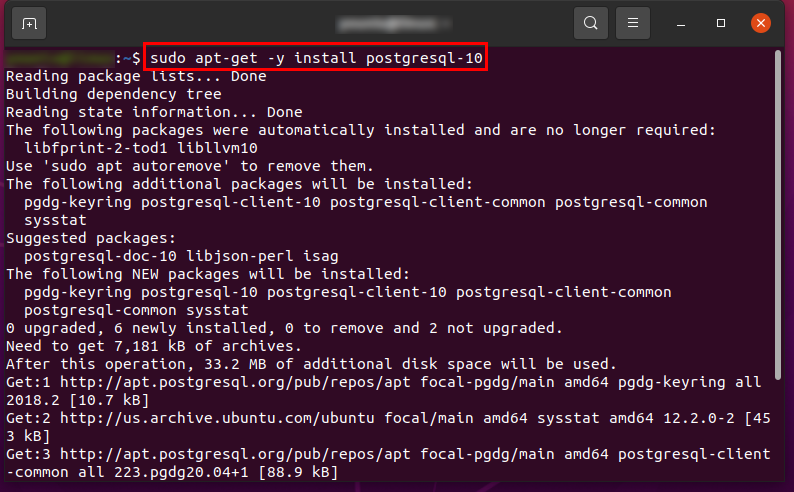
Then access the Postgres using this command:
$ su - postgres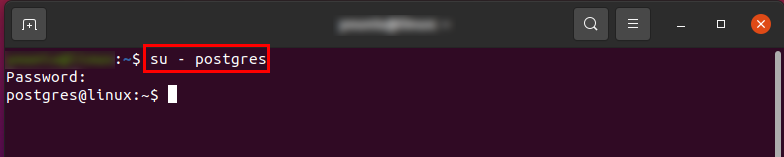
This is where we’ll create a new PostgreSQL database server for Odoo particularly. Start by creating a new Odoo’s user:

Ensure that you have chosen a strong password for the Odoo account.
Turn this user account into a superuser:
$psql$ALTER USER odoo14 WITH SUPERUSER;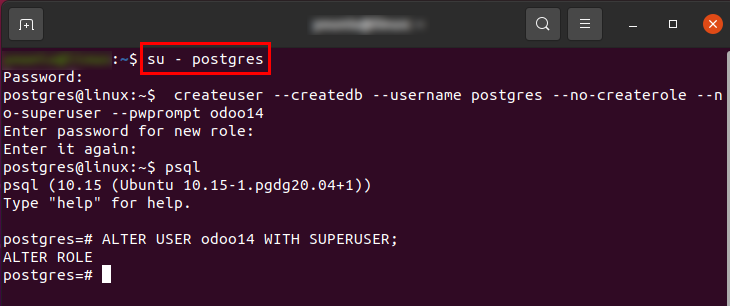
The output generated will indicate the transition as successful.
6- Download Odoo
Odoo is available as free software as Odoo Community. First, quit Postgres if you haven’t already:
$\q$exit
Then download Odoo Community from git as follows:
First, make sure your device has git installed:
$ sudo apt-get install git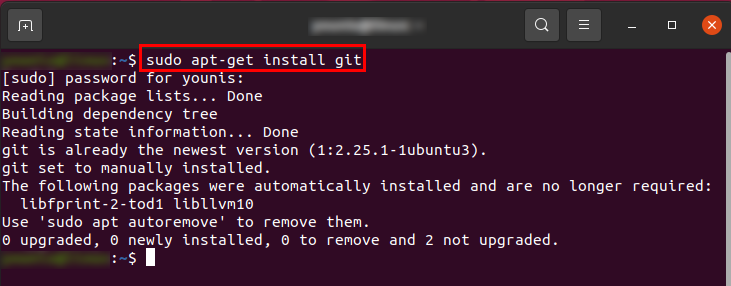
Then switch to the user account we just created to use Odoo:
$ sudo su - odoo -s /bin/bashThen proceed with the cloning:
$ git clone https://www.github.com/odoo/odoo --depth 1 --branch 14.0 --single-branch 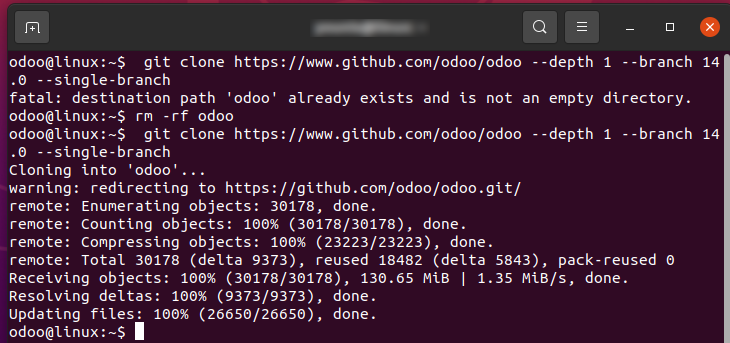
To make sure the cloning went without a hitch, go to the Odoo user’s home directory and see the cloned file for yourself. Once verified, go back to installing Odoo:
$exit7- Setting up the supporting python packages
To run Odoo, you’re going to need several python packages that support it. These packages are contained in a file named requirement.txt, so we can install every one of these packages by just running the pip install command on this file:
$ sudo pip3 install -r /opt/odoo/requirements.txtBe very cautious about these packages, and double-check whether each one of them was successfully installed or not.
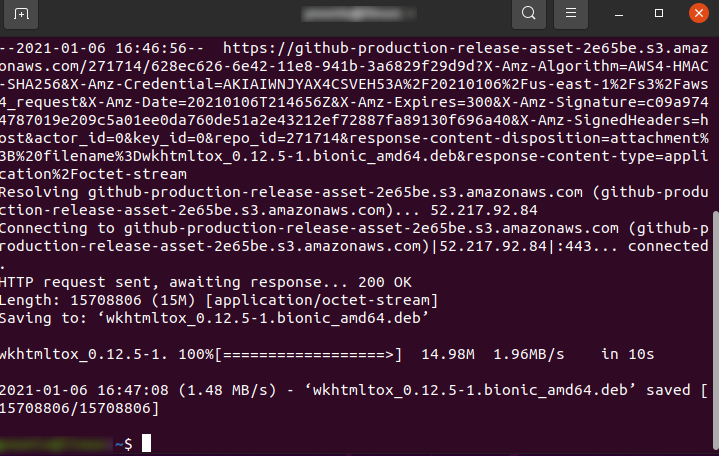
A very important supporting software to Odoo is wkhtmltopdf, which generates reports from the data in Odoo. To fetch and install wkhtmltopdf, type:
$sudo wget https://github.com/wkhtmltopdf/wkhtmltopdf/releases/download/0.12.5/wkhtmltox_0.12.5-1.bionic_amd64.deb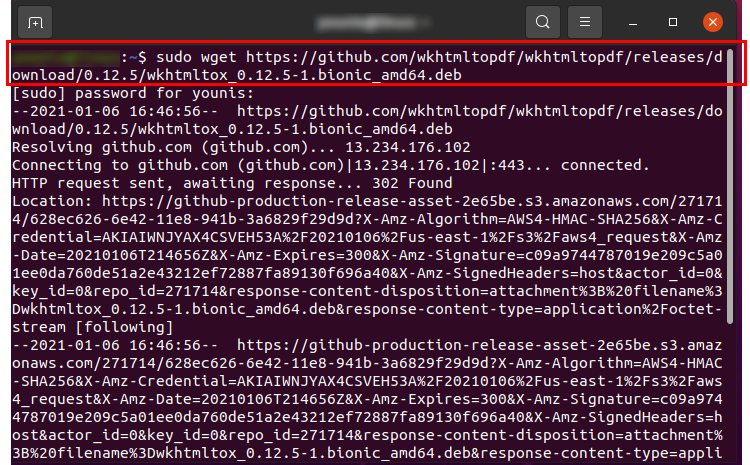
$sudo dpkg -i wkhtmltox_0.12.5-1.bionic_amd64.deb
$sudo apt install -f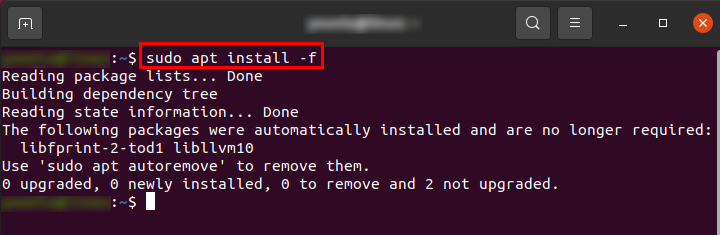
8- Edit the Odoo configuration files
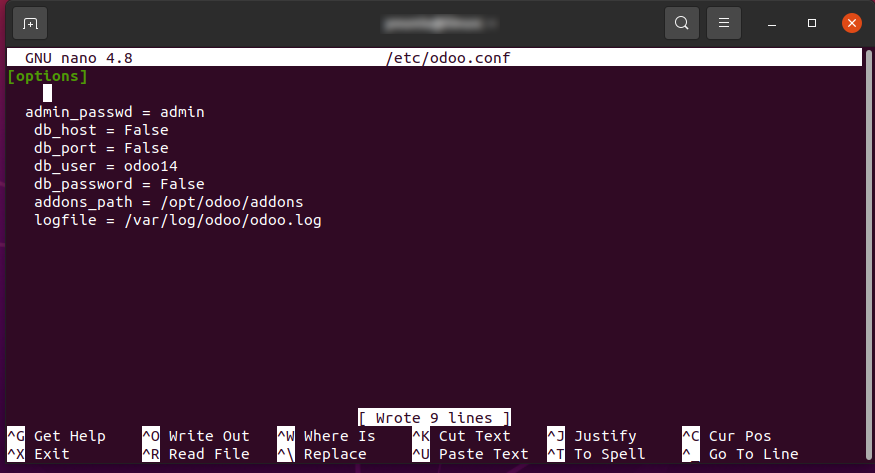
Create a configuration file for Odoo and move it to the /etc directory:
$sudo cp /opt/odoo/debian/odoo.conf /etc/odoo.confThen fill out the file with the relevant contents, which includes user credentials and addons locations, etc.

Append the following lines in the configuration file:
Then permit access privileges to the config file as follows:

The activity logs for Odoo are kept in the log file named in the configuration file. create a directory for logs. This file is typically situated in /var/log.
Create a directory named Odoo in this location, and grant access privileges to it:
$sudo mkdir /var/log/odoo$sudo chown odoo:root /var/log/odoo
9- Start a new service for Odoo:
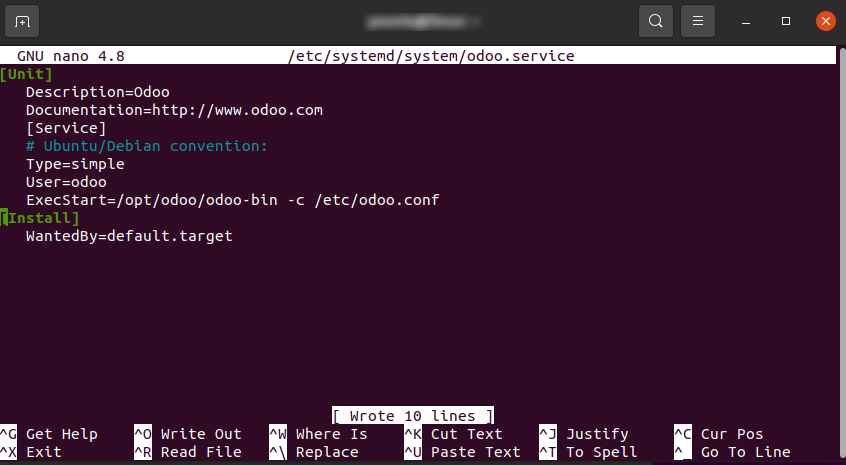
Go to /etc/systemd/system and create a new file and name it odoo.service.
$sudo nano /etc/systemd/system/odoo.serviceThen paste the following contents into that file:
Now, permit access privileges to the root user:

10- Launch Odoo 14
If you’ve been doing this right so far, you’re all set to start using Odoo.
Launch Odoo using the ’start’ command. Check whether the service is active or inactive by using the ‘status service command.
The output will show you that the Odoo service is active. Entering the following address should take you to the Odoo database dashboard.
“http://<your_domain_or_IP_address>:8069”
Wrapping up
This tutorial detailed the complete installation process for setting up the community version Odoo on Ubuntu 20.04. We’ve made sure that Odoo was installed in its entirety and that no problems occur when it is being used as Odoo is a fantastic management application that comes with a multitude of diverse features that help users allocate resources efficiently and manage business accounts without complications.

TUTORIALS ON LINUX, PROGRAMMING & TECHNOLOGY