
In Linux, the “arping” command sends ARP (Address Resolution Protocol) requests to a specified host on a network. It checks whether the host is reachable and knows its MAC (Media Access Control) address. It can also be used to check the response time of a host in a network.
This article will demonstrate the “arping” command and various Linux examples.
- Install arping Command
- How Does arping Command Work in Linux?
- Syntax
- Sending ARP Request to a Specific Host
- Specifying the Network Interface
- Send Five ARP Requests
- Broadcasting ARP Requests
- Checking Response Time
- Duplicate Address Detection
Prerequisite: Install arping Command
First, the installation of the “arping” command is required, which is possible through the command(s):
$ sudo apt install arping                #Ubuntu, Debian, and LinuxMint
$ sudo dnf install arping                #Fedora
$ sudo dnf install arping                #CentOS, RHEL
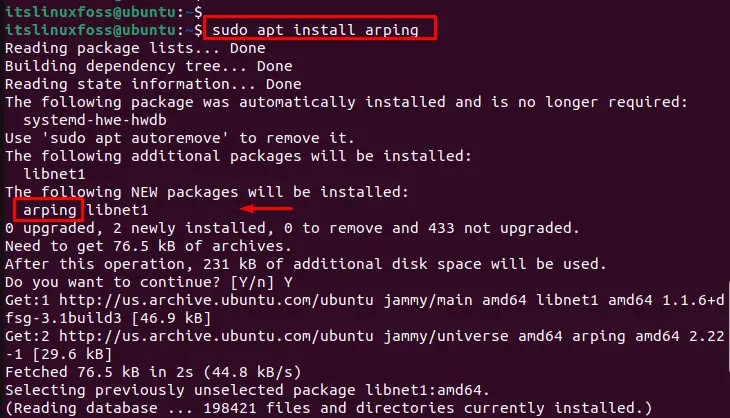
The output shows that the arping command has been installed in the system.
How Does Arping Command Work in Linux?
Here is the basic syntax for using the arping command:
Syntax:
$ arping options destination
In the above syntax, the “destination” refers to the specific host address to check if it is reachable on the network.
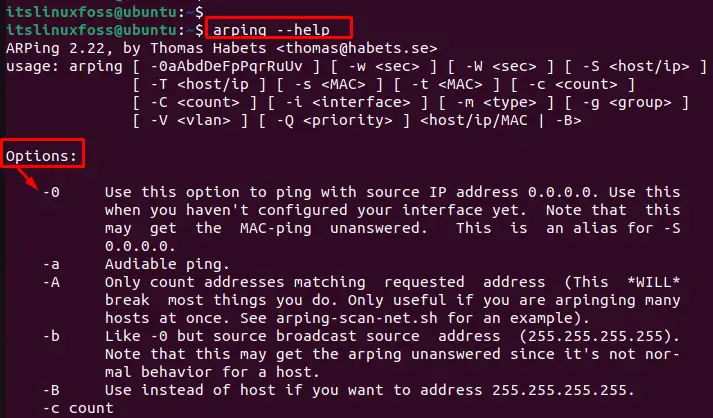
To explore “options” of the “arping” command, the user can utilize the “help” utility as below:
$ arping --help
Here are some examples of using the arping command in Linux:
Example 1: Sending ARP Request to a Specific Host
The most basic usage of the arping command is to send an ARP request to a specific host to check if it is reachable on the network. For instance, use the “arping” command by specifying the IP address “192.168.157.2” of the machine:
$ sudo arping 192.168.157.2

The arping sends an ARP request to the host with IP address 192.168.157.2 to check if it is reachable. Also, display information about the response time and MAC address.
Example 2: Specifying the Network Interface
By default, arping uses the default network interface on the system to send ARP requests. However, users can specify a specific network interface using the “-i” option followed by the interface name “ens33”:
$ sudo arping -i ens33 192.168.157.2
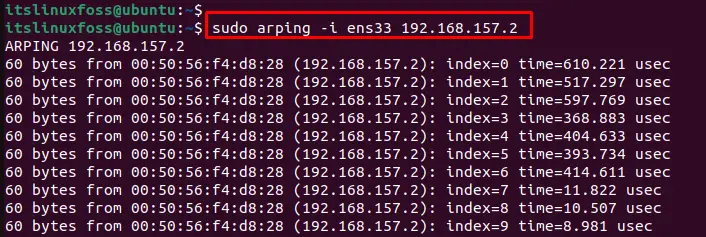
It sends ARP requests to the host with IP address 192.168.157.2 using the ens33 network interface.
Example 3: Send Specific ARP Requests
For instance, to send five ARP requests to the host with IP address 192.168.157.2 on interface ens33, use the “c” option by specifying the number as “5” in the below command:
$ sudo arping -c 5 -i ens33 192.168.157.2
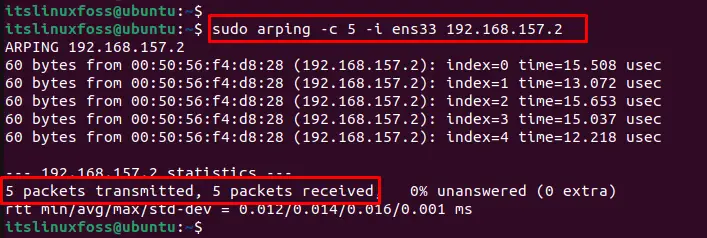
It sends five ARP requests to the host with IP address 192.168.157.2.
Example 4: Broadcasting ARP Requests
Users can also use the “-b” option to send ARP requests to all hosts on the network. This can be useful for testing the connectivity of all hosts on a network:
Here’s an example:
$ sudo arping -b 192.168.157.2
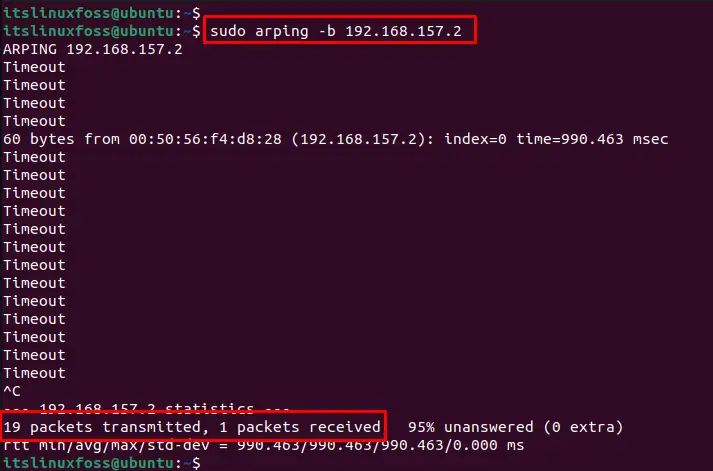
The arping sends requests to all hosts with IP addresses and confirms one packet is received.
Example 5: Checking Response Time
The “arping” can also be used to check the response time of a host on the network. For this, specify the number of requests to send using the “-c” option and the timeout for each request via the “-w” option:
$ sudo arping -c 5 -w 1 192.168.157.2
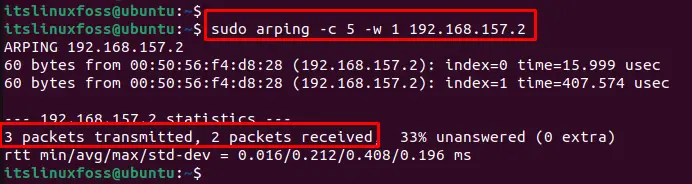
It sends five ARP requests to the host with IP address 192.168.157.2, with a timeout of 1 second for each request. The output displays the response time for each request.
Example 6: Duplicate Address Detection
The arping command can also be utilized for duplicate address detection via the “D” option. It sends ARP requests for a specified address to check whether it is already in use. Use the “-D” option to enable this mode:
$ sudo arping -D 192.168.157.2

The output shows no duplicate address and confirms that there is “0% packet loss”.
Conclusion
In Linux, the “arping” command sends ARP requests to the host by specifying the IP address. It displays information about the response time and MAC address, indicating whether or not the IP address is already in use. It helps troubleshoot network connectivity issues and verify the availability of hosts on a network.
This guide has covered the “arping” command and a few Linux examples.
