The Network Time Protocol Daemon (NTPD) is responsible for synchronizing the system clock with a remote NTP server. NTP uses the UDP protocol to communicate with other NTP servers. By default, NTP uses UDP port 123 to communicate with other NTP servers, while NTP clients utilize port 1023.
This article will illustrate the step-by-step procedure to open the ports for NTPD in Linux.
How to Configure Ports for NTPD Servers?
To open UDP port 123 for incoming traffic through the firewall, users can follow the below steps to configure the NTP server and open UDP port 123 for NTPD in Linux:
Step 1: Install NTP Package
Before opening the ports for NTPD, it is necessary to install the NTP service in the operating system. For this, execute the below commands according to different Linux distributions:
$ sudo apt install ntp   # Ubuntu, Debian and LinuxMint
$ sudo yum install ntp   # CentOS
$ sudo dnf install ntp   # Fedora
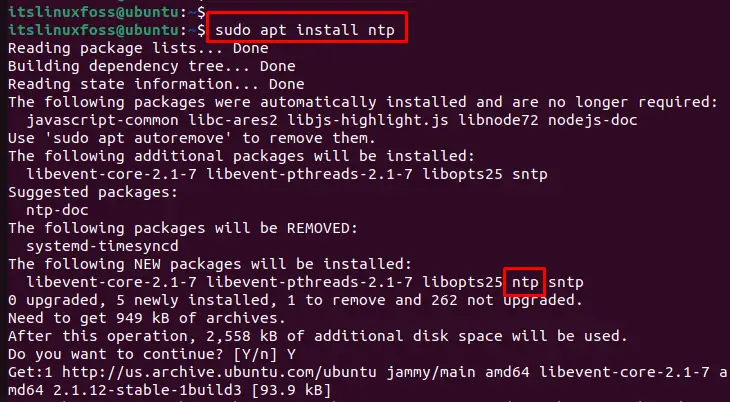
The above command visualizes that ntp along with dependent packages has been installed in the operating system.
Step 2: Check the NTP Service
To check if the NTP service is running on the Linux system, utilize the “systemctl” command with the “status” option to check the status of the NTP service:
$ sudo systemctl status ntp
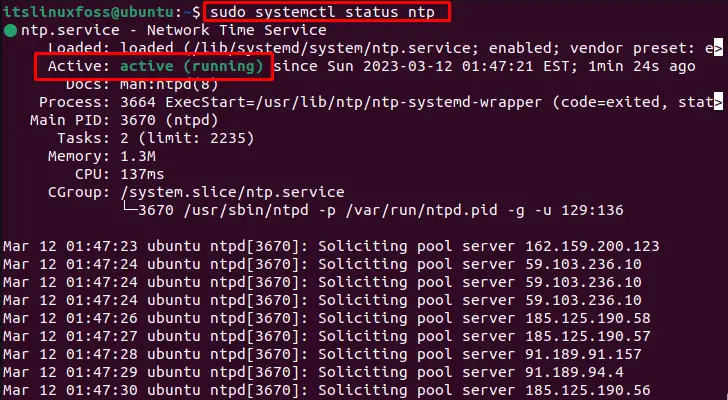
The output shows that ntp services are in an active state.
Note: If the NTP service is not running, start it by executing the “sudo systemctl start ntp” command.
Step 3: Open UDP Port 123 in the Firewall
To allow incoming NTP traffic through the firewall, use the “iptables” command to open the port. For this, the “-p” option specifies the protocol to be UDP, “–dport” specifies the destination port to be 123, and “-j” specifies that the traffic should be accepted:
$ sudo iptables -A INPUT -p udp --dport 123 -j ACCEPT

After executing the above command, it adds a new rule to the INPUT chain of the iptables firewall that allows incoming UDP traffic to port 123.
Step 4: Save the Firewall Rules
To make the firewall rules persistent, users need to save them. For this, install the “iptables-persistent” package to save the current iptables rules:
$ sudo apt install iptables-persistent
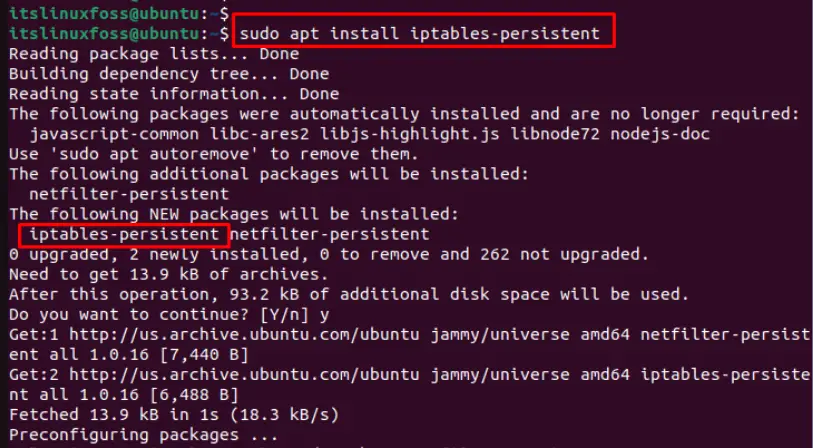
This command installs the “iptables-persistent” package, which allows users to save the current iptables rules to a file:
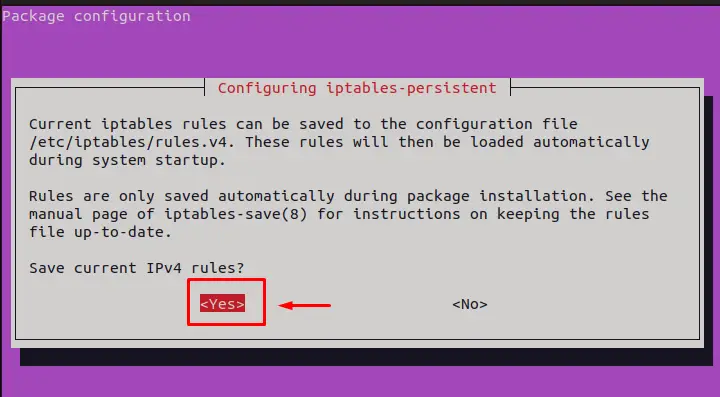
When prompted to save the current rules, choose “Yes” to save them.
Step 5: Verify the Firewall Rules
To verify the UDP port 123 is open, run the “iptables” command with “L” and “n” options:
$ sudo iptables -L -n

This command lists all the current iptables rules. Users can see a rule that allows incoming UDP traffic to port 123.
How to Configure Ports for NTPD Clients?
To configure ports for NTPD clients in Linux, users need to modify the /etc/ntp.conf configuration file. Follow these steps to configure ports for NTPD clients:
Step 1: Open and Configure the /etc/ntp.conf File
Open the /etc/ntp.conf file in a nano editor with root privileges. Locate the line that starts with the “restrict” keyword. This line defines the default access restrictions for incoming NTP packets.
$ sudo nano /etc/ntp.conf
Add the following line after the restrict line to specify the port number “1023” for incoming UDP traffic:
listen on ens33 1023 udp
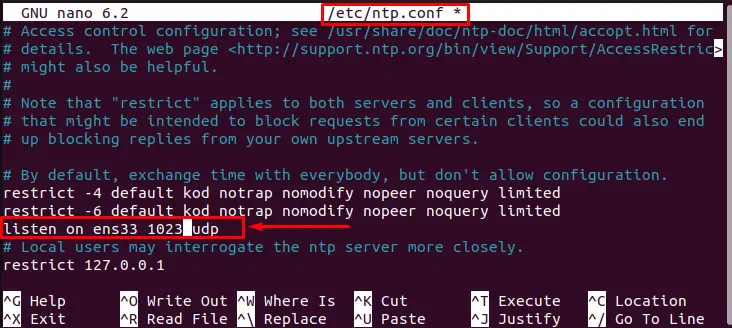
Save the changes to the /etc/ntp.conf file and exit the text editor.
Step 2: Restart the NTP Service
Restart the NTP service for the changes to take effect. The “systemctl” command is utilized with the “restart” option as below:
$ sudo systemctl restart ntp

Hence, the ntp services have been restarted and NTP clients use the specified UDP port number.
Conclusion
By default, NTPD uses UDP port 123 for NTP servers and 1023 port for NTP clients.These ports need to open to allow incoming NTP traffic through the firewall. It adds a new/updated rule to the iptables firewall that allows incoming UDP traffic. This article has illustrated step-by-step instructions to open the UDP port for NTP servers and clients in Linux.
