Google Docs has numerous features to facilitate the author, publisher, editor, etc. These features include adding page numbers, inserting Images, and adding page borders. The borders define the limit of the page and beautify the content. This write-up demonstrates two methods of adding a “border”in Google Docs.
- Method 1: Add a Border to a Paragraph Using Format Button
- Method 2: Add a Border to Complete Page Using Table Cell
Let’s dig into them one by one:
Method 1: Add a Border to a Paragraph Using Format Button
Adding a border to a specific section or paragraph shows the importance of text among the other sections. Considering it, a method is adapted to insert the border into an existing text document. The procedure for adding a “border” is discussed in detail:
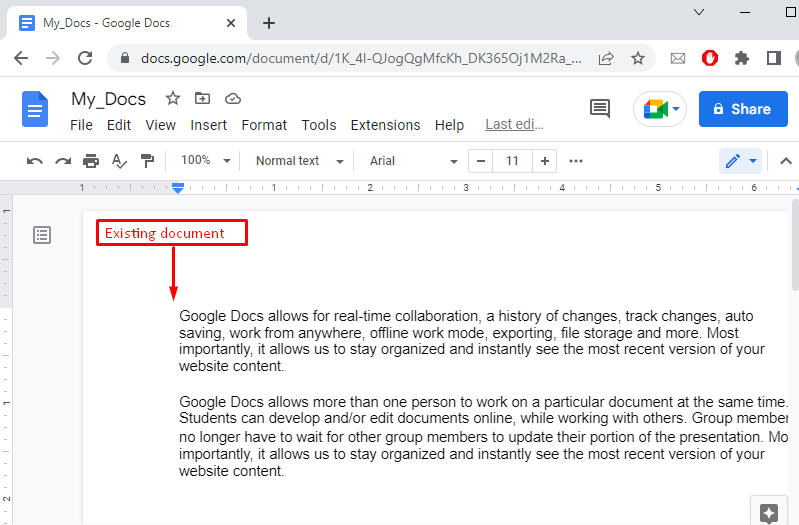
The Google Doc file on which the borders will be applied is shown below:
For the addition of borders in Google Docs, the steps are as follows:
- First of all, select the existing text.
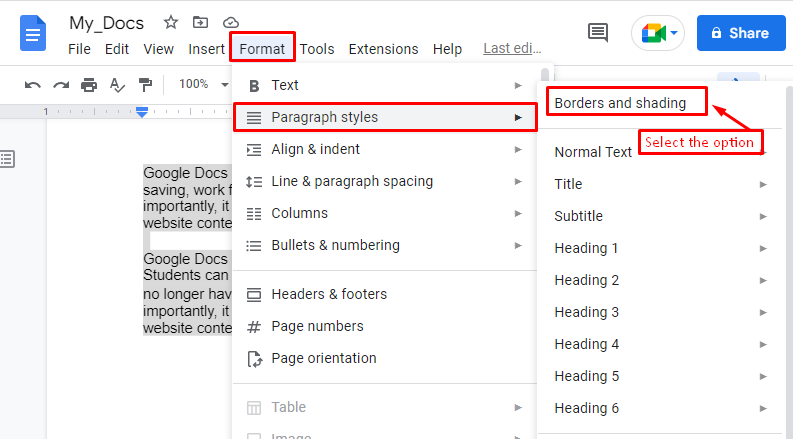
- After that, choose the “Paragraph styles” option from the “Format” tab.
- It generates a dropdown list with different options; select the “Borders and shading” option.
A “Border and shading” window pops up with different options. Users can add a border around the selected text through the “Position” option. Moreover, users can adjust “Border width”, “Border dash”, “Border color”, “Background color” and “Paragraph padding” based on their needs. In our case, the selected values can be seen in the following image:

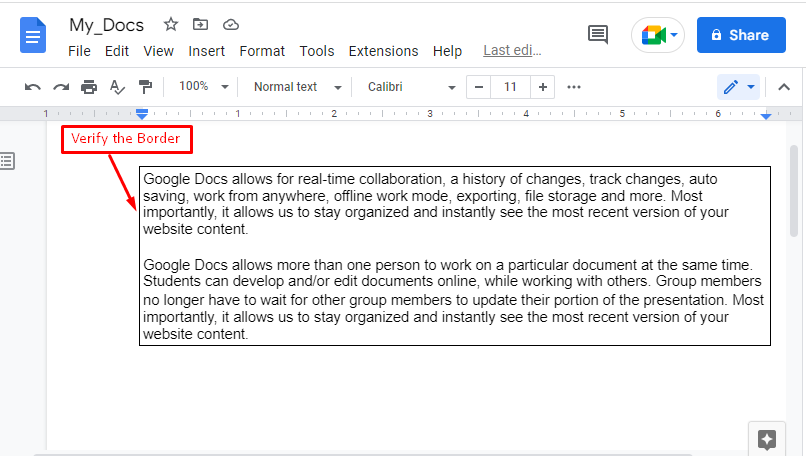
Hence, you can verify the addition of borders around the selected paragraphs:
Following the same procedure, we can add a border to the whole page as well.
Method 2: Add a Border to Complete Page Using Table Cell
In this method, the “Table Cell” option from the menu bar will be used to add a border to a page. Let’s see how it can be done:
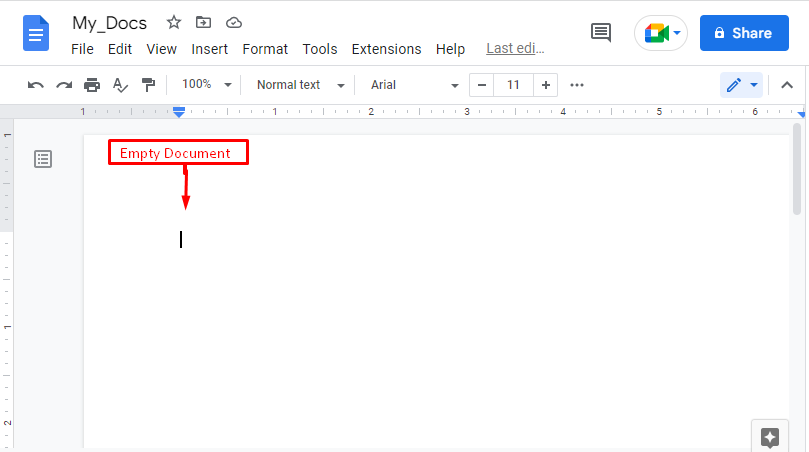
Open a new/existing document (In our case, it is empty):
Select the “Insert” tab in the menu bar and choose the “Table” option. After that, insert the single cell of the table:

This will create a table cell (also referred to as the dynamic border) as shown below:
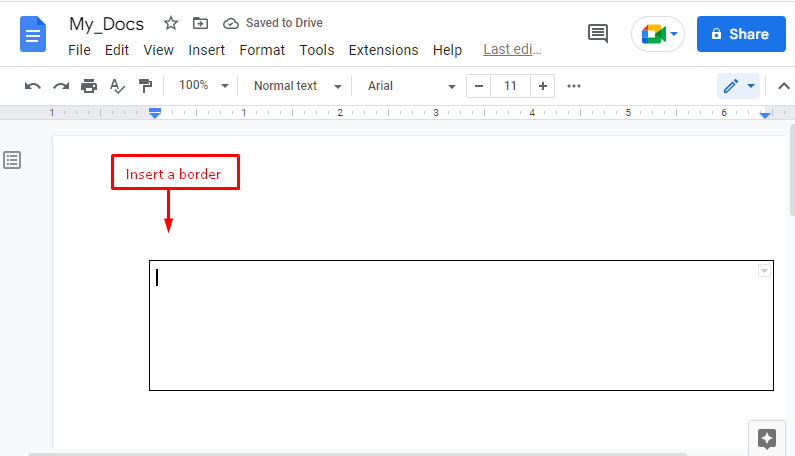
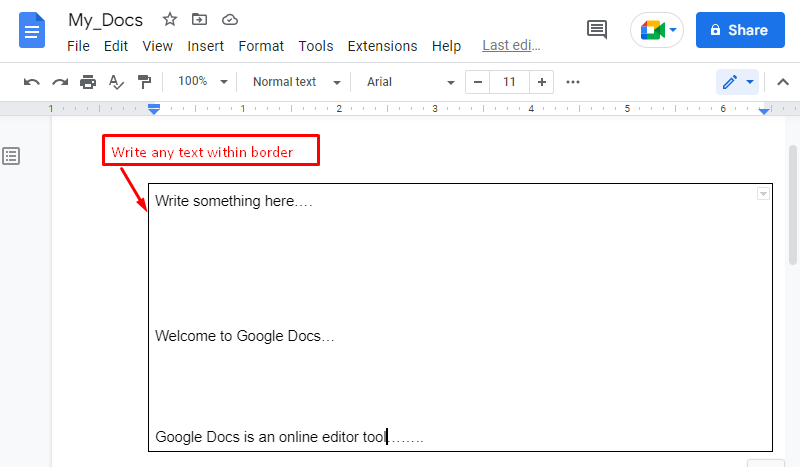
Moreover, users can write any text inside that border, and the border’s height can be extended using the “Enter” key. If the content extends to more than one page, then the border moves to the next page automatically:
That’s all from this Google Docs guide!
Conclusion
Google Docs provides the “Format” button and “Insert” button to add a border to the current document. By pressing the “Format” button, users can add the border to an existing document through the “Borders and shading” option. On the other hand, the “Insert” button is utilized by selecting the “Table” option and adding a border to an empty document. The borders can be customized as per the user’s requirements. In this informative tutorial, we have demonstrated the methods to add a border in Google Docs.
