
Python provides multiple modules and libraries to accomplish various simple to complex tasks, such as Python openCV module is used in computer vision, pandas module is utilized for mathematical computation tasks, etc.
To deal with images, various modules such as “Pillow”, “OpenCV”, and “Matplotlib”, etc., are used in Python. This blog post will explain various ways to display images in Python:
- Method 1: Using Python Pillow Module
- Method 2: Using Python OpenCV
- Method 3: Using Scikit-Image
- Method 4: Using Matplotlib
- Method 5: Using Tensorflow
Method 1: Using Python Pillow Module
Python provides a “Pillow” module for image processing and manipulation. The “open()” and “show()” functions are used in the below code to open and display the image on the screen:
Note: You need to install “Pillow” in your system before using it in a Python program. Here is a guide that will help you install the Python “PIL” module.
Code:
from PIL import Image
img_display = Image.open("ILF.png")
img_display.show()
In the above code:
- The “Image.open()” function is used to open/read the image from the particular path.
- The “show()” function is utilized to display the specific image.
Note: Since the image was saved in Python’s working directory, we only used its name and format. But, we can also read the image from a specific location specifying the complete path of the image.
Output:

The image has been displayed successfully.
Method 2: Using Python OpenCV
Python OpenCV module is used to resolve simple to complex computer vision problems. We can use this module to process multiple images and manipulate them using different OpenCV functions. The below code is used to display images in Python:
Note: To install the OpenCV module you can read this specific guide.
Code:
import cv2
img_read = cv2.imread('ILF.png')
cv2.imshow('itslinuxfoss',img_read)
cv2.waitKey(0)
cv2.destroyAllWindows()
In the above code:
- The Python OpenCV module “cv2” is imported in the program and the “cv2.imread()” function reads the image.
- The “cv2.imshow()” shows an image that is read by the “cv2.imread()” function by accepting the name(to be assigned to the image) as a first argument and variable “img_read” as a second argument.
Output:

The above output shows that the image has been successfully displayed.
Method 3: Using Scikit-Image
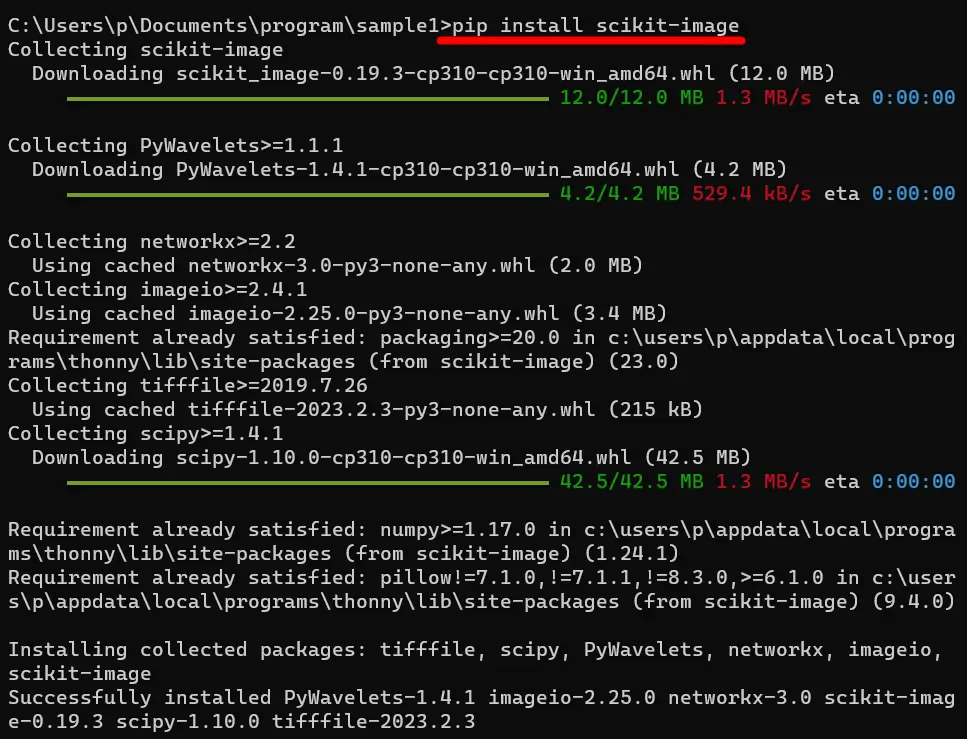
The “scikit-Image” library is also used in Python for image processing and manipulation. To install the “scikit-image” library you need to open the command prompt terminal and type the following command:
pip install scikit-image
The below snippet shows that the library “scikit-image” has been successfully installed:
If you want to install the “sklearn” module in Python you can check this particular guide.
Code:
import skimage.io as io
import matplotlib.pyplot as plt
image_display = io.imread('ILF.png')
plt.imshow(image_display)
plt.show()
In the above code:
- The “skimage.io” and “matplotlib” libraries are imported at the start of the program.
- The “imread()” function of “skimage” is used to read the image by accepting the name and format.
- The “plt.imshow()” function of matplotlib accepts the read image as an argument and displays it on screen.
Output:
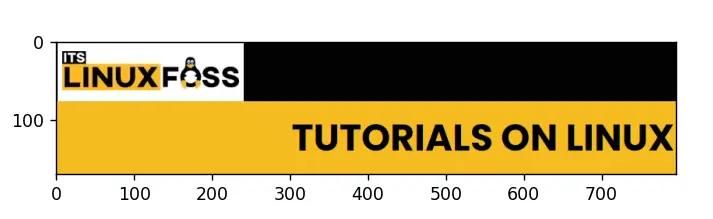
The image has been displayed successfully.
Method 4: Using Matplotlib
The Python plotting library named “Matplotlib” is used to create and analyze various mathematical computation graphs. This library also provides a function to open and display images in Python. Here is an example:
Note: Check out this specific guide to install the “Matplotlib” module in Python.
Code:
from matplotlib import pyplot as plt
from matplotlib import image as img

image = img.imread("ILF.png")
plt.imshow(image)
plt.title("itslinuxfoss")
plt.show()
In the above code:
- The “pyplot” and “image” modules of the “Matplotlib” library are imported at the start of the program.
- The “imread()” function reads the image and the “plt.imshow()” function displays the image.
- The “plt.title()” function is utilized to display the title of the image.
Output:
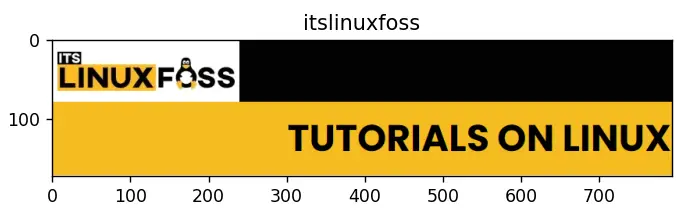
The image has been successfully displayed.
Method 5: Using Tensorflow
The “Tensorflow” library is utilized for AI and machine learning tasks. We can use this function to display the images in Python:
Note: You can install the “Tensorflow” module in Python using this specific tutorial.
Code:
import tensorflow as tf
from matplotlib import pyplot as plt
image_tf = tf.io.read_file("ILF.png")
image_tf = tf.image.decode_png(image_tf, channels=3)
plt.imshow(image_tf)
plt.show()
In the above code:
- The “TensorFlow” is imported as “tf” and “matplotlib.pyplot” as “plt” at the start of the program.
- The “tf.io.read_file()” takes the image name and format as an argument and reads the image.
- The “tf.image.decode_png()” function is used to decode a PNG-encoded image to a uint16 or uint8 tensor.
- The “matplotlib” module’s function “plt.imshow()” is utilized to show the image on the screen.
Output:
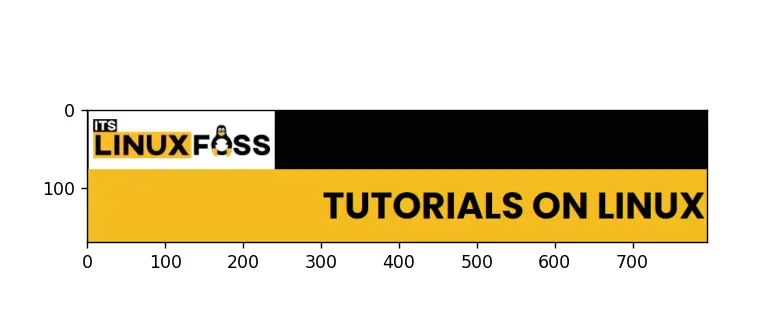
The above output verified that the image has been read/displayed successfully.
Conclusion
To display the images in Python, the “Pillow” module, the “OpenCV” module, the “Scikit-Image” module, the “Matplotlib” module, and the “Tensorflow” are used. The “open()” and “show()” function of the “Pillow” module is used to read and show the image. The “matplotlib” module also provides a function named “plt.show()” to display the images. This guide presented five different methods to display the images in Python using appropriate examples.