
Conda is a tool that is utilized for managing various packages and dependencies. It is of utmost importance that these packages be managed properly and swapped in and out as the requirements change. To fulfill this purpose, software such as Conda exists. Designed primarily for Python and Conda, however, it is also be utilized while dealing with other languages. In attempting to use this software, a familiar error may occur with the statement “conda: command not found”.
This post provides a detailed guide on the reasons for the error “conda: command not found” and also provides the solution to these reasons.
Fix the “conda: command not found” Problem
There exist various causes that can invoke this error. This section will explain all these possible reasons and their solutions as well. Let’s start:
Reason 1: Conda Not Installed
The first and most common reason for any “command not found” error is that the software is not installed on the system. Check out the snippet below for the error:
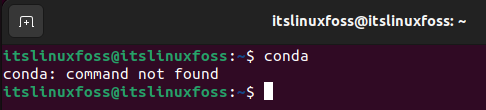
In this case, Conda is not installed on the system, and hence when you attempt to run the “conda” command, this error will be prompted.
Solution: Install Conda
To get rid of this error invoked above, you need to install conda on your system. To do so, follow the below stated steps:
Step 1: Update the System’s Packages
Firstly, update the system’s repository using the command shown below:
$ sudo apt update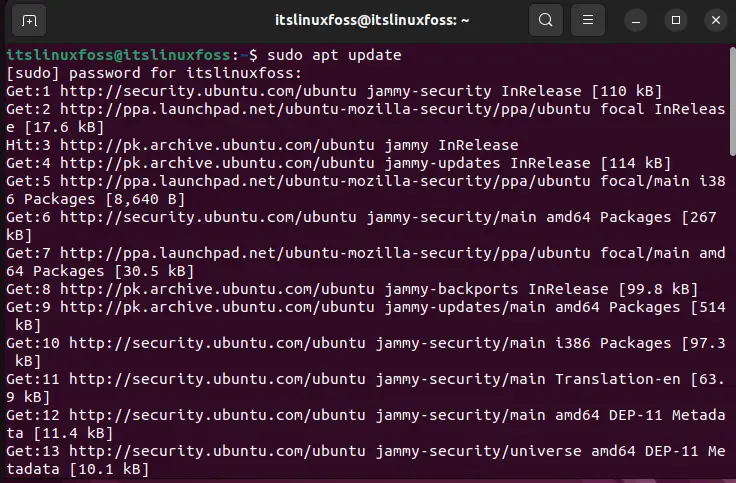
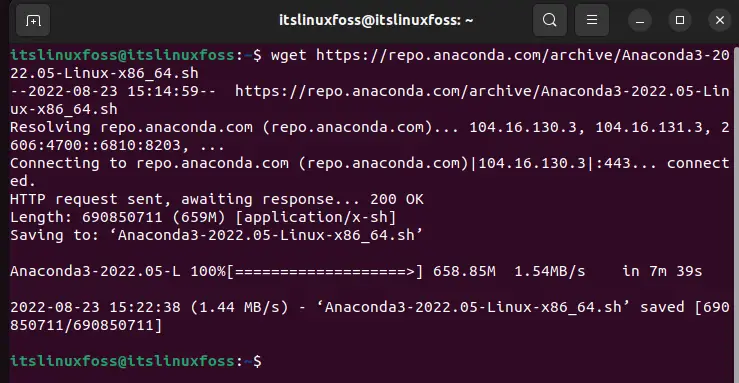
Step 2: Download the Installation Script of Conda
Once the repositories are updated, run the command shown below to download the installation script of the Conda:
$ wget https://repo.anaconda.com/archive/Anaconda3-2022.05-Linux-x86_64.shThis command will retrieve and download the script onto the system as shown below:
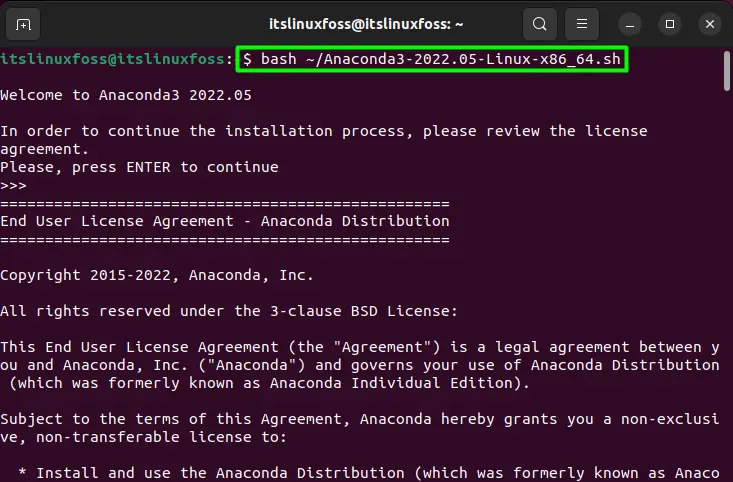
Step 3: Execute the Script
Once downloaded, run the command shown below to execute the script:
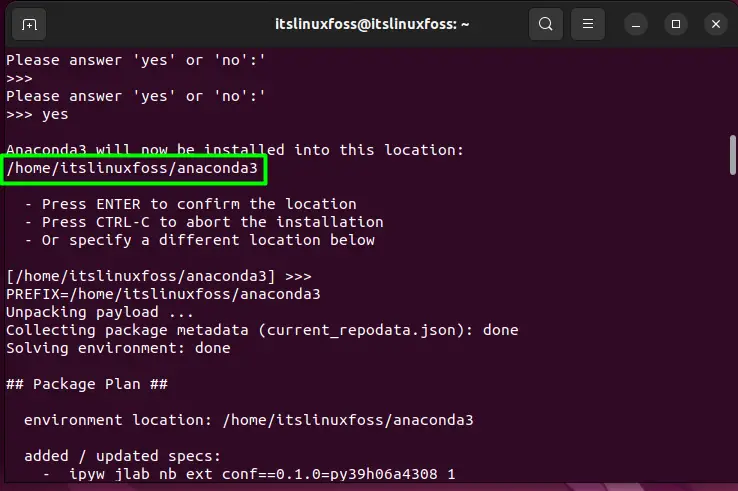
Once prompted, type “yes” to continue the installation. Then you will be shown the path of the software where it will be installed. Remember the path of installation for the software as well. This is shown in the snippet below:
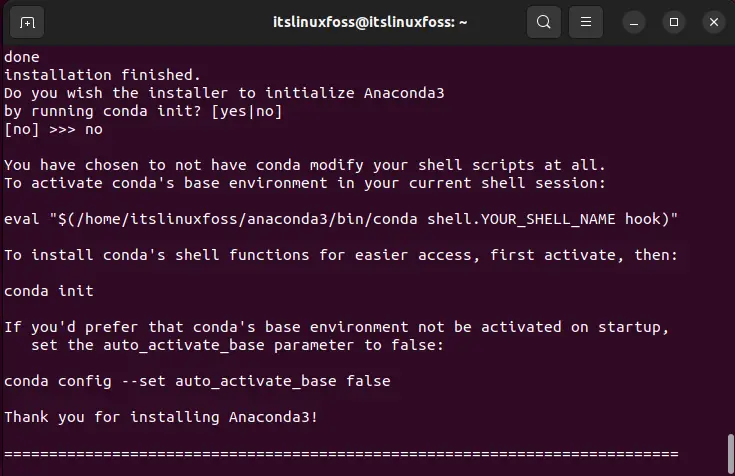
When the following message pops up, enter “no” since Anaconda3 is not required to be initialized at this moment. Check out the demonstration as shown in the example below:
Step 4: Add the Conda Path
The final step to this installation is setting up the Anaconda software’s path. To achieve this, simply run the command shown below:
$ export PATH=/home/itslinuxfoss/anaconda3/bin:$PATH
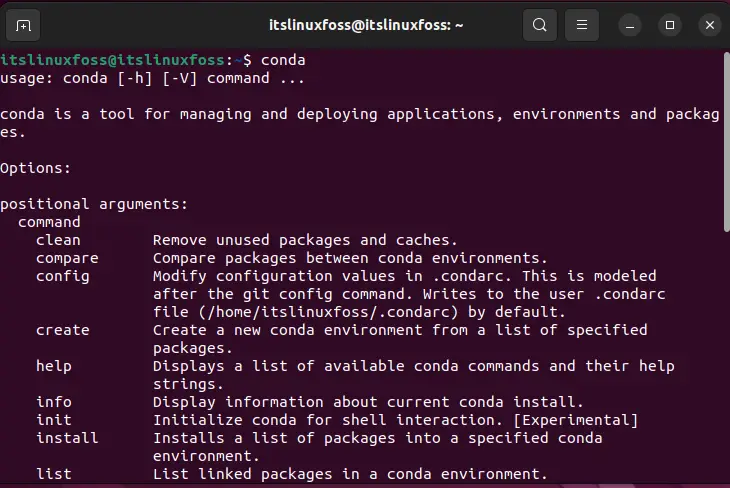
Ensure that the path entered in this command is the same as noted in the above-mentioned snippet where Anaconda was installed. Once the path is added, the error should be removed, and Conda should work as demonstrated below:

Reason 2: Path Not Updated
Oftentimes, the software is installed on the system, but the Path Environment variable is not set in the system. This will also prompt the “conda: command not found” problem.
Solution: Add the Path Variable
Updating the Path on Linux is very simple. Just execute the following two commands, and the Anaconda path will be added. The first command will update the path inside the bashrc file, and the second command will. The source command will pass this updated argument to the file as shown below:
$ echo 'export PATH=/path/to/anaconda3/bin:$PATH' >> ~/.bashrc
$ source .bashrc
This will resolve the error, and you will be able to run the “conda” command as you can see from the example below:
Through these methods, you have fixed the “conda: command not found” issue.
Conclusion
The “conda: command not found” problem is prompted when the Anaconda software is not installed on the system or when the path variable is not updated. Anaconda software can be installed by downloading and executing the bash installer script. The Path Environment variable is added to the .bashrc file to resolve this issue. This post demonstrates the reasons and solutions for the error “conda: command not found”.

Saryia is a technology entrepreneur and digital publisher specializing in Linux, open-source technologies, and developer education.