
Users of Ubuntu’s most recent versions can allow automatic login for convenience. If automatic login is enabled then anyone won’t have to fill out the password each time when they attempt to login the system. If you’re the only person who uses your computer, it’s a great way to get quick access to important files. When a user installs Ubuntu, he/she can choose whether or not to use a password to log in to the system. Similarly, you can change your mind at any time if you believe you made the wrong decision at the time. A user will log in without a password at the end of the boot process if the Automatic login feature is enabled. Disabling the feature, on the other hand, will force any user to validate herself/himself.
We’ll look at how to allow or disable automatic login in Ubuntu 20.04 in this article using two methods.
Method 1: Using GUI
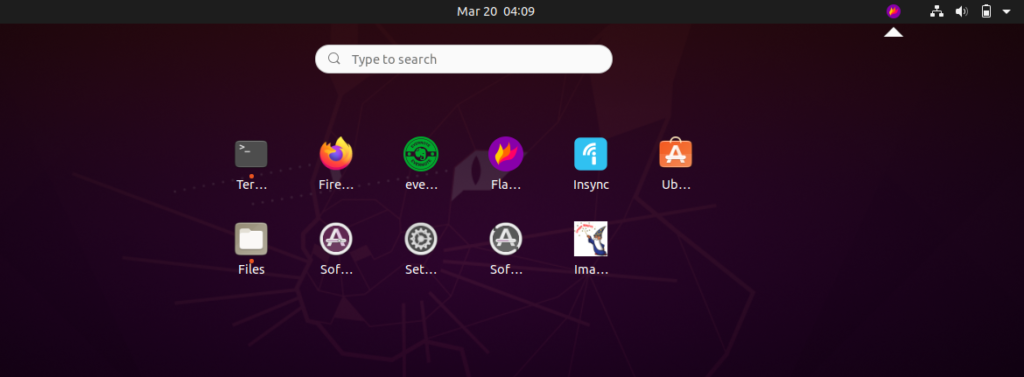
Step 1: First of all, Open-up the activities Search bar.
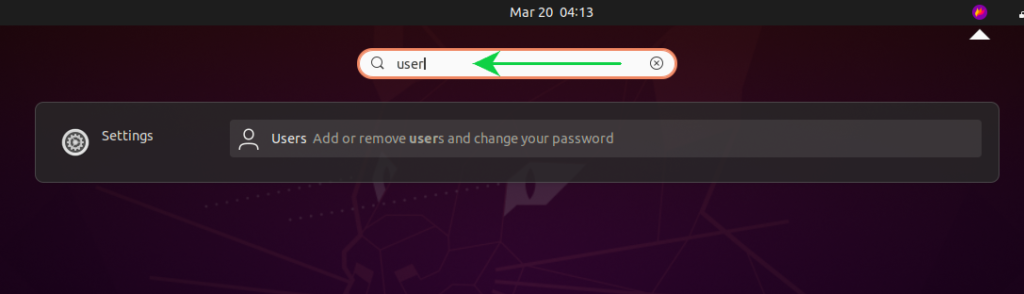
Step 2: Search for ‘user’ in the activities bar.
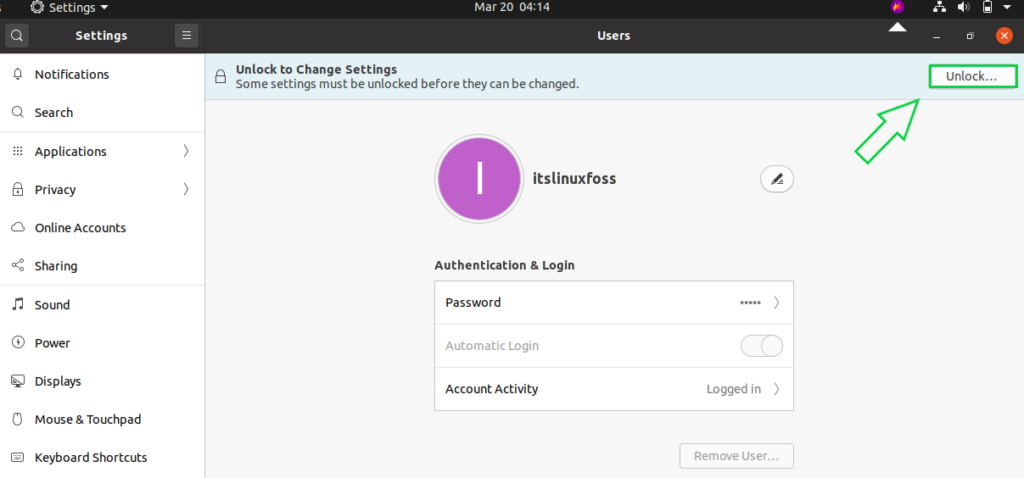
Step 3: Now, unlock the user settings from the top-right corner.
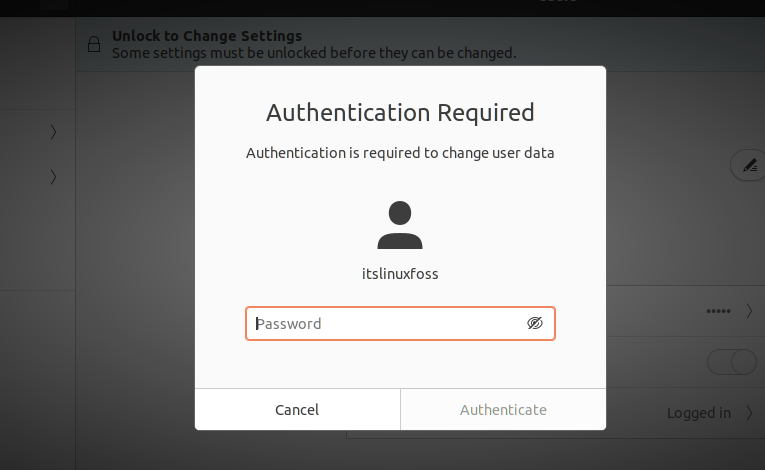
Step 4: Type your password for authentication.
Step 5: Enable the ‘Automatic Login’ button.
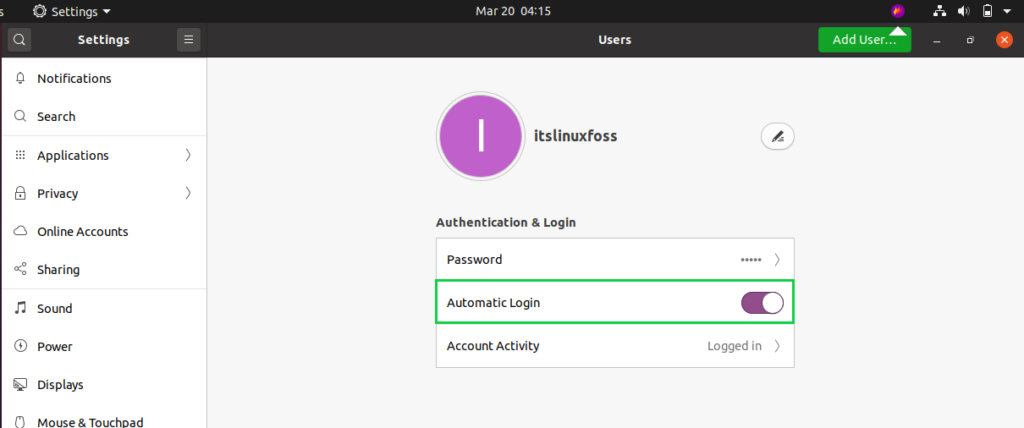
And save the settings.
Method 2: Using CLI
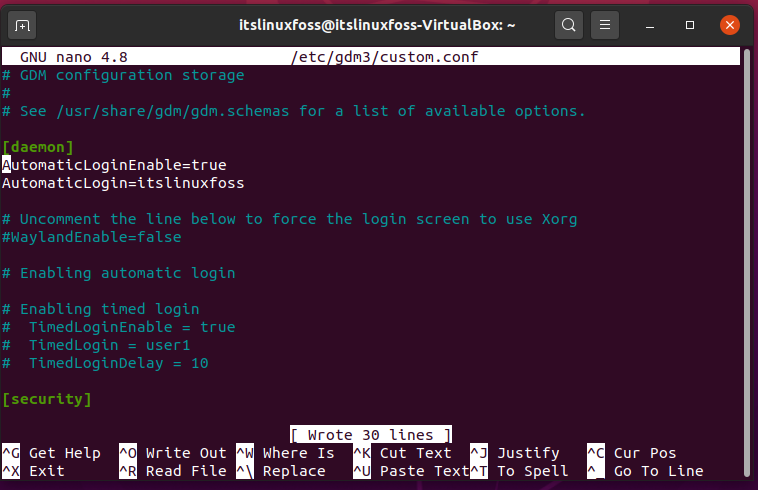
Step 1: Open-up the text editor in the terminal and edit the following content in the GDM3 configuration file.
$ sudo nano /etc/gdm3/custom.conf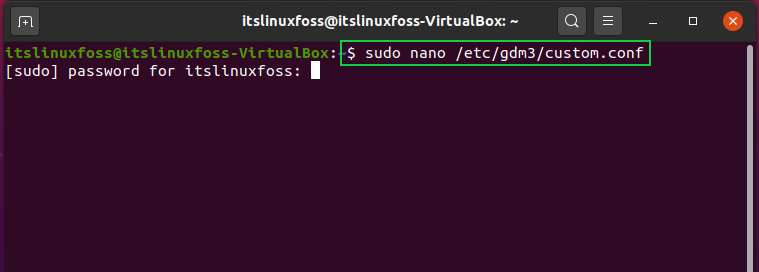
Step 2: Un-comment the following lines.
[daemon]
#AutomaticLoginEnable=true
#AutomaticLogin=itslinuxfoss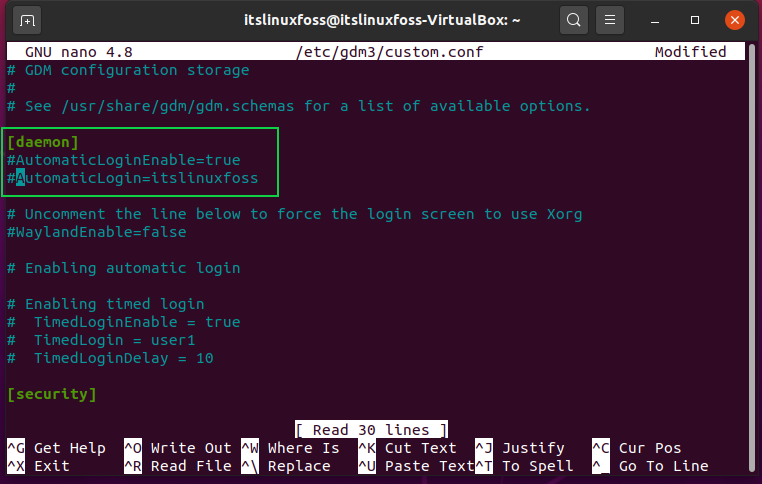
To this,
[daemon]
AutomaticLoginEnable=true
AutomaticLogin=itslinuxfoss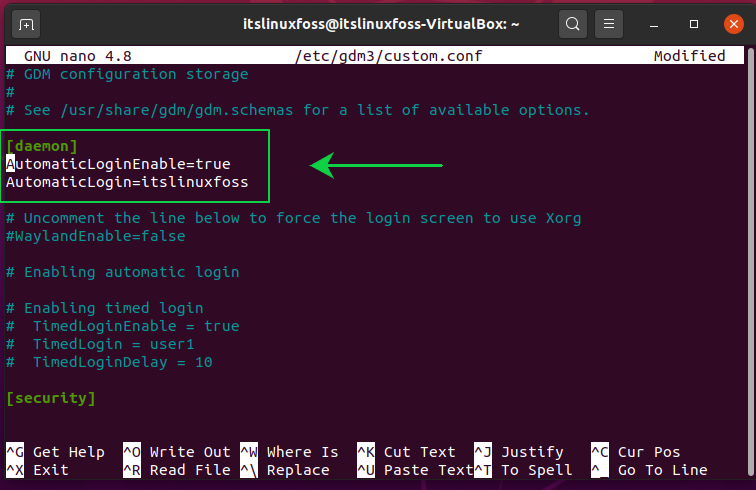
Step 3: Save the changes by pressing CTRL+O, and exit.
Step 4: Write-out this below-given command for rebooting the system, and see the changes.
$ sudo reboot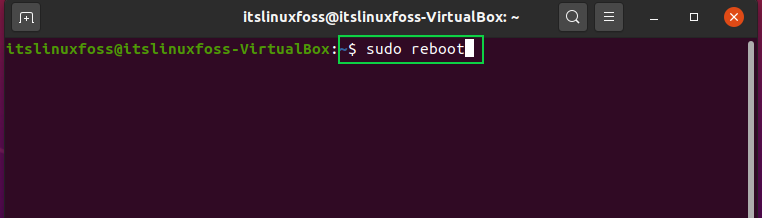
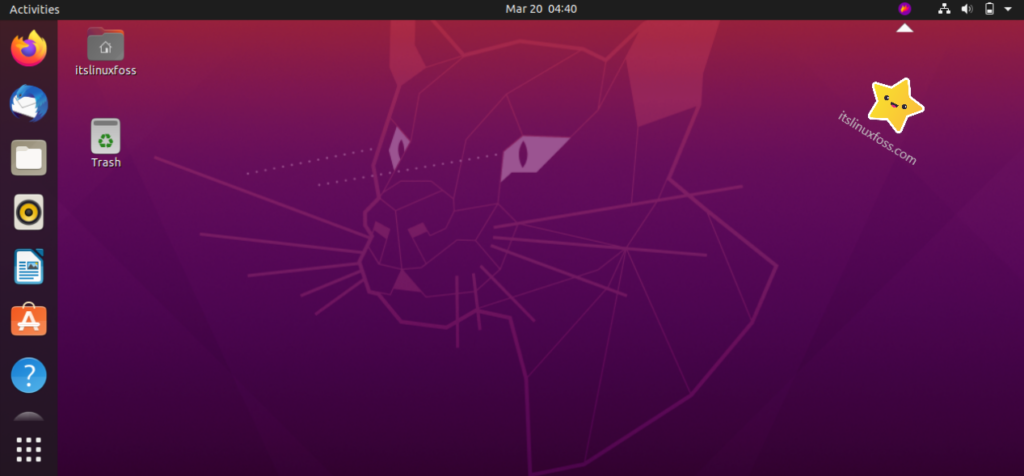
Here it is! Enjoy the log-in free system.

Conclusion:
We have discussed how to make your Ubuntu 20.04 log-in free in this article.

Saryia is a technology entrepreneur and digital publisher specializing in Linux, open-source technologies, and developer education.