ClamAV is a well-reputed free and open-source antivirus software tool. It provides a command line interface that quickly scans the Linux system against viruses and malware attacks. The “ClamAV” helps scan the important part of Linux, i.e., mail gateways and emails directly affecting the network.
Keeping this in view, this post explains the installation and use of ClamAV on Ubuntu 22.04.
- Install ClamAV on Ubuntu (CLI)
- Configure ClamAV on Ubuntu
- Use ClamAV
- Install ClamAV on Ubuntu 22.04 (GUI)
- Use ClamAV
How to Install ClamAV on Ubuntu 22.04(CLI)?
The “ClamAV” software utility is present in the Ubuntu official repository and can be installed quickly by just following the following steps:
Step 1: Update the Repository
First, update the Ubuntu system to get the latest release of the installed applications in this way:
$ sudo apt update
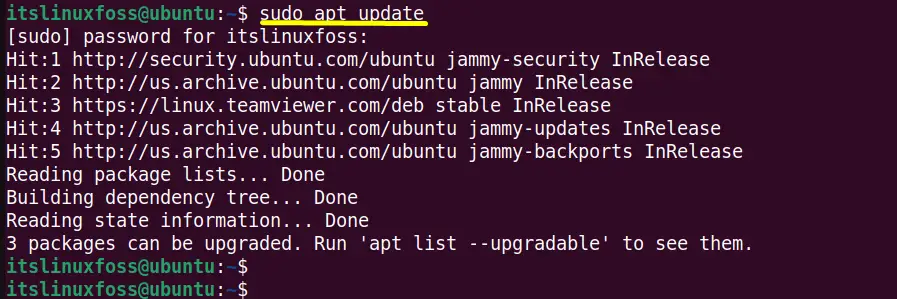
The output contains that all the packages have been updated.
Step 2: Install ClamAV
Install the “ClamAV” application alongside the “clamav-daemon” from the standard repository of Ubuntu using the default “apt” package manager:
$ sudo apt install clamav clamav-daemon
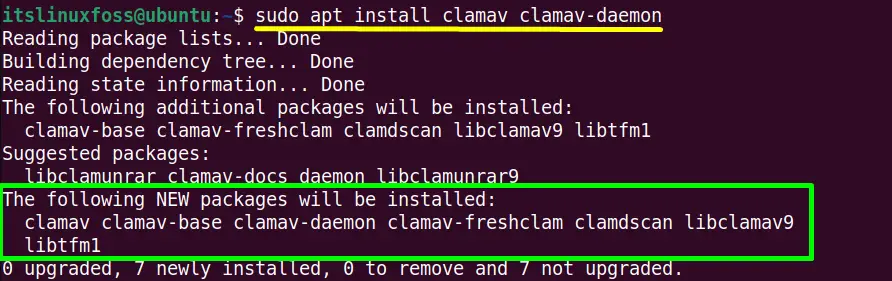
The “clamav-daemon” has successfully installed the “ClamAV” scanner, i.e., “clamscan.”
Step 3: Verify ClamAV
Check the installed version of the “clamav” scanner for verification purposes:
$ clamscan --version

The installed “ClamAV” application version is “0.103.8”.
How to Configure ClamAV on Ubuntu 22.04?
The “ClamAV” works on a signature database that identifies the malware. It requires updation regularly that ensures the application is up to date for protection against the latest threats.
Keeping this in view, Let’s update the installed “ClamAV” signature database:
Disable the “freshclam” Service
The pre-installed “freshclam” service automatically downloads the database updates. For the manual updation, disable/stop the “freshclam” service using the “systemctl” command:
$ sudo systemctl stop clamav-freshclam

The “freshclam” service has been stopped
Download Updates Using freshclam (First Method)
The first convenient way is to download the latest signature database update using “freshclam” via the superuser privileges, i.e., “sudo” command:
$ sudo freshclam
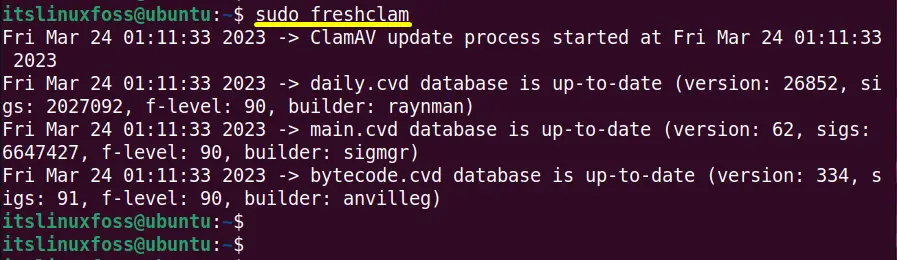
The output shows that the installed “ClamAV” database is up to date.
When all the updates are downloaded, start/enable the “freshclam” service again with the help of the “systemctl” command:
$ sudo systemctl start clamav-freshclam

The output shows that the “freshclam” services have been started.
Download Updates Using Official Website (Second Method)
Another way is to download the “ClamAV” database from its official website https://database.clamav.net/daily.cvd.
Click on the provided link, and it downloads the “daily.cvd” file in the “Downloads” directory:

Copy the “daily.cvd” file into the “var/lib/clamav” file through the copy command “cd”:
$ sudo cp /home/itslinuxfoss/Downloads/daily.cvd /var/lib/clamav/daily.cvd

Run the “ls -l” command to check all the data files of the “CamAV”:
$ ls -l /var/lib/clamav/
The output also contains the copied “daily.cvd” file.
How to Use ClamAV on Ubuntu 22.04?
The “ClamAV” application secures the Ubuntu system from malware and virus attacks. Let’s check how to use it to keep the Ubuntu system safe and secure:
The “clamscan” provides a wide range of options that can be seen through its “help” command:
$ clamscan -help
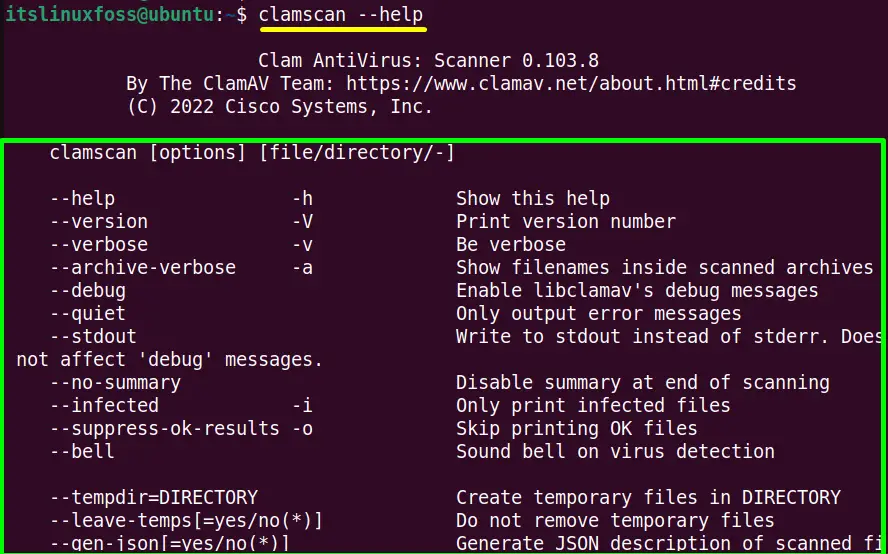
From the above options lists, the most commonly used flag for scanning the viruses are:
- — infected: Detects the infected files from the system, not the clean files.
- –removed: Removes the infected files automatically.
Scan a Directory
Execute the “clamscan” command with the “sudo” combination to scan the “Documents” directory “–recursive (including subdirectories)” in this format:
$ sudo clamscan --infected --remove --recursive Documents/
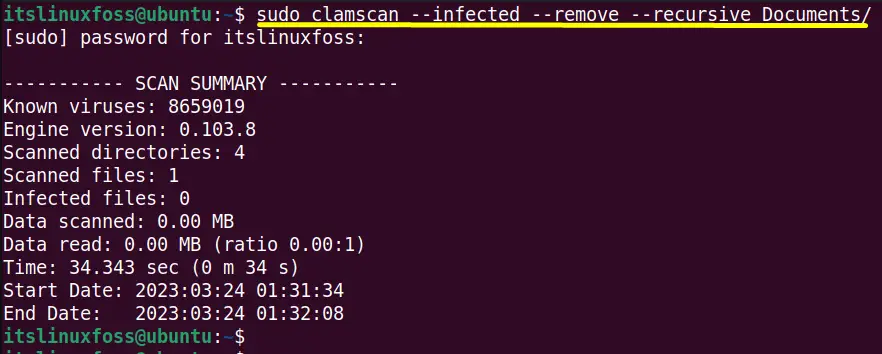
The above command has successfully scanned the “Documents” directory. It also shows the “SCAN SUMMARY” having scanning details associated with “Documents.”
Scan a File System
To secure the file content, i.e., “eicar_com.zip,” use the “clamscan” with the “–remove” option. It automatically scans and removes the infected files:
$ sudo clamscan --remove ~/Downloads/eicar.zip
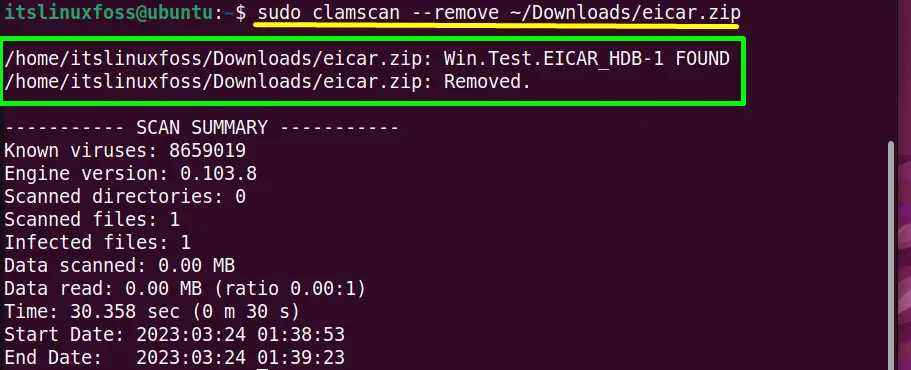
The infected file “Win.Test.EITCAR_HDB-1” has been found and removed successfully.
Scan the Whole Ubuntu System
For scanning the whole system, specify the forward slash (/) with the “clamscan” command. The forward slash represents the “root” directory, the parent directory of the whole system:
$ sudo clamscan --infected --recursive --remove /
How to Install ClamAV on Ubuntu 22.04 (GUI)?
The “ClamAV” provides the front-end lightweight “ClamTK” tool that acts as its graphical user interface. Follow the essential steps to install it:
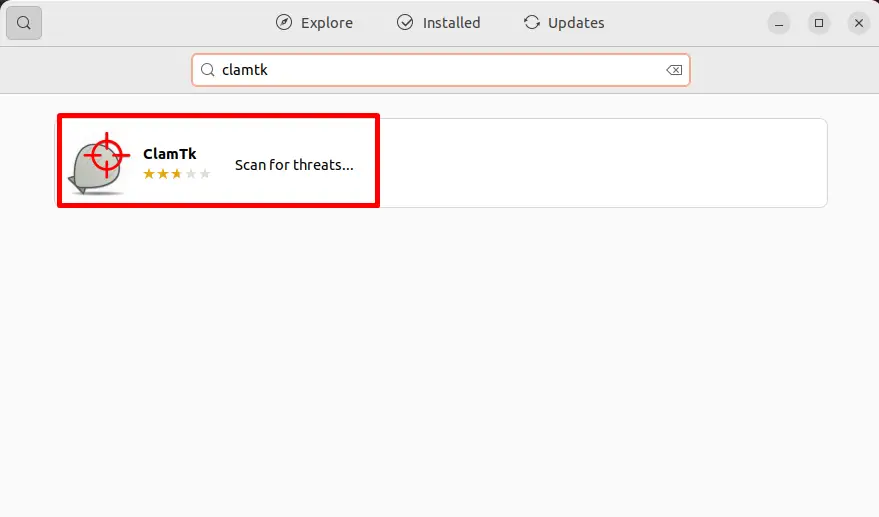
Step 1: Access Ubuntu Software
Navigate to the “Ubuntu Software” center and search for the “ClamTK” application using its search bar:
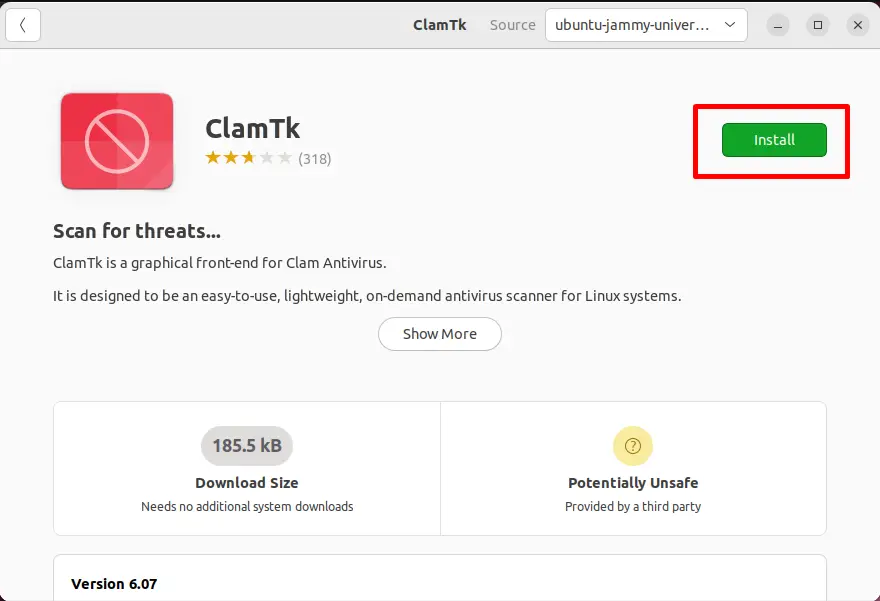
Step 2: Install ClamTK
Tap on the green “Install” button to start the installation process of “ClamTK”:
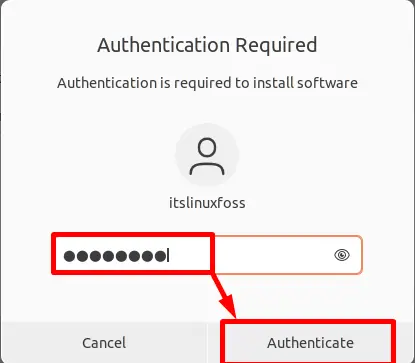
It requires the system administration authentication “password.” Enter the password and “Authenticate” it:
The installation of the “ClamTK” application has been completed:
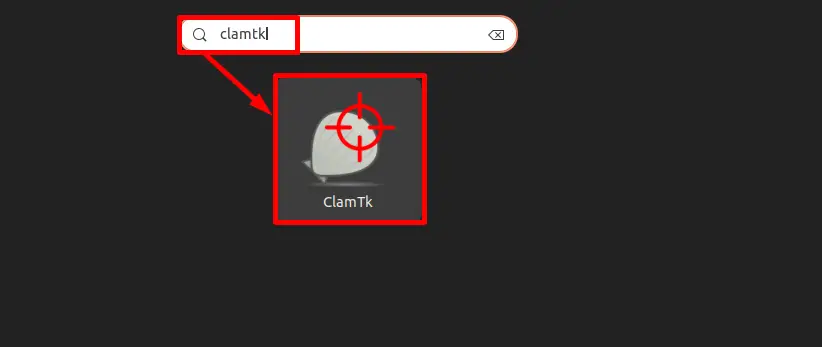
Step 3: Launch Clamtk
Nove to the application menu and search for the installed “ClamTK” application. Click on the shown result to launch it:
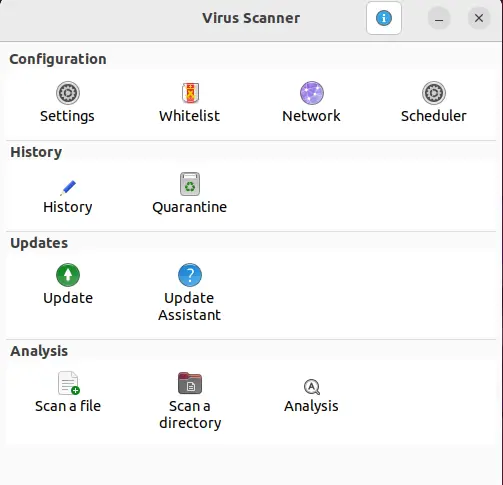
The “ClamTK” has been opened, and its interface looks like this:
How to Use ClamTK on Ubuntu 22.04 (GUI)?
The “ClamTK” is the most convenient way to scan the Ubuntu system due to its user-friendly environment. Its usage is quite simple and straightforward. Follow the below-mentioned steps to use the ClamTK:
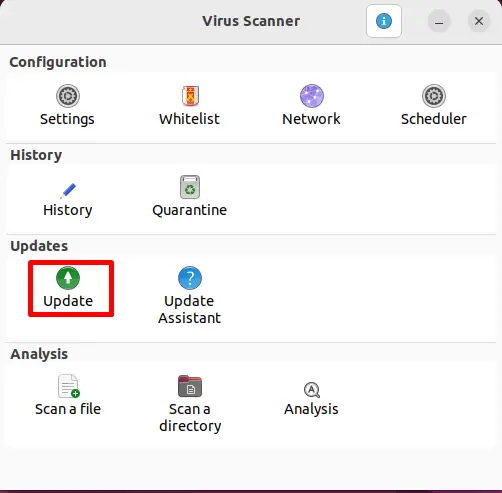
Update the Database
To update the database, click on the “Update” option and then hit the “Yes” button after “Check for updates”:
Scan the Directory
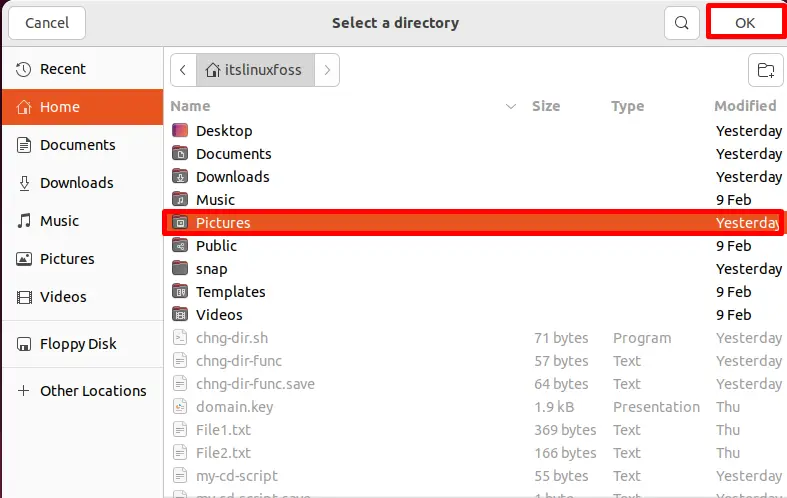
Navigate to the “Analysis” section and hit the “Scan a directory” option for scanning the particular directory:
For instance, the “Pictures” directory is selected, and then hit the “OK” button:
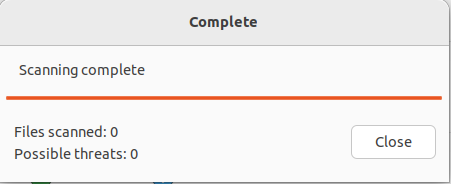
The scanning process is started and takes a few minutes/hours to complete it:
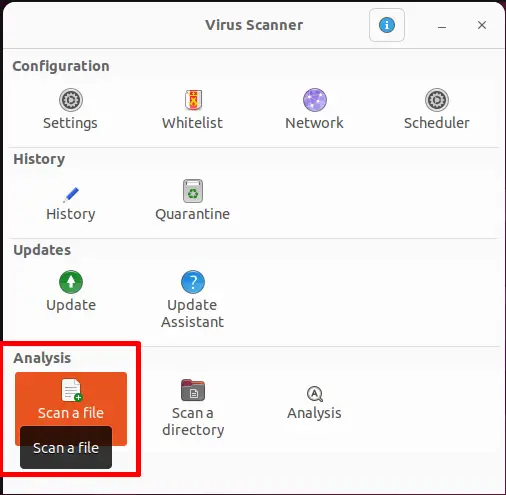
Scan the Specific File
To scan the specific file, use the “Scan a file” option and follow the same procedure as for scanning the directory:
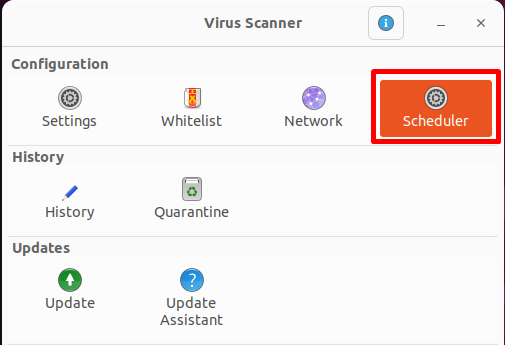
Scheduled the Scanning Time
The “ClamTK” interface also provides the “Scheduler” key feature for scheduling the scanning of the system. It is considered the best approach to cleaning the Ubuntu system on a regular basis.
Click on the “Scheduler” option from the “Virus Scanner” main window:
Set the daily update and the scan schedule according to the 24-hour time format. For instance, the “Scan” schedule is being set at “12 hours” and “30 minutes” for the directory. Whereas the “Antivirus Signatures” update schedule at “9 hours” and “15 minutes” every day:
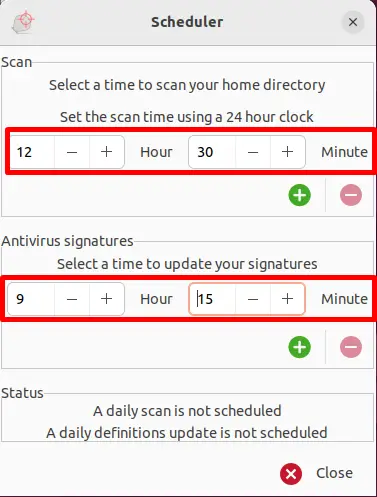
Hit the “Close” button after Scheduling the time.
Conclusion
The “ClamAV” software utility is available in the Ubuntu standard repository and can be installed using the “apt” default package manager. The “ClamAV” uses a signature database that updates daily using the “freshclam” service. In addition, the “ClamAV” also provides a lightweight GUI interface “ClamTK” for quick scanning purposes.
This post has explained the complete procedure to install and use ClamAV on Ubuntu through the command line and graphical user interface.
