
What is Gradle?
Gradle is used for C++, Swift, and Java projects. Gradle is a tool that we generally use for building, automating, and then delivering the software. Maven and Ant collaborative best features exist in Gradle. Groovy is utilized for building scripts and defining any project which is a powerful programming language.
Before moving to Gradle installation, you should know that your system must have JDK version 8 or higher. If your system doesn’t fulfill this requirement then you should install JDK first.
Note: To follow the installation, make sure that you are a ‘superuser’ or ‘root’ as the superuser provides unrestricted access to all the commands, files, resources, and directories.
If your system already has JDK version 8 or higher then you can jump directly to the Gradle installation method.
Install JDK on Ubuntu 20.04
Step 1: First of all, Open up the terminal by searching it manually in activities, or you can also press ‘CTRL+ALT+T’ to view the terminal window.
Step 2: Now update the package lists.
$ sudo apt update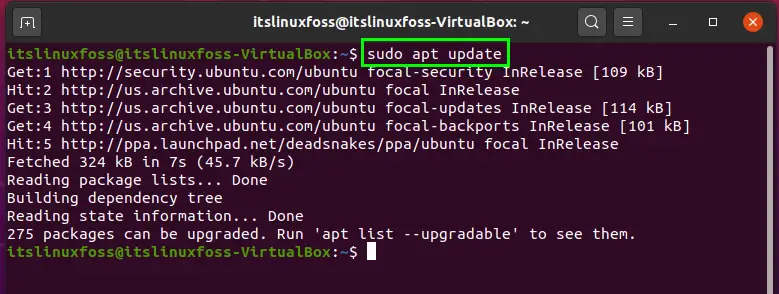
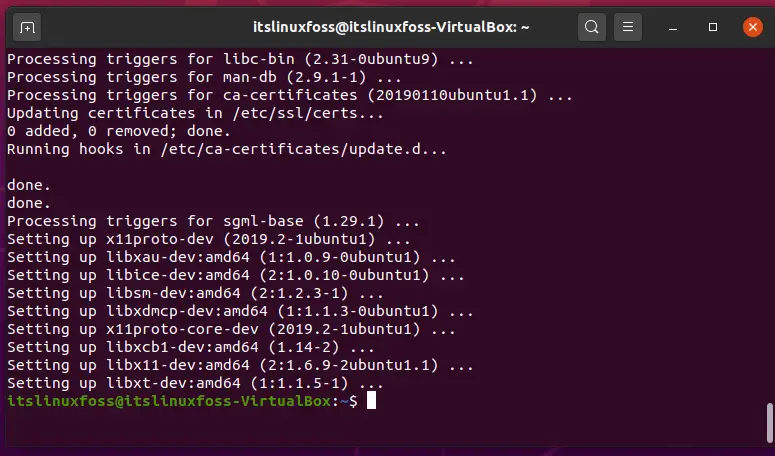
Step 3: Install JDK 11 by typing the following command.
$ sudo apt install openjdk-11-jdk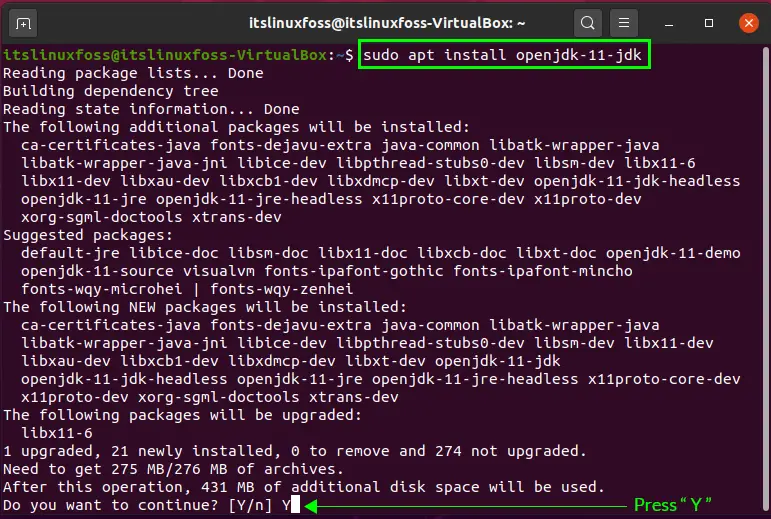
Press ‘y’ to continue.
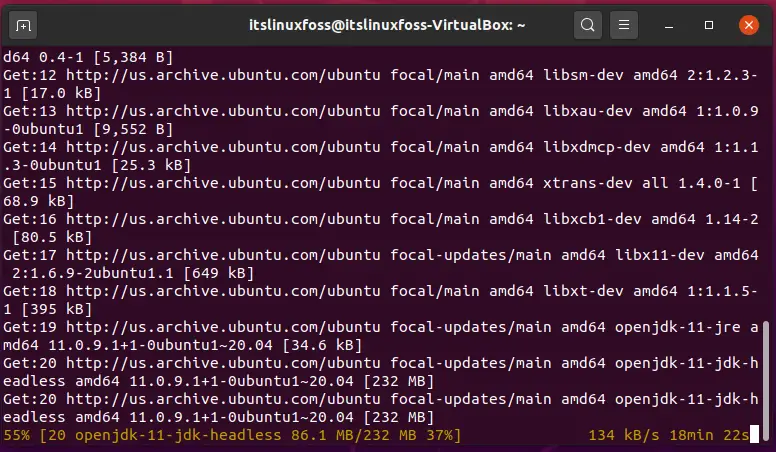
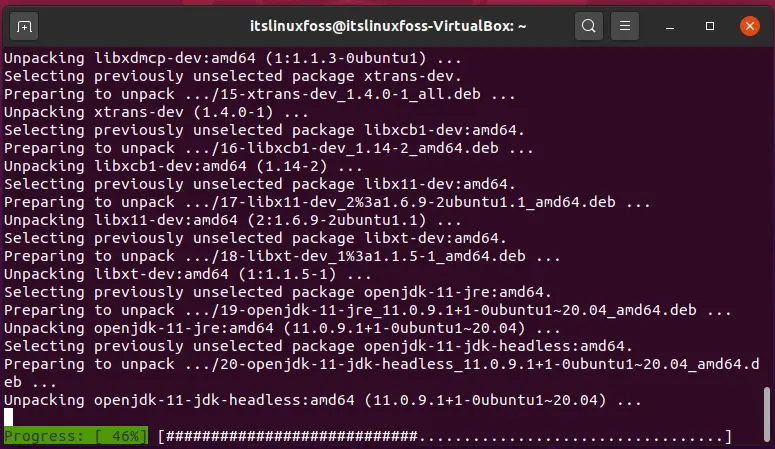
It will take some time to complete.
Step 4: Verify JDK installation by the execution of this command:
$ java -version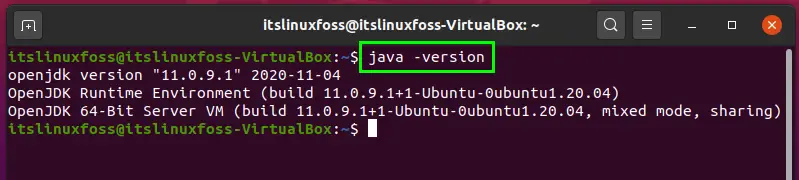
As JDK 11 is installed on your system, so we are moving forward to Install Gradle on Ubuntu 20.04.
Install Gradle on Ubuntu 20.04:
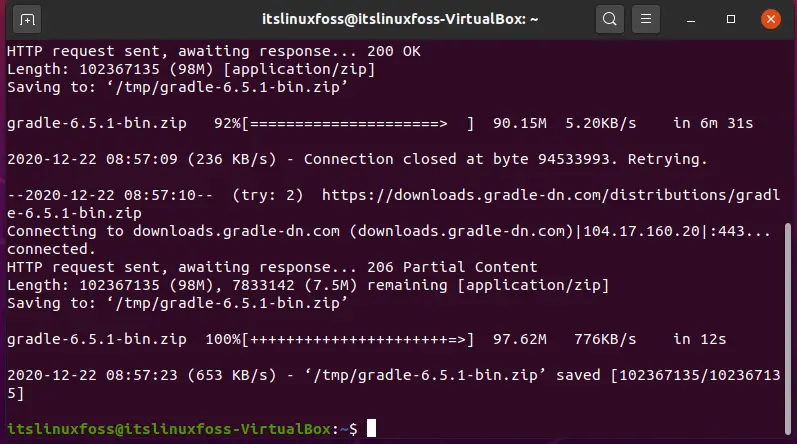
Step 1: First of all, we will declare the version which we want to install on our system, and then in the next command we are going to use the ‘wget’ command to download the zipped version of Gradle in ‘tmp’ directory.
$ VERSION=4.4.1$ wget https://services.gradle.org/distributions/gradle-${VERSION}-bin.zip -P /tmp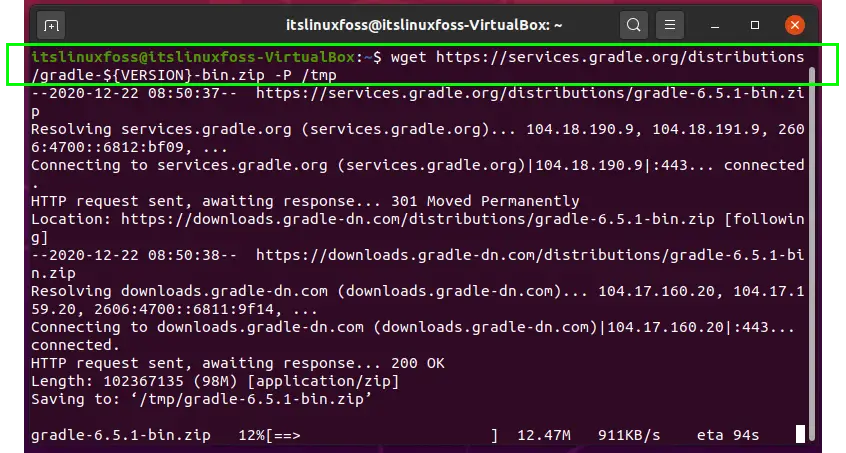
Step 2: In this step, we will unzip the file.
$ sudo unzip -d /opt/gradle /tmp/gradle-${VERSION}-bin.zip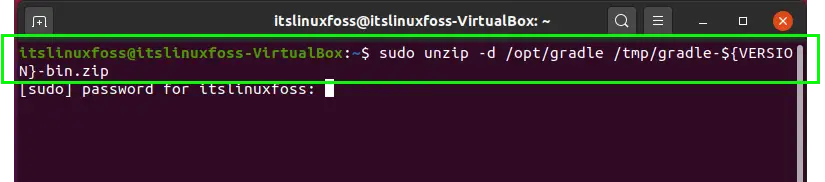
Enter your password to allow the process.

Step 3: By following this step, the environment variable path will also contain the bin directory of Gradle.
$ sudo nano /etc/profile.d/gradle.shAdd the following lines in the scripts.
export GRADLE_HOME=/opt/gradle/latest
export PATH=${GRADLE_HOME}/bin:${PATH}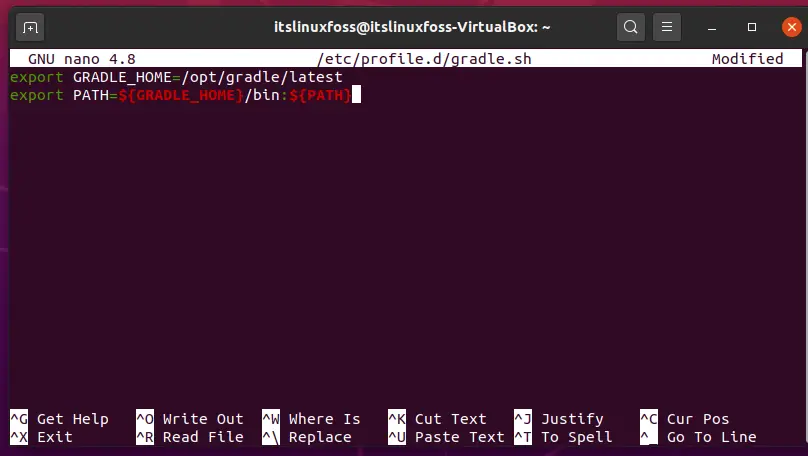
Press ‘CTRL+O’ to write out these lines in the file.
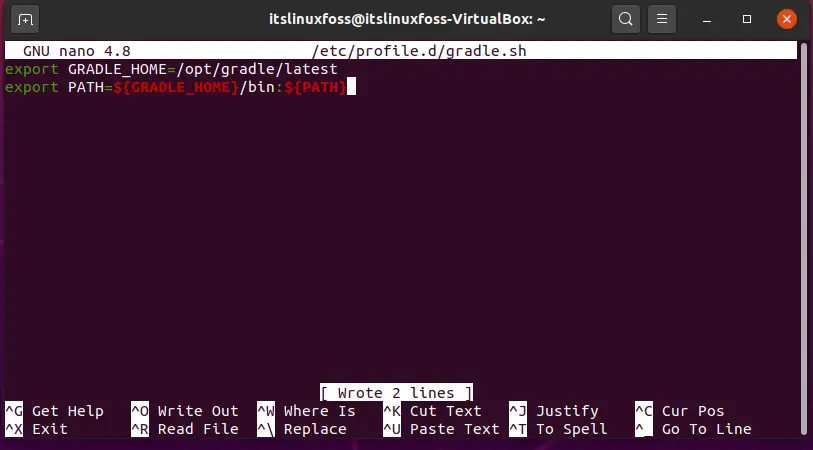
Now save the file. Come out of this window by pressing ‘CTRL+x’.
Step 4: In this step, we will change the permission of the file to execute it.
$ sudo chmod +x /etc/profile.d/gradle.sh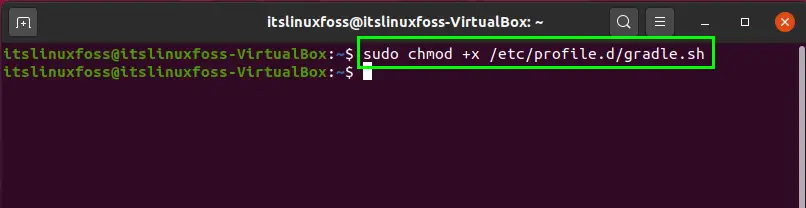
$ source /etc/profile.d/gradle.sh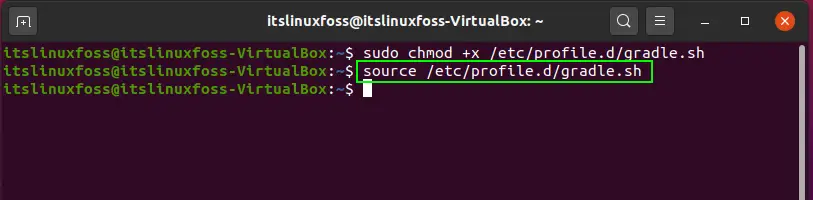
Step 5: Verify the Gradle installation by typing the following command.
$ gradle -v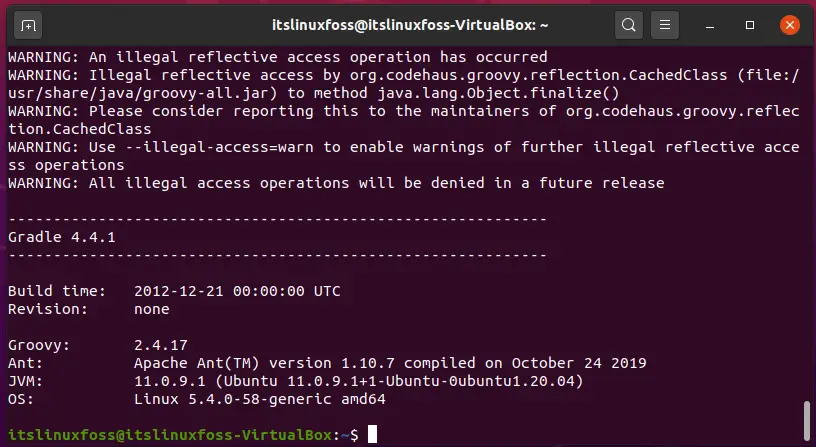
The output clearly states that Gradle exists on Your Ubuntu 20.04 with all its features.
Conclusion:
In this article, we have shown you a step by step procedure for the installation of Gradle on your Ubuntu 20.04.

Saryia is a technology entrepreneur and digital publisher specializing in Linux, open-source technologies, and developer education.