Gitea is an open-source self-hosted git service. You must have heard about GitHub. It is similar to GitHub. It’s easy to handle, quick, and painless way of setting self-hosted git service makes it very popular.
As mentioned above, it is free of cost and is a clone of Gogs. It has many advantages which include robustness, scalability. When compared to other git services it is great. It is developed in Go and is supported by all platforms and architectures that support Go.
One can use it across any major OS like Linux, Windows, and macOS, etc. Today, we are going to learn how to install Gitea on Ubuntu 20.04 today. So before wasting any more time, let’s get started.
Installation
Step1: To install Gitea, the first step involves installing git on our server. Copy or type the following commands in your browser to install Git.
$ sudo apt update
$ sudo apt install git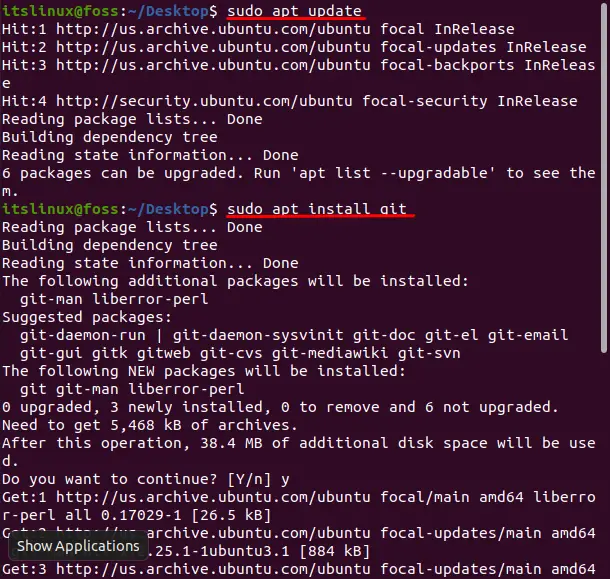
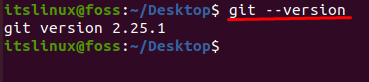
Let’s verify the installation by typing the following command.
$ git --versionIt will return us the git version. For example:
Step2: The next step that comes after installing Gitea is to create a user. It is required as after this we can manage Gitea. To achieve this, copy or type the following command in your terminal.
$ sudo adduser \
>    --system \
>    --shell /bin/bash \
>    --gecos 'Git Version Control' \
>    --group \
>    --disabled-password \
>    --home /home/git \
>    git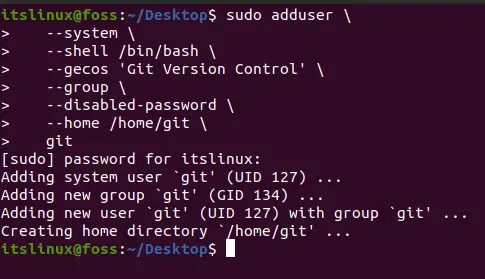
Now we have created a new user and a group whose name is git. The home directory is also set as seen in the screenshot.
We can get user id and group id by typing the following command:
$ id git
Step 3: Gitea needs a server for storing the data or its content. To store data from Gitea, we will use MariaDB. However, it should be kept in mind that one can use other databases as well like PostgreSQL, SQLite, or MySQL. SQLite is mostly used for small installations.
We can install MariaDB with the following command:
$ sudo apt-get install mariadb-server mariadb-client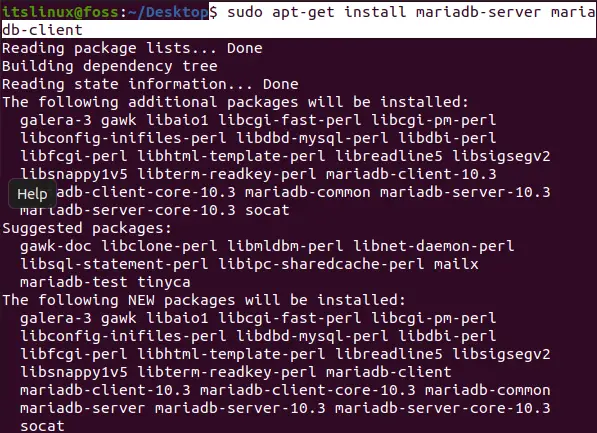
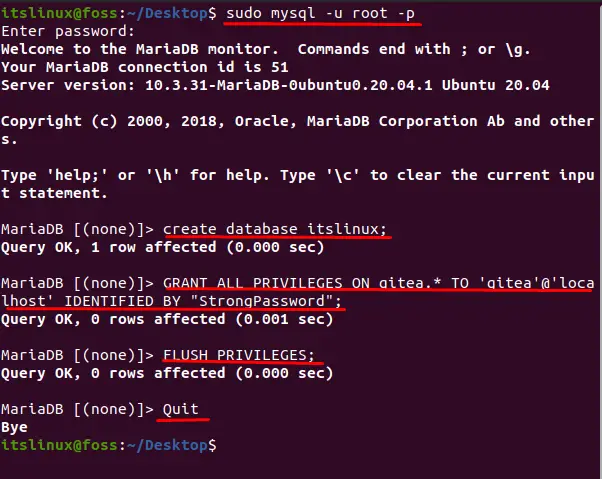
To get started with MariaDB let’s create a database with the name of “itslinux” and grant all privileges to it. We are just testing Maria DB. We will exit the MariaDB by typing the “exit” command. It will show us a message of “bye”. It is illustrated in the following commands:
Step4: After the installation of the database, the next step is to download the Gitea binary. Go to the following link and download the latest binary.
I am installing the latest version which is “1.15.0”. Type the following command in your terminal:
$ wget https://dl.gitea.io/gitea/1.15.0/gitea-1.15.0-linux-amd64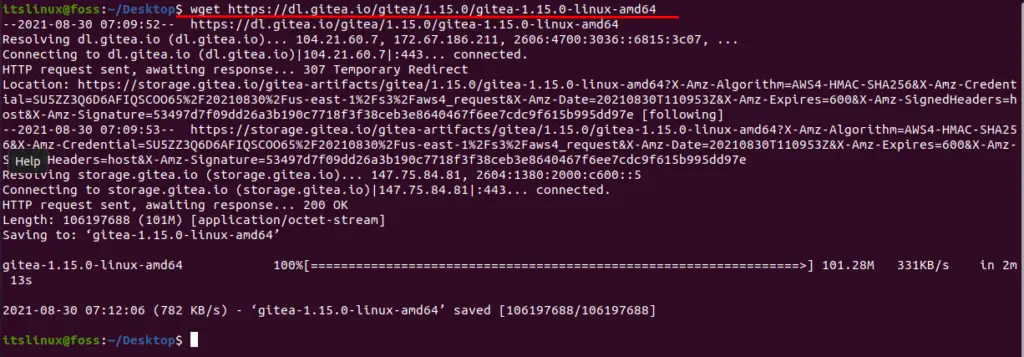
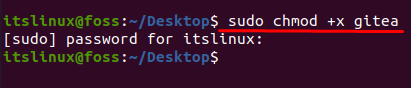
Now let’s make the binary file executable. We will change the permissions using the chmod command.
If you have downloaded the gitea somewhere else, then use the path of the gitea in the above command.
We can also download the gitea-1.15.0-linux-amd64.asc file along with the main gitea package. This is to ensure the GPG signature.
$ wget https://dl.gitea.io/gitea/1.15.0/gitea-1.14.2-linux-amd64.asc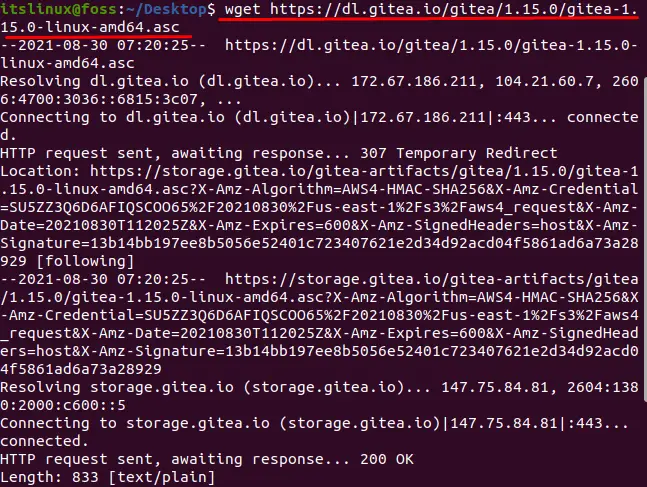
Step5: The next step involves verifying the GPG signature. For this purpose we have to import the Teabot key and only then can we verify the gitea downloaded package. We will use the gitea-1.15.0-linux-amd64.asc file like shown below:
$ gpg --keyserver keys.openpgp.org --recv 7C9E68152594688862D62AF62D9AE806EC1592E2

$ gpg --verify gitea-1.15.0-linux-amd64.asc gitea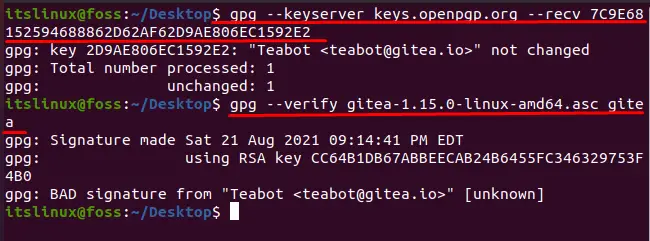
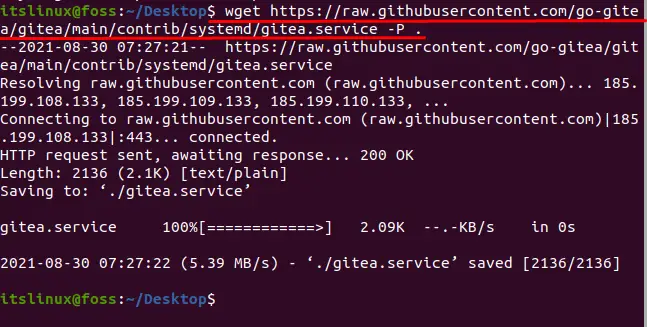
Step6: Now we have to create a systemd service. For that we have to download from the following link:
https://www.cyberithub.com/systemd-service-on-linux/
We can also use the following command to download systemd service:
$ wget https://raw.githubusercontent.com/go-gitea/gitea/main/contrib/systemd/gitea.service -P .The “.” at the end of the command is used to save it to the same file we are currently working in.
We have to now reload the daemon by using the following command:
$ sudo systemctl daemon-reload
After this, we have to enable it by the following command:
$ sudo systemctl enable --now giteaTo verify whether Gitea is running or not, type the following command:
$ sudo systemctl status giteaStep7: This step is to allow the port. If you have a firewall running then first allow TCP port 3000 from the firewall. The command for this is shown below:
$ ufw allow 3000/tcpStep8: This is the final step where we configure Gitea. Open your browser and type the following link:
If this doesn’t work try the following command:
http://gitea.example.com/install
You will be asked or you have to set some settings before installation. It includes the data type which will be the database you have used. In our case it’s MariaDB. There will be multiple other fields that you have to fill like a set title where you have to give your organization name etc.
After filling the required fields, click on Install. You will be redirected to the Gitea home page/ dashboard. Congratulations!
Conclusion
Gitea is a lighter but very powerful software whose goal is clear. It aims to make the easiest and fastest way of setting up a self-hosted git service.
In this article, we walked you through almost all the steps in downloading and installing gitea on ubuntu 20.04. We hope that now you have grasped the knowledge of how to install Gitea on Ubuntu 20.04. Now that you have installed Gitea, go on and explore gitea by creating repositories in Gitea. Enjoy!

Saryia is a technology entrepreneur and digital publisher specializing in Linux, open-source technologies, and developer education.