
Odoo is an application to make business life easier for various large companies so that they can run and manage their businesses by integrating their applications through Odoo. It’s an open source suite for business applications that comes with various eCommerce, CRM, project management, point of sale, billing accounting which are integrated and can be accessed through a single interface.
It’s a user-friendly application that comes with features like smart datepicker , spreadsheet reporting, product configurator in POS and the key highlight is its ERP support for small businesses. In this article, we’ll show you the installation of Odoo 14 on Ubuntu 20.04, step-by-step for your better understanding.
Step-By-Step Guide for Installation
There are various ways to install Odoo 14 on your Linux system but the easiest way is through Odoo apt repository, so follow the below steps:
Step 1: Update your Repository
Before installing anything we need our repository to be updates and for that execute the below command:
$ sudo apt update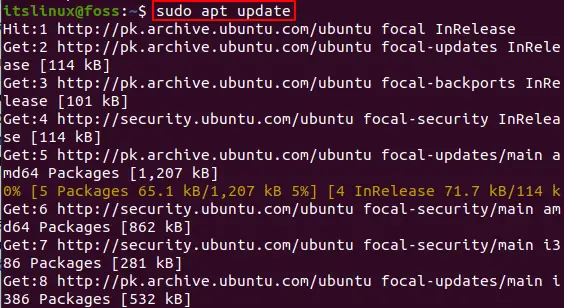
Step 2: Creation of System User
We’ve to create a new system user as running odoo under the root user is risky, so we’ll create another system user and group with the directory of home /opt/odoo14, which will run the service of Odoo and for this purpose run the below command:
$ sudo useradd -m -d /opt/odoo14 -U -r -s /bin/bash odoo14
You can name the user according to your choice but keep in mind that you’ve to create a user for PostgreSQL with the same name.
Step 3: PostgreSQL (Installation and Configuration)
For Odoo to have a backend database we’ve to install PostgreSQL and for that execute the below command:
$ sudo apt install postgresql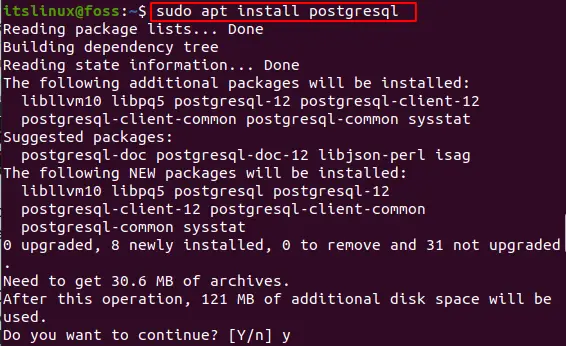
After the installation of PostgreSQl, we’ll create a user with the same name as we created earlier i.e odoo14, so execute the below command:
$ sudo su - postgres -c "createuser -s odoo14"
Step 4: wkhtmltopdf Installation
For rendering of HTML pages into various image formats such as PDF we need to install wkhtmltopdf, which will also print PDF reports for Odoo. Run the command provided below to download it from Git:
$ sudo wget https://github.com/wkhtmltopdf/packaging/releases/download/0.12.6-1/wkhtmltox_0.12.6-1.bionic_amd64.deb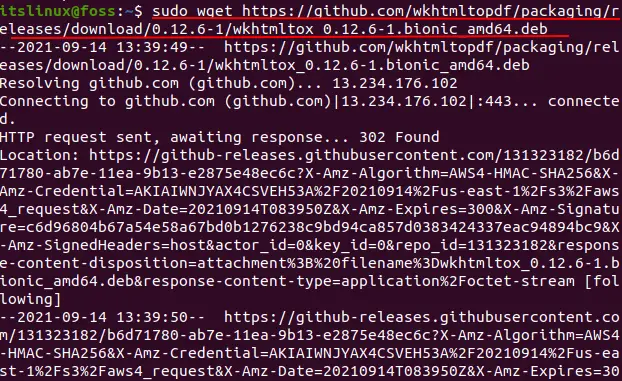
After downloading the file install it by executing the below command:
$ sudo apt install ./wkhtmltox_0.12.6-1.bionic_amd64.deb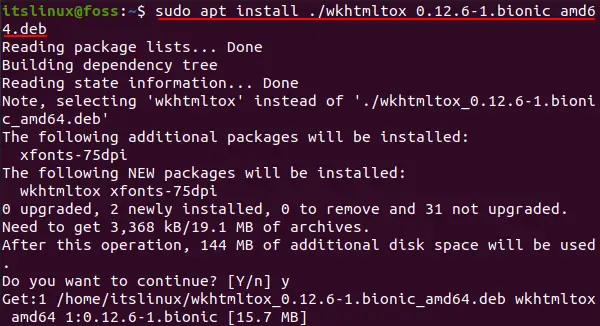
Step 5: Installation of Odoo 14
Before installing odoo we need to install some required packaged and for that execute the below command:
$ sudo apt install git python3-pip build-essential wget python3-dev python3-venv \ python3-wheel libfreetype6-dev libxml2-dev libzip-dev libldap2-dev libsasl2-dev \ python3-setuptools node-less libjpeg-dev zlib1g-dev libpq-dev \ libxslt1-dev libldap2-dev libtiff5-dev libjpeg8-dev libopenjp2-7-dev \ liblcms2-dev libwebp-dev libharfbuzz-dev libfribidi-dev libxcb1-dev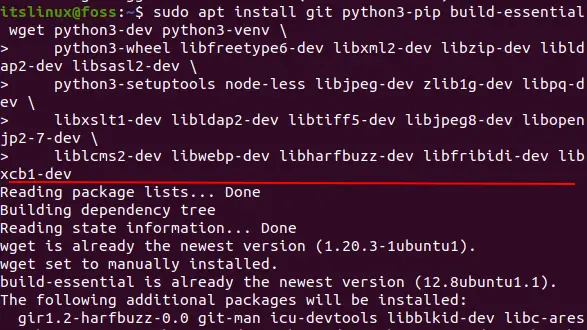
This might take some time but after that you’ll have Git, pip, NodeJs and other tools required for Odoo 14 installation. Now we’ll install the Odoo inside virtual environment of Python, for that switch the user to the user you created:
$ sudo su - odoo14
Now we need to clone the source code for Odoo 14 from GiHub so for that execute the below command:
$ git clone https://www.github.com/odoo/odoo --depth 1 --branch 14.0 /opt/odoo14/odoo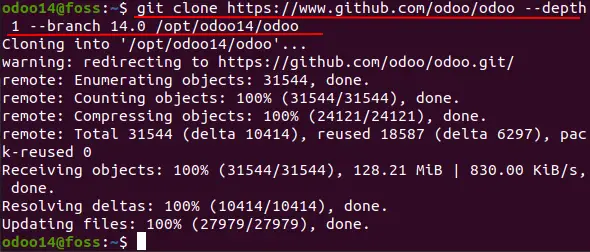
Now create a new virtual environment of Python for Odoo:
$ cd /opt/odoo14
$python3 -m venv odoo-venv
Now activate the virtual environment by executing the command provided below:
$ source odoo-venv/bin/activate
Now using pip3 we’ll install all required Python modules:
$ pip3 install wheel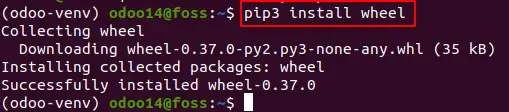
$ pip3 install -r odoo/requirements.txt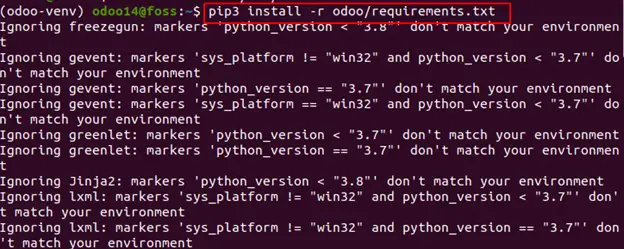
Now after all the installation of required modules deactivate the virtual environment:
$ deactivate
Now for third party addons create another directory by executing the command:
$ mkdir /opt/odoo14/odoo-custom-addons
After everything done simply switch back to the sudo user:
$ exit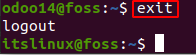
Now, we’ve to create a configuration file and for this execute the below command:
$ sudo nano /etc/odoo14.confThis will create and open a file in which you’ve to write the below lines:
[options]
; This is the password that allows database operations:
admin_passwd = 123
db_host = False
db_port = False
db_user = odoo14
db_password = False
addons_path = /opt/odoo14/odoo/addons,/opt/odoo14/odoo-custom-addons
For admin_passwd simply enter a password on your choice and save the file:

Step 6: Create Systemd Unit File
Now we’ve to create a systemd file with the name odoo14.service so for that execute the below command:
$ sudo nano /etc/systemd/system/odoo14.serviceThis will open a file in which you’ve to paste the below content and save the file:
[Unit]
Description=Odoo14
Requires=postgresql.service
After=network.target postgresql.service

[Service]
Type=simple
SyslogIdentifier=odoo14
PermissionsStartOnly=true
User=odoo14
Group=odoo14
ExecStart=/opt/odoo14/odoo-venv/bin/python3 /opt/odoo14/odoo/odoo-bin -c /etc/odoo14.conf
StandardOutput=journal+console

[Install]
WantedBy=multi-user.target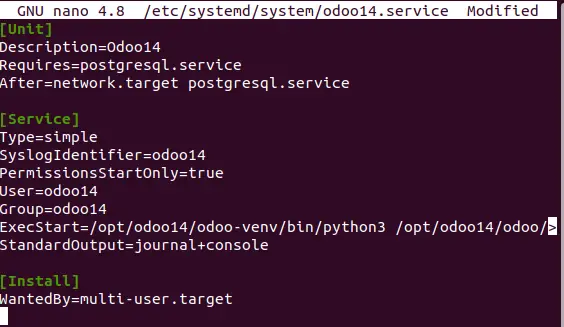
After saving the file we’ve to inform the systemd that there’s a new file, for that execute the below command:
$ sudo systemctl daemon-reload
Now execute the below command to start the service of Odoo:
$ sudo systemctl enable --now odoo14
Verify the status of Odoo service by executing the below command:
$ sudo systemctl status odoo14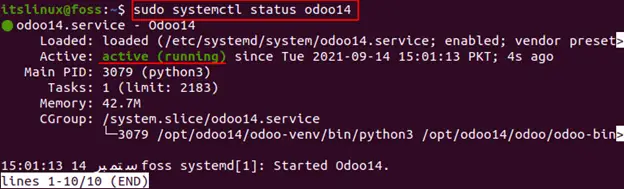
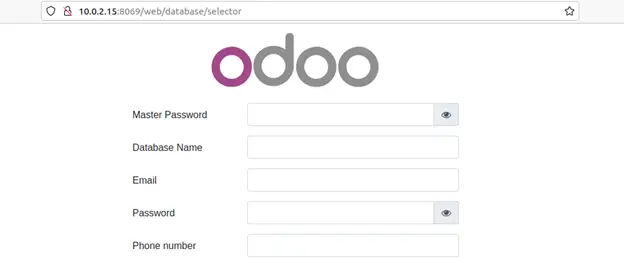
Step 7: Testing Odoo
Now for the final step we’ve to test Odoo by going to our browser and typing “http://<IP_address>:8069”. Here enter your system IP address and if the installation is successful below screen will appear:
Conclusion
Odoo is used by various companies for business related purposes as it comes with many integrated applications that makes business easier. In this article we guided you through the installation of Odoo 14 on Ubuntu 20.04 and further configured the system and installed all the required modules needed for Odoo. Following the steps you’ll have an error free installation on your system from Odoo 14.

Check our LinkedIn company page