
PyTorch is a machine learning framework that is open source and used in deep learning as well as in artificial intelligence. It is popular for its flexibility and dynamic computation graph that helps in many tasks including computing vision.
PyTorch is compatible with the three major OS including Windows, Linux, and MacOS.This post will walk you through the different installation methods of PyTorch on Linux.
How to Install PyTorch on Linux?
PyTorch can be installed on Linux with one of the below-mentioned methods:
Note: We have demonstrated the steps and executed the mentioned commands on Ubuntu Jammy Jellyfish. All the explained steps can be used on the other Linux distributions for installing PyTorch on them.
Method 1: Install PyTorch Using the Anaconda Package
To install PyTorch on Linux using the Anaconda package, follow the below-mentioned steps.
Step 1: Install the Anaconda
First, install the package Anaconda on Ubuntu by following the mentioned instructions in the blog.
Step 2: Create a Conda Environment
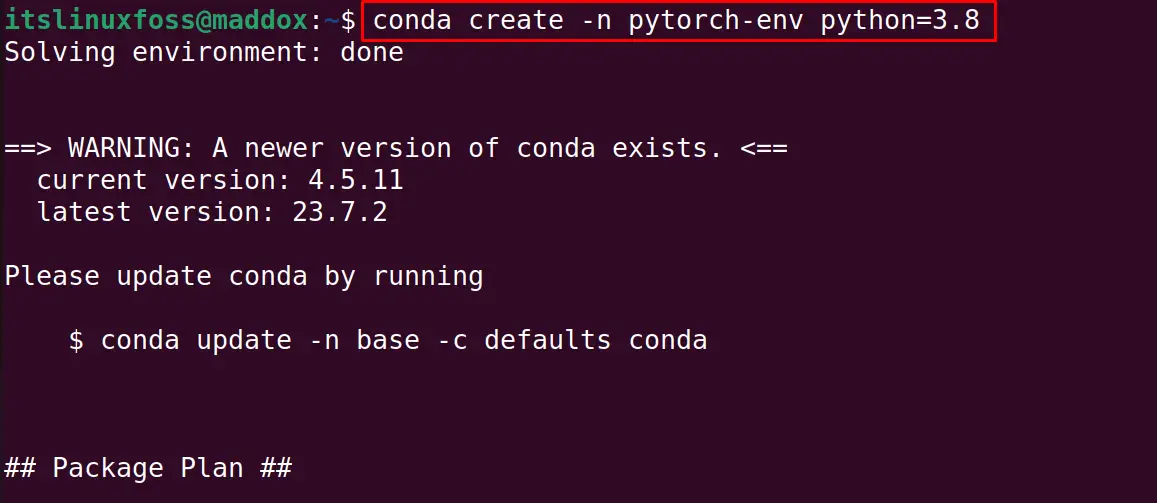
The next step is the creation of the Conda environment with the command:
$ conda create -n pytorch-env python=3.8
Step 3: Activate the Conda Environment
Now activate the Conda environment:
$ conda activate pytorch-env

Step 4: Install PyTorch on Linux
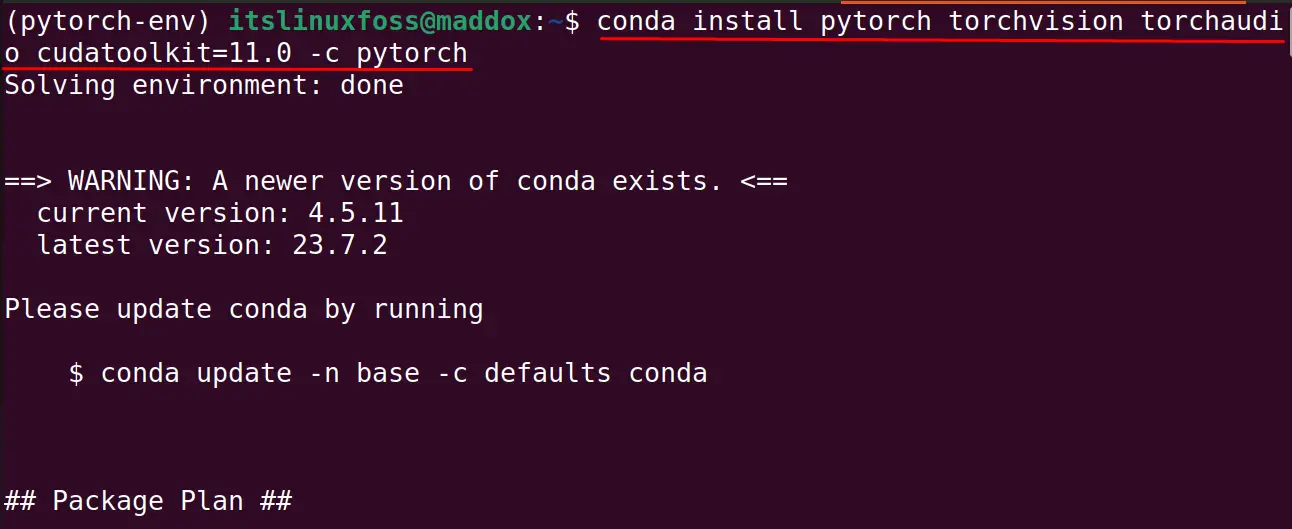
Finally, install PyTorch on Linux using the Conda:
$ conda install pytorch torchvision torchaudio cudatoolkit=11.0 -c pytorch
Step 5: Verify the Installation
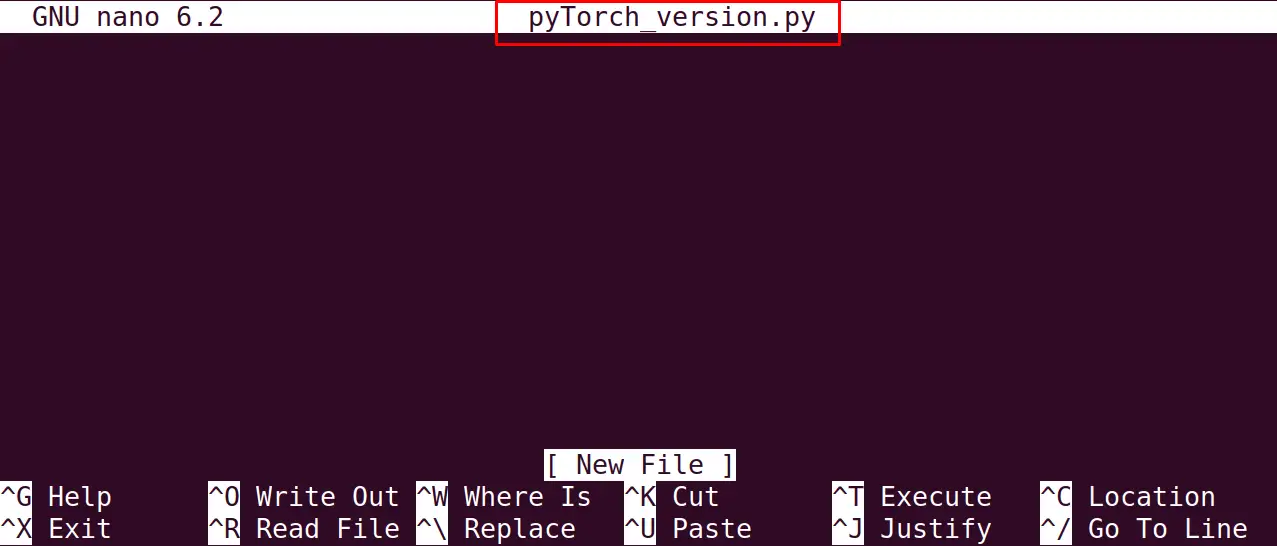
To verify the installation of the PyTorch, create a Python Script:
$ nano pyTorch_version.py
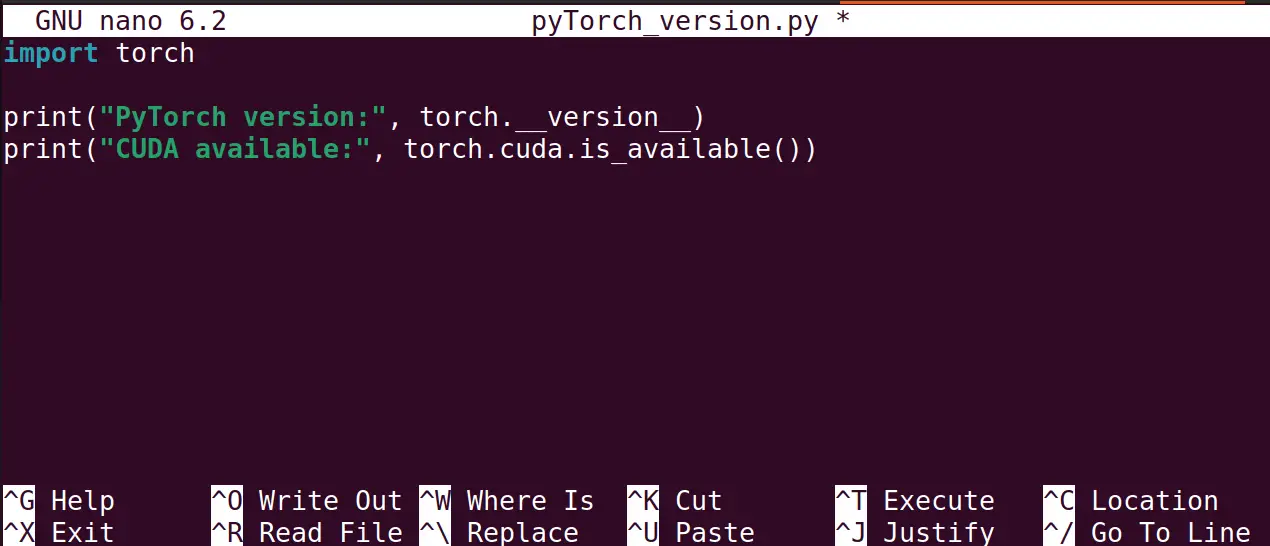
Type the following Python script:
import torch

print("PyTorch version:", torch.__version__)
print("CUDA available:", torch.cuda.is_available())
Save the script and run the Python script:
$ python3 pyTorch_version.py

Step 6: Deactivate the Conda Environment
Run the below-mentioned command to deactivate the conda environment:
$ conda deactivate

Method 2: Install PyTorch Using the Pip Package
Another method of installing PyTorch on Linux is by using the Pip package and for this, use the below-mentioned steps.
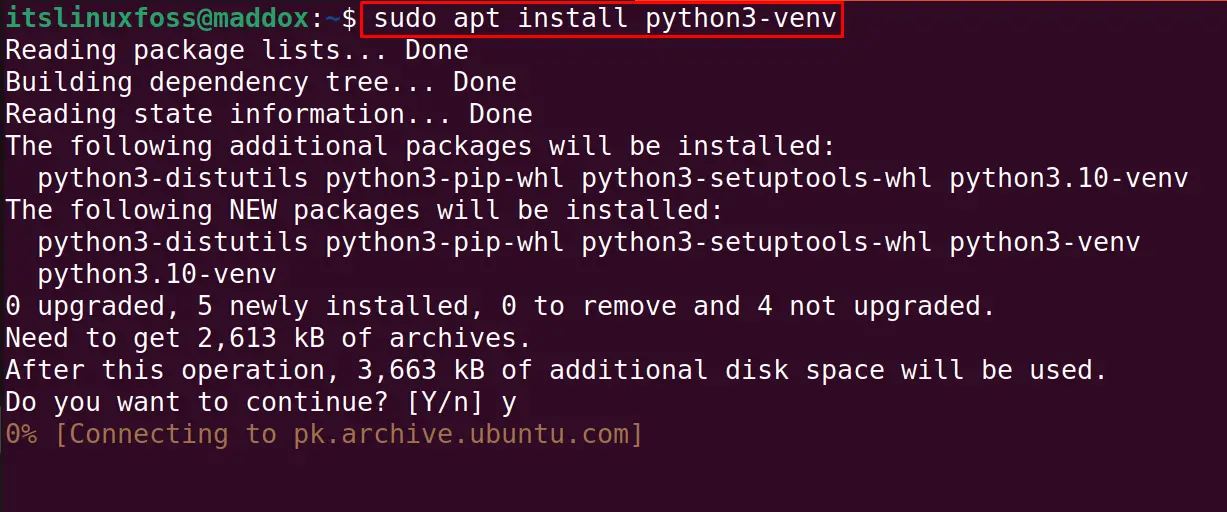
Step 1: Install Virtualenv
Install the Virtualenv on Ubuntu, by executing the below-mentioned command:
$ sudo apt install python3-venv
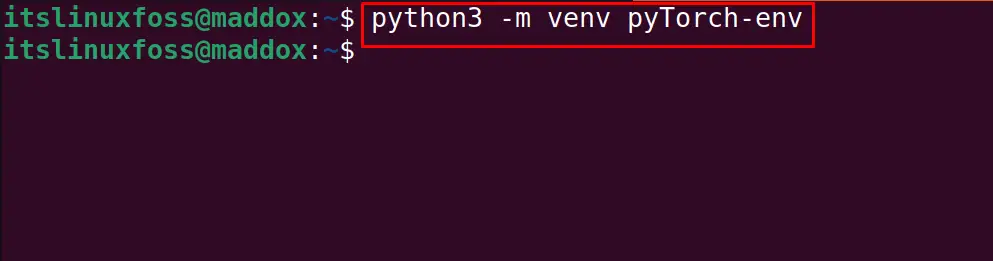
Step 2: Creation of a Virtual Environment on Ubuntu
The following step is to build a virtual environment:
$ python3 -m venv pyTorch-env
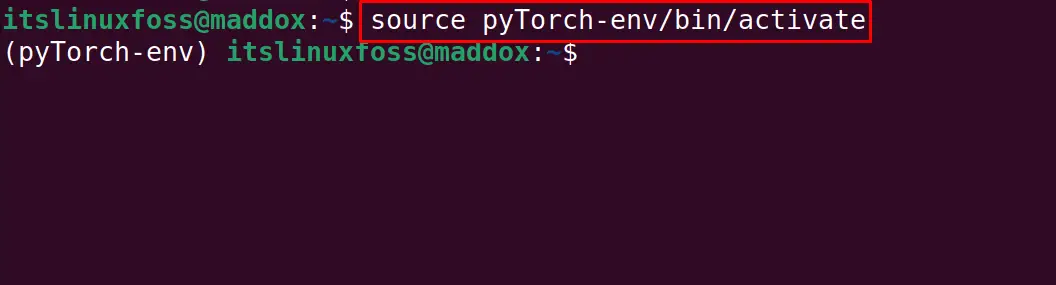
Step 3: Virtual Environments Activation
After creating the virtual environment, activate it:
$ source pyTorch-env/bin/activate
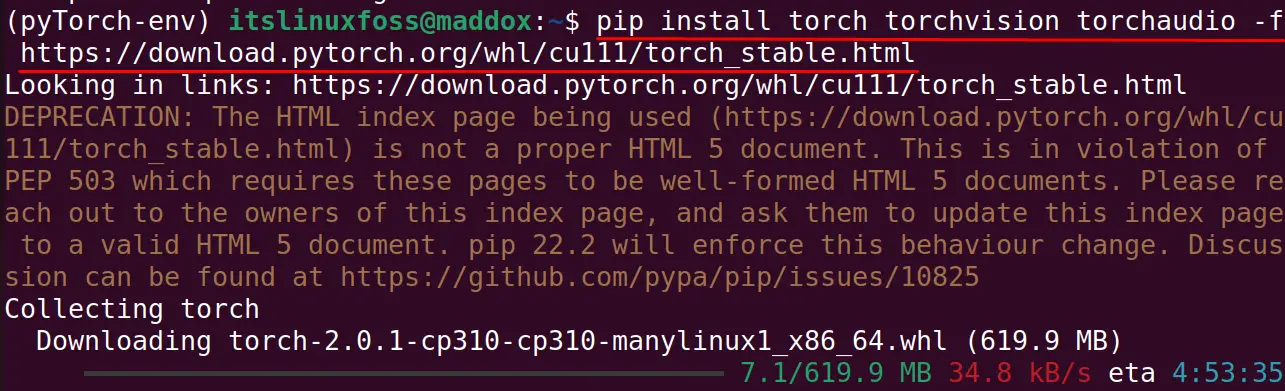
Step 4: Install PyTorch on Ubuntu
The final step is to install the PyTorch using the command:
$ pip install torch torchvision torchaudio -f https://download.pytorch.org/whl/cu111/torch_stable.html
Step 5: Verify the Installation
To verify the installation, display the installed version of the PyTorch:
$ python3 pyTorch_version.py

Step 6: Deactivate the Virtual Environment
To deactivate the virtual environment, run the command:
$ deactivate

PyTorch has successfully installed Linux distribution by different methods.
Conclusion
To install PyTorch on Linux, two different methods including Anaconda, and the pip packages are used. All these methods are explained in this blog. PyTorch can be installed on Linux and used in the research of AI technology.
