
Samba is the networking suite that is open source and used to establish the connection between Windows and UNIX operating systems. This connection is established to share files and folders within the same network.
Samba uses the SMB (Server Message Block) protocol to connect non-Windows systems to Windows systems. By following the easy steps explained in this post, Samba software can be installed on Debian 12.
What are the Features of Samba?
The known features of the Samba are:
- Within the same network, it is utilized to transfer files between Windows and UNIX-based systems.
- It allows the Unix-based systems to share the printer with the Windows client
- It is a secure platform to share files by encrypting them
- The users can configure the Samba according to their requirements
What is the Installation Method of Samba on Debian 12?
Follow the directions outlined in the steps below to install Samba on Debian 12.
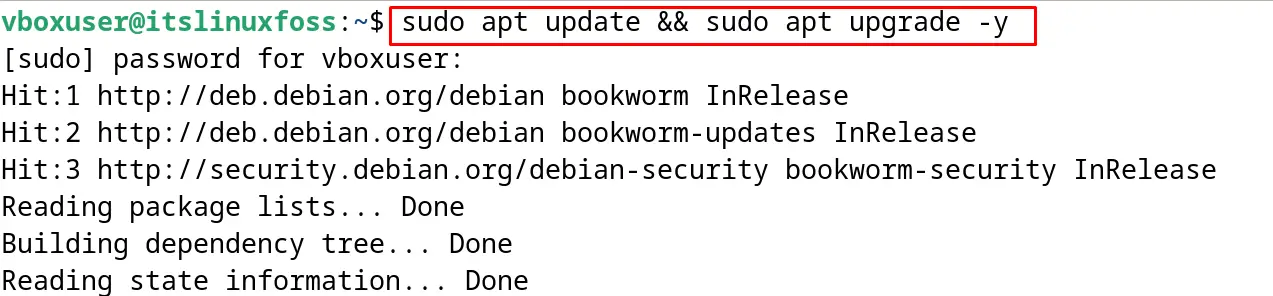
Step 1: Update the Packages
First, make sure all the packages are up to date by installing the available updates:
$ sudo apt update && sudo apt upgrade -y
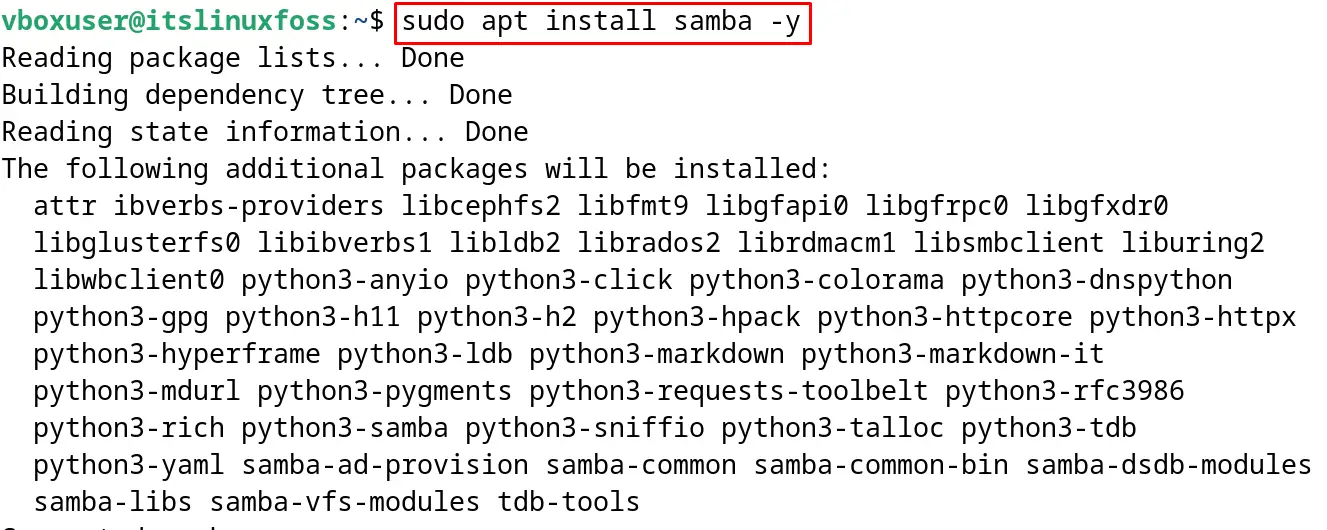
Step 2: Install Samba on Debian
To install the Samba on Debian, use the command:
$ sudo apt install samba -y
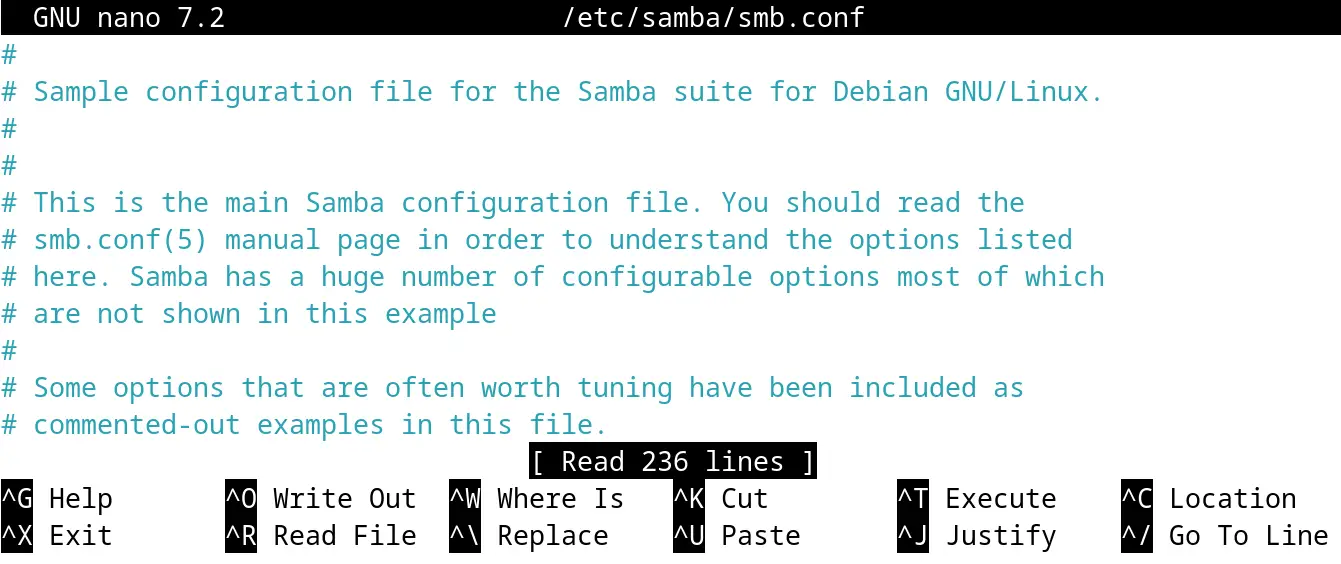
Step 3: Configure the Samba
After the installation of the Samba, configure it by opening its configuration file with the nano text editor:
$ sudo nano /etc/samba/smb.conf
Step 4: Create a New User
Now in order to create a new user, first decide the name of the new shared folder, for example, [New_share]. After naming the shared folder, define the path for sharing files, and set it readable or browsable according to your requirements. Also, specify those users who are allowed to access the newly created shared folder. All these configurations can be set by editing the below-mentioned lines in the open configuration file:
[New_share]
    comment = my share
    path = /home/user/share
    browseable = yes
    read only = no
    guest ok = no
    valid users = maddox

After making these changes, close the file after saving it with the shortcut key CTRL+S.
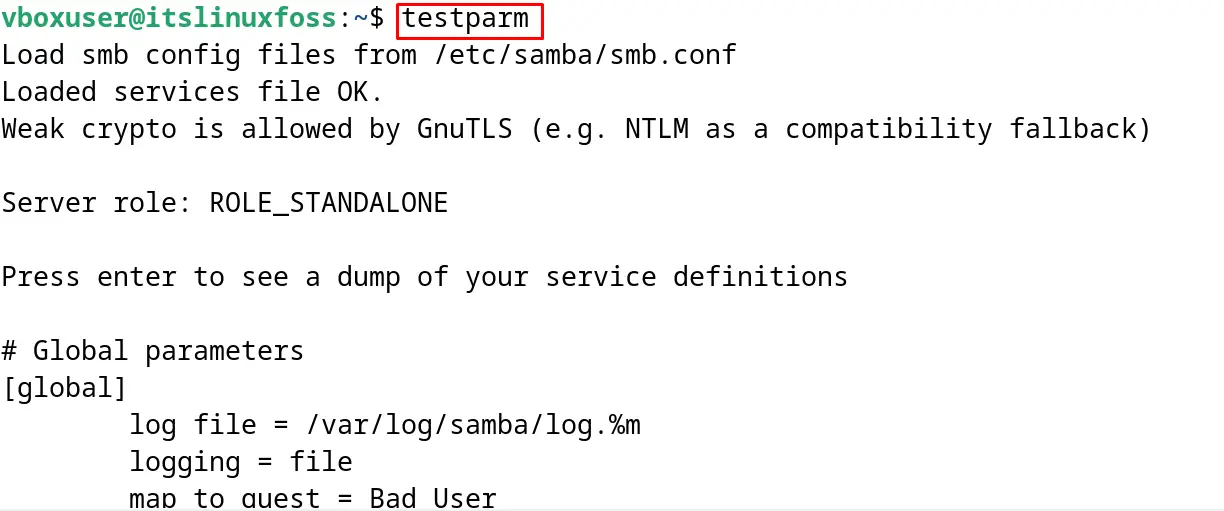
Step 5: Test the configuration File
Run the below-mentioned command to ensure that there is no error in the configuration file:
$ testparm
Step 6: Restart the Samba
After making the changes in the configuration file, restart the Samba service:
$ sudo systemctl restart smbd
Step 7: Set the Password
Now to set the password to protect access to the shared folder, first open the root terminal:
$ sudo -s
Then set the password for the user added in the configuration file:
# smbpasswd -a maddox

The password has been set, exit the root user terminal:
# exit

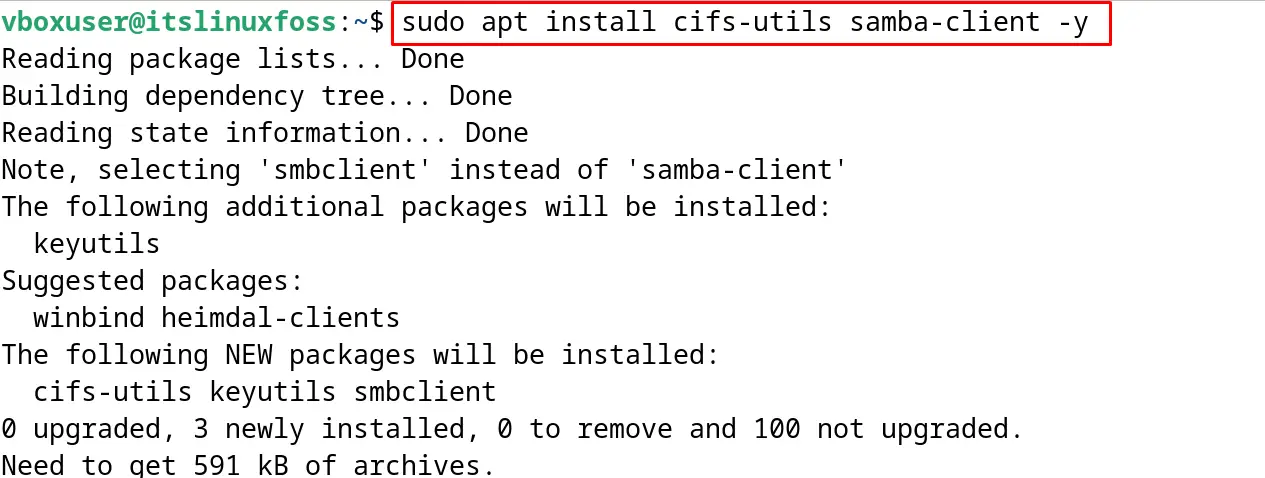
Step 8: Install Packages Required for a Successful Connection
To connect the new user, some more packages are required which can be installed using the command:
$ sudo apt install cifs-utils samba-client -y
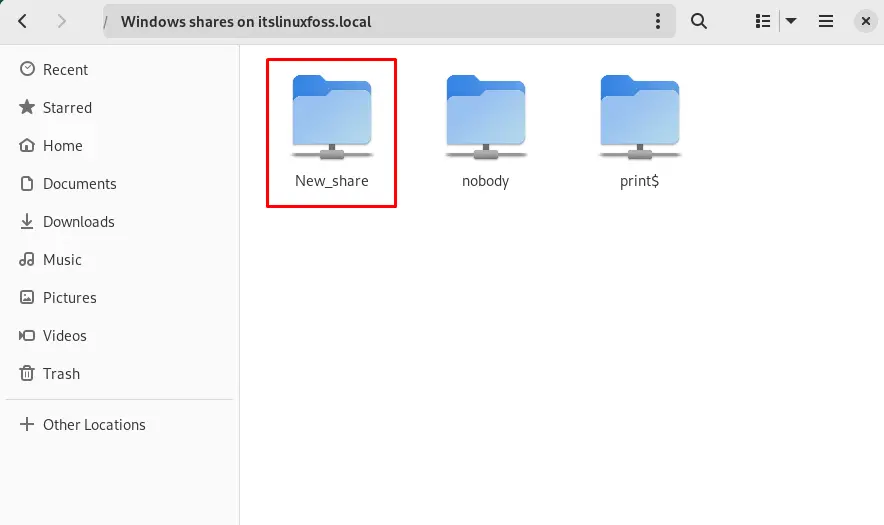
Step 9: Access the Samba
To access the shared folder of the Samba, click on “Username” in “Networking”, and the shared folder has been displayed:
How to Uninstall the Samba on Debian 12?
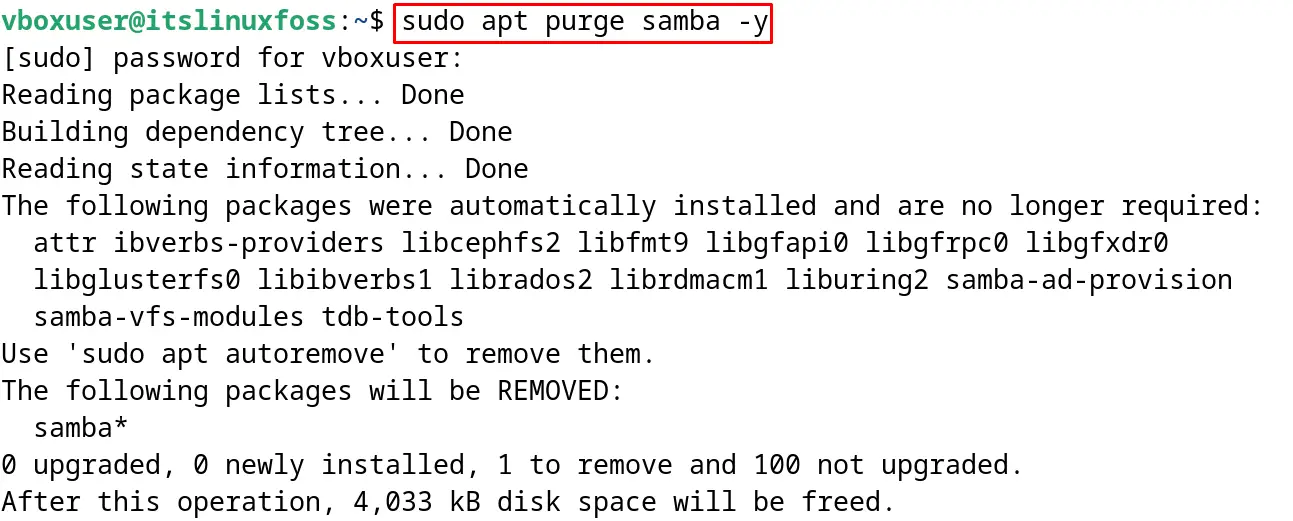
To uninstall and remove the Samba on Debian 12 with all its configuration files, use the purge option of the apt package manager:
$ sudo apt purge samba -y
This is all about the installation of the Samba on Debian 12.
Conclusion
Open a terminal and use the command “sudo apt install samba -y” to install Samba on Debian. Restart the computer after making the changes in the configuration file. All the steps including the installation and configuration of the Samba on Debian 12 have been demonstrated in this post.
