In Linux, the patch is the built-in utility for patching the files (source code or text files). The input is given as the patch file, and differences are applied to the original file. For differences, we use the “diff” tool. The “diff” (Differences) used for comparing the content of the two file changes is listed in the standard output.
This article will demonstrate the use of the “Patch” command in Linux. The content for the post is:
Let’s get into the basics of the patch command.
What is a patch Command in Linux?
As mentioned above, the “patch” command is a built-in utility for patching files. You can check the version of the patch command by running the given command in the terminal:
patch --version
The patch version 2.7.6 is installed.
The syntax for the patch command is given below:
Syntax:
$ patch [Options] [Original_File] [Source_File]
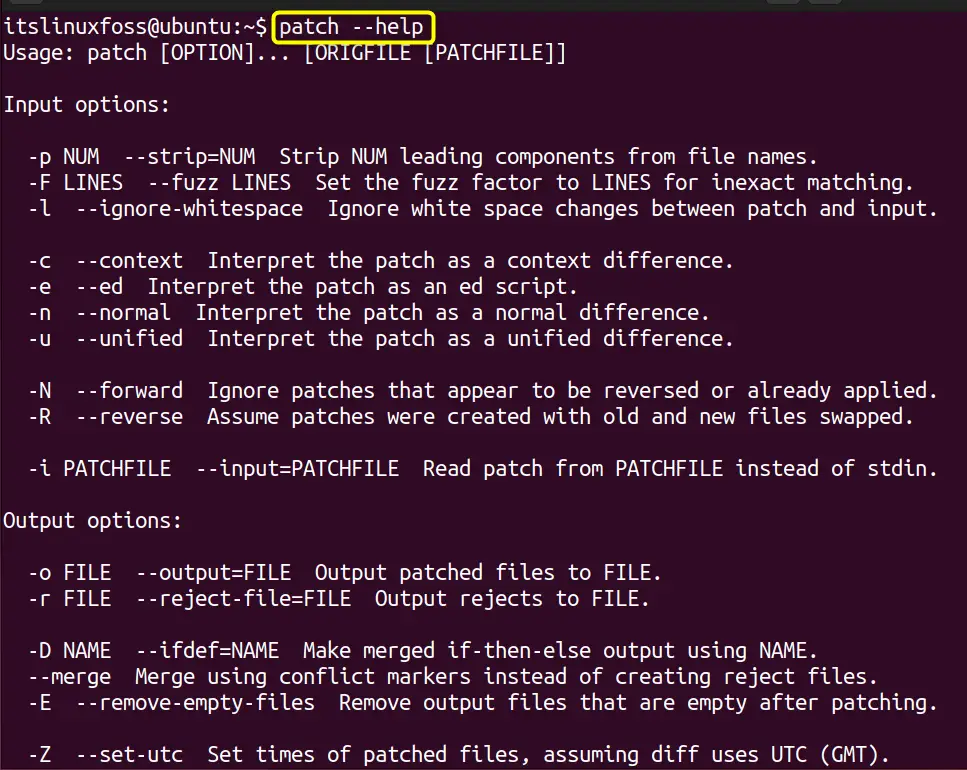
Type the “patch” keyword, “options” for patching the files, “original file,” and the “source file”. While the options can be retrieved using the command.
$ patch --help
Now, let’s explore the usage of the patch command.
How to Use the patch Command in Linux?
To use the patch file in Linux, let’s create two files and apply the patch utility to these files using the “diff” tool. Check out the implementation of the following examples.
Create the Patch file through “diff”
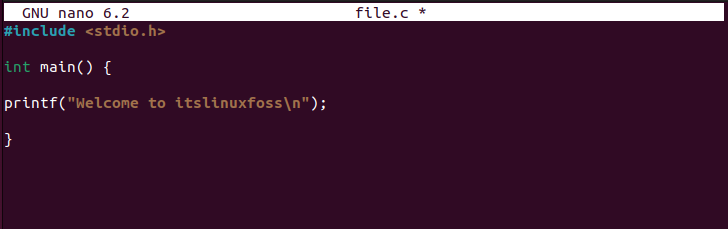
We have two files in our directory with the name “file.c” and “new_file.c” open the nano editor and add some C language code in the original file (file.c):
#include <stdio.h>
int main(){
printf("Welcome to itslinuxfoss\n");
}
After adding the code, save the file by pressing “Ctrl+O” and exit from the terminal using “Ctrl+X”.
After that, copy the original file (file.c) to the source file (new_file.c):
$ cp file.c new_file.c

The file “file.c” has been copied to the “new_file.c”.
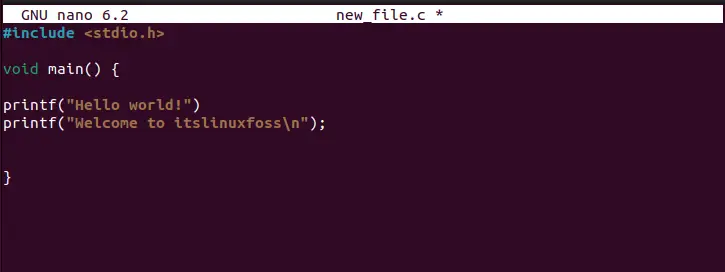
Let’s add some modifications to the “new_file.c”
void main() {

printf("Hello world!")
printf("Welcome to itslinuxfoss\n");
}
Save the file after making changes.
Now, let’s create the patch file using “diff”. To do so, run the given command in the terminal
$ diff -u file.c new_file.c < file.patch
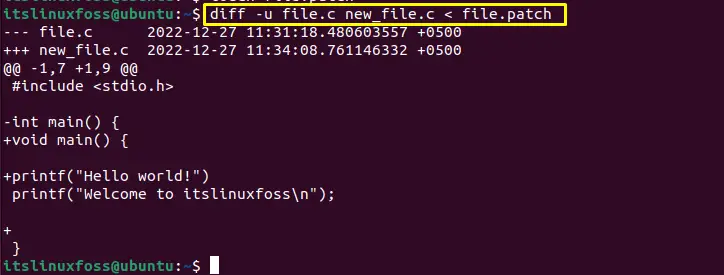
The patch has been created.
Patching File
To apply the patch, use this command in the terminal:
$ patch <file.patch

The patch has been applied to the file:
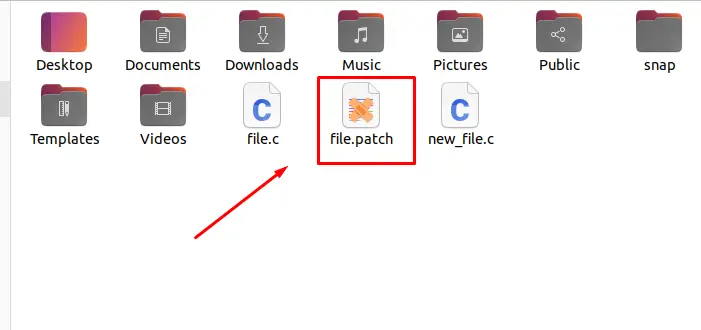
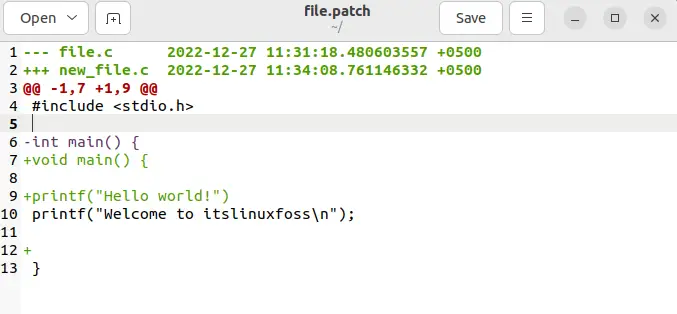
Below is the output of the patch file:
Let’s move and explore more options for patching the file.
Generating Backup Before Patching the File
To generate the backup file before patching, you can use the “b” flag in the command:
$ patch -b < file.patch

The backup file will be created before applying the patch. Let’s check it using the “ls” command:
$ ls

The backup file is created with the “.orig” extension.
Generating Backup File Version
Users can also use the backup file version-wise, for doing this, use the “V” flag and type the “numbered” to specify the version in numbers:
$ patch -b -V numbered < file.patch

Whenever you execute the above command, it will generate the backup file with numbers (1, 2, 3). To verify it, let’s run the “ls” command in the terminal:
$ ls

We have created three versions of the files that can be seen in the above image.
That’s all about the “patch” command.
Conclusion
The “patch” is the built-in utility for patching the files (source code and text). It is used for updating the software with the new patch. The difference between the 2 files (source and original) is stored in the patch file through the “diff” tool. This write-up has illustrated the method to use the “patch” command in Linux.
