In Linux, Java is a widely used and well-reputed programming language. Like other programming languages, it offers “JDK (Java Development Kit)” a complete environment for the execution of code. It contains development tools and the “JRE(Java Runtime Environment)” that stores libraries.
While working with Java in Linux, its installation and uninstallation have a key role.
This post shows the procedure to completely remove Java for Linux:
How to Completely Uninstall Java for Linux?
The uninstallation procedure of Java follows some essential steps that are described below:
Step 1: Check the JDK Version
First, check the “JDK” services installed in the system. It may be “Openjdk” or the “Oracle JDK”. To perform this task use the “java” followed by the “–version” flag in the terminal:
$ java --version

The currently installed “openjdk” version is “11.0.17”.
Step 2: Uninstall OpenJDK
Now, execute the uninstallation command with the help of the default package manager of majorly used Linux distributions. The commands need the administrator privileges i.e “sudo”:
$ sudo yum remove jdk[version]                       #For CentOS/RHEL
$ sudo dnf remove openjdk*                           #For Fedora
$ sudo apt remove --purge openjdk*                   #For Ubuntu/Debain-Based
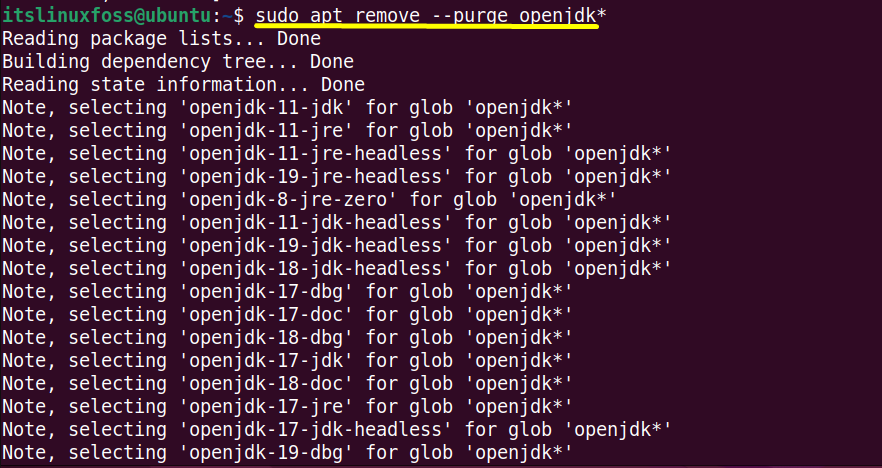
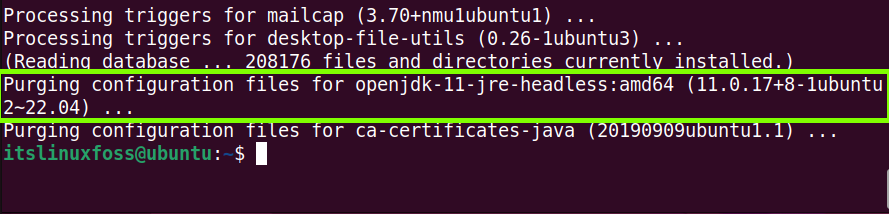
All the configuration and installation files of “OpenJDK” have been removed from the system completely.
Step 3: Completely Remove Java Files
The additional dependencies are installed while installing any application in a Linux system. These dependencies are useless after uninstalling the application.
It is recommended to “auto-remove” all these unneeded dependencies using the default package managers of your Linux system:
$ sudo yum autoremove jdk[version] #For CentOS/RHEL
$ sudo dnf autoremove java[version]openjdk #For Fedora
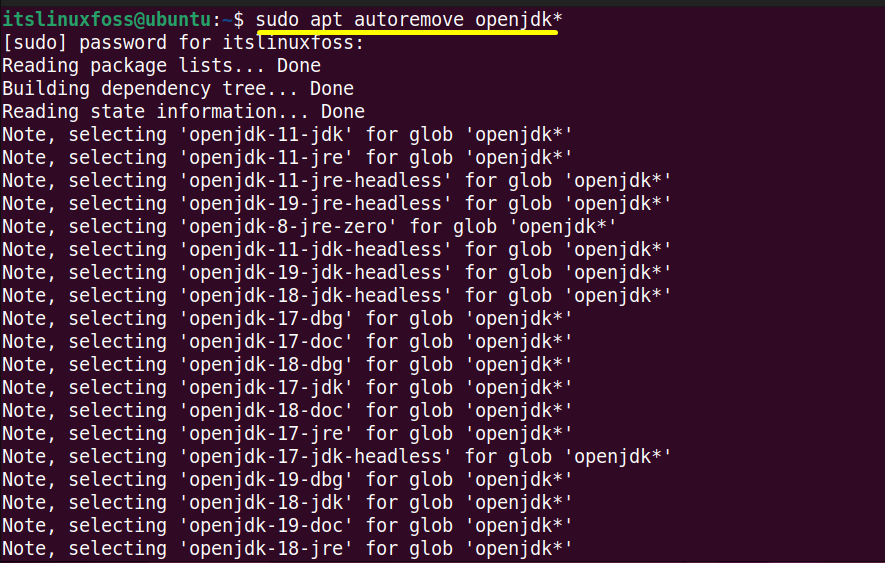
$ sudo apt autoremove openjdk* #For Ubuntu/Debain-Based
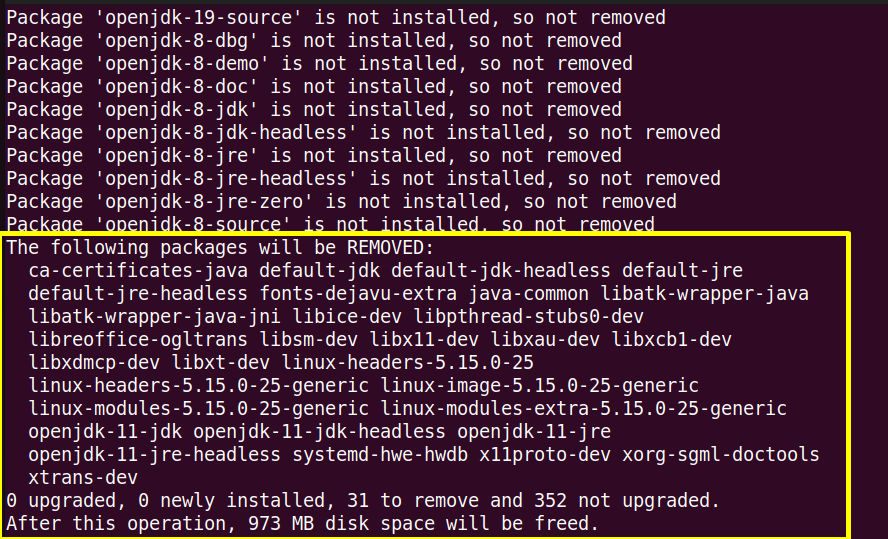
Here “31” Java packages have been removed from the current Linux system Ubuntu.
Step 4: Verify the Java
Again execute the “java” version command to verify whether it is completely removed or not:
$ java --version
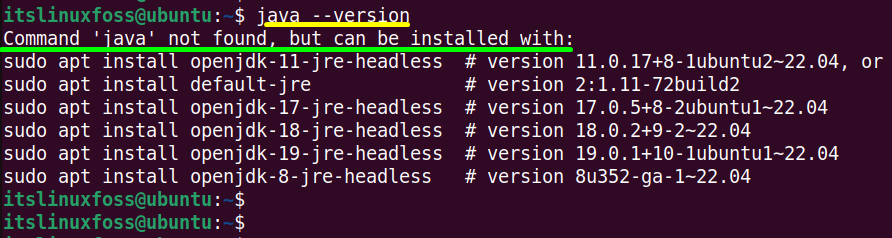
Now, the output shows that “java not found” which means that it is no more in the system.
Conclusion
In Linux and its frequently used distros, “java” can be completely uninstalled using their default package managers. For this purpose, the “remove” flag uninstalls the executable files of Java while “purge” removes its configuration files. This post has provided a brief detail to completely remove java for Linux.
