
The “mount” command in Linux is utilized to mount a file system or partition on a specific directory. This allows the operating system to access the file system and read or write files. It is utilized to mount file systems on storage devices such as hard drives, USB drives, and CD-ROMs, as well as network file systems and file systems in disk images.
This tutorial will briefly explain the “mount” command and possible examples.
- How Does the “mount” Command Work?
- Display All Currently Mounted File Systems
- View the Specific Mounted File System
- Mounting a USB Drive
- Mounting an ISO Image
- Mounting a File System at Boot Time
How Does the “mount” Command Work?
The “mount” command takes several options and arguments, including the file system to be mounted, the directory where it will be mounted, and any options for controlling how the file system is mounted.
The basic syntax of the mount command is:
$ mount [-options] [source] [destination]
In the above syntax, the source is the file system or partition that you want to mount (e.g., /dev/sda3), while the destination is the directory where you want to mount the file system (e.g., /mnt).
Some common options used with the mount command include:
- –t: specify the filesystem type (e.g., ext4, ntfs).
- –o: specify mount options (e.g., rw for read-write access, ro for read-only access)
- –a: mount file systems in the /etc/fstab file.
- –v: verbose output.
To explore more options of the “mount” command, utilize the “help” option as below:
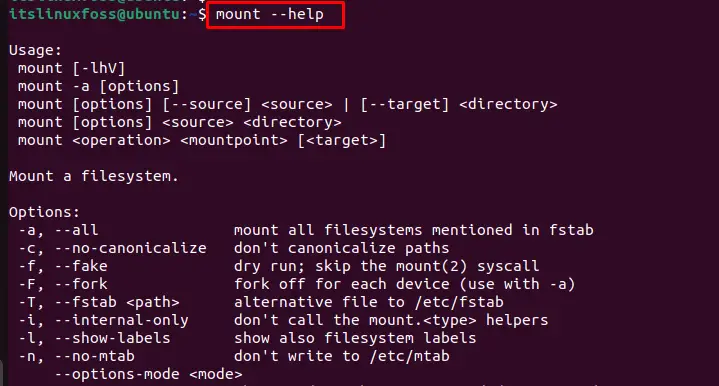
Here are some examples of how the mount command might be used:
Example 1: Display All Currently Mounted File Systems
To display all mount file systems and devices, the “mount” command is utilized without any argument in Linux:
$ mount
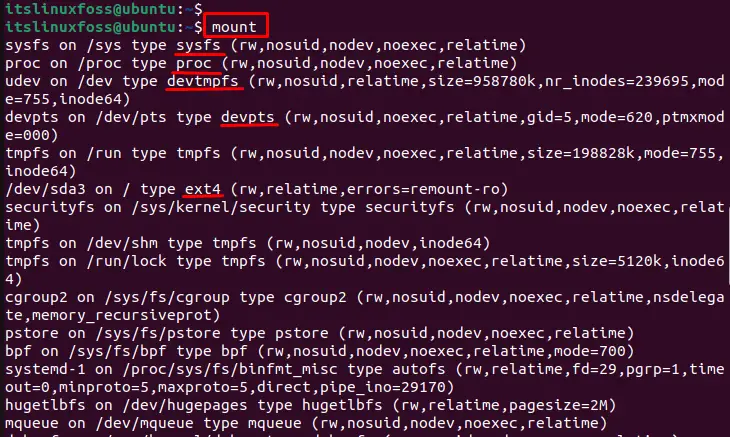
The output shows all mounted file systems, including “sysfs”, “proc”, “ext4” and many more, along with the complete path.
Example 2: View the Specific Mounted File System
Users can visualize the specific mount system with the help of the “t” option. In our case, specify the “ext4” file system to display all mount points associated with the particular file system:
$ mount -t ext4
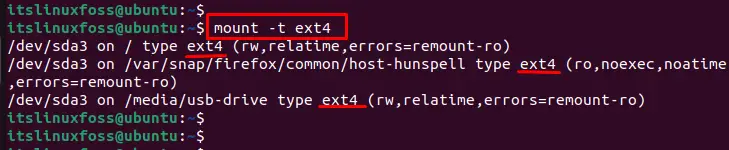
The outcome of the above command displays the mount points of the “ext4” file system.
Example 3: Mounting a USB Drive
To mount the USB drive, the “mount” command specifies the source and destination location. For this, specify the “/dev/sda3” as the source and “/media/usb-drive” as the destination to mount the file system:
$ sudo mount /dev/sda3 /media/usb-drive

The output shows that the “usb–drive” has been successfully mounted in Linux.
Example 4: Mounting an ISO Image
To mount an ISO image file, the “loop” option is utilized with “o” that specifies the mount option. In our case, the “TinyIsoTest.iso” image file that is located in the home directory is selected as the source and specify the “/media/iso” as a destination for mounting purposes:
$ sudo mount ~/TinyIsoTest.iso /media/iso -o loop

The output shows that “/media/iso” has been mounted on the file system.
Example 5: Mounting a File System at Boot Time
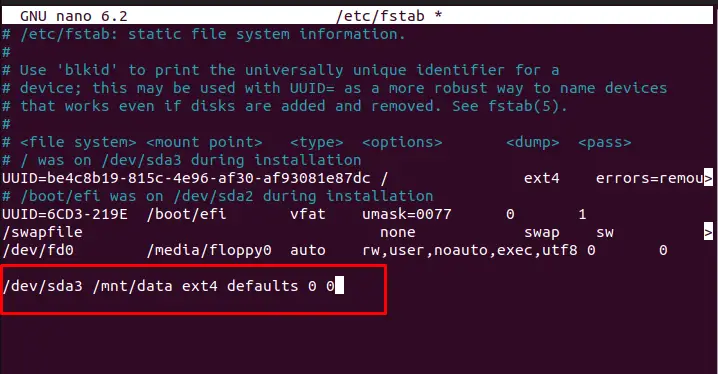
In this example, the user can add the command to the “/etc/fstab” file for mounting the file system at the boot time:
$ sudo nano /etc/fstab

It navigates the particular mentioned file, add below line to make the file system mount at the time of booting:
$ /dev/sda3 /mnt/data ext4 defaults 0 0
After saving a file through the “CTRL+S” key, restart the system to configure all the dependent files in the system.
Conclusion
Linux offers the “mount” command to mount the file system or partition on a specific directory. Using this command, you can display all or specific mounted file systems, mount a USB drive or an iso image, and mount a file system at boot time. This blog has briefly demonstrated the “mount” command with various examples in Linux systems.
