
Ubuntu Budgie is a Linux-based distribution that uses Ubuntu as its core system and Budgie Desktop Environment. Ubuntu Budgie is a lightweight distribution that can be installed on all computers, whether it belongs to old school or is the latest gaming laptop.
This article will demonstrate the Ubuntu Budgie Review.
- A Brief Overview of the Ubuntu Budgie
- Budgie Desktop
- Gaming Experience
- Updates
- Release Cycle of Budgie
- Customization
- Community Support
- Minimum System Requirements
- Install Ubuntu Budgie
- Install Budgie Desktop on Ubuntu
A Brief Overview of the Ubuntu Budgie
The major characteristics of Ubuntu Budgie that force users to choose it are
Budgie Desktop:
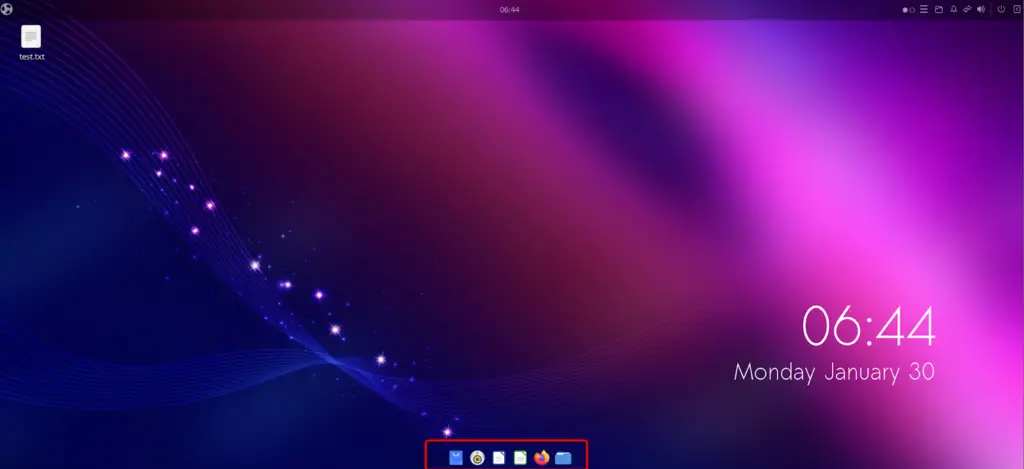
Ubuntu Budgie comes with the Budgie Desktop Environment by default. It gives an interface that resembles the macOS.
- The screen’s Dock is at the bottom, which enhances the overall look of the desktop:
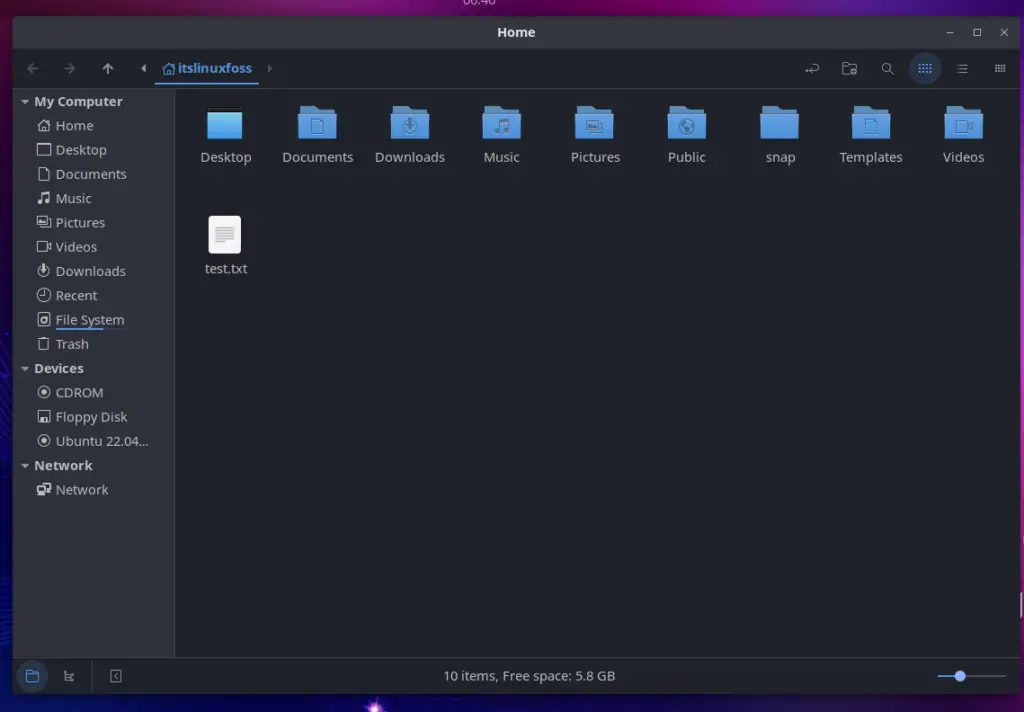
- A very interactive and easy-to-navigate File Manager as can be seen below:
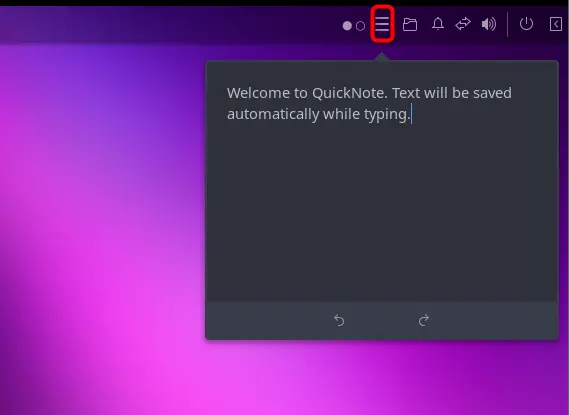
- A quick note tool right on the top menu bar to keep the text for future proceedings (it saves the text at run time which is helpful to remember key points)
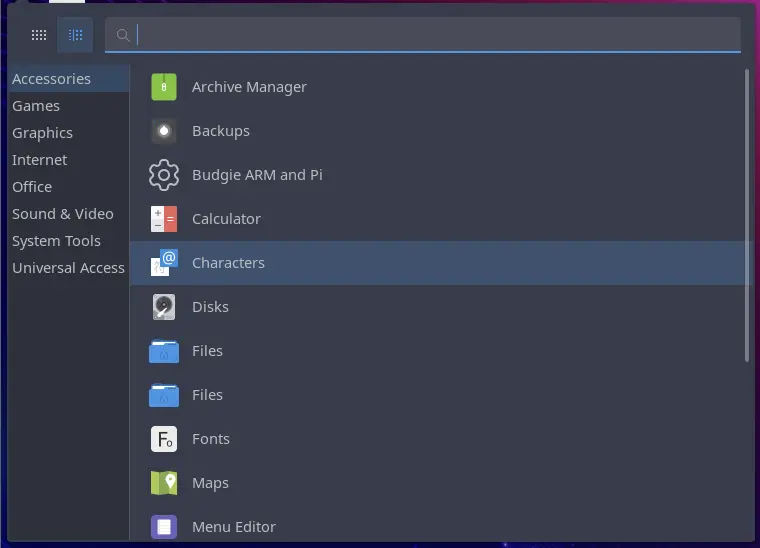
- The user can get the Applications categorically as shown below:
- Grid Layout of the Apps can also be viewed as can be seen below:
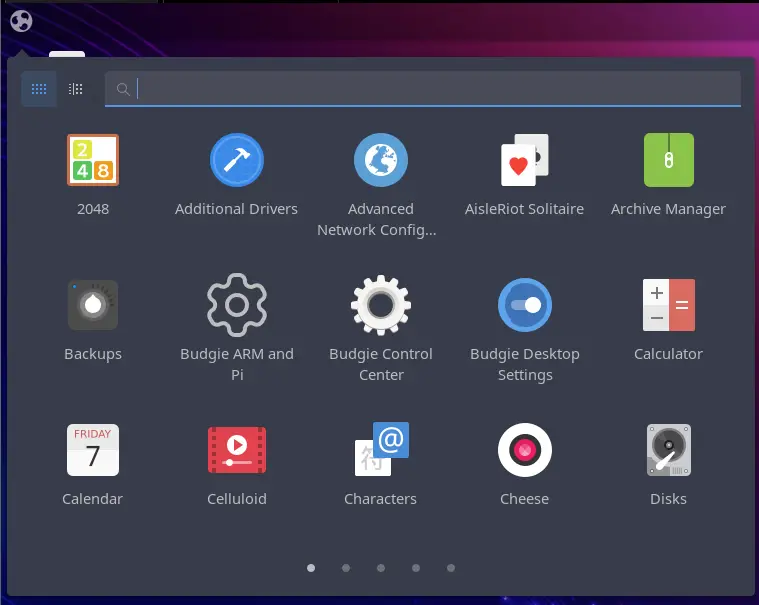
You can switch between Grid view and Categories view using the “CTRL+1” and “CTRL+2” shortcut keys.
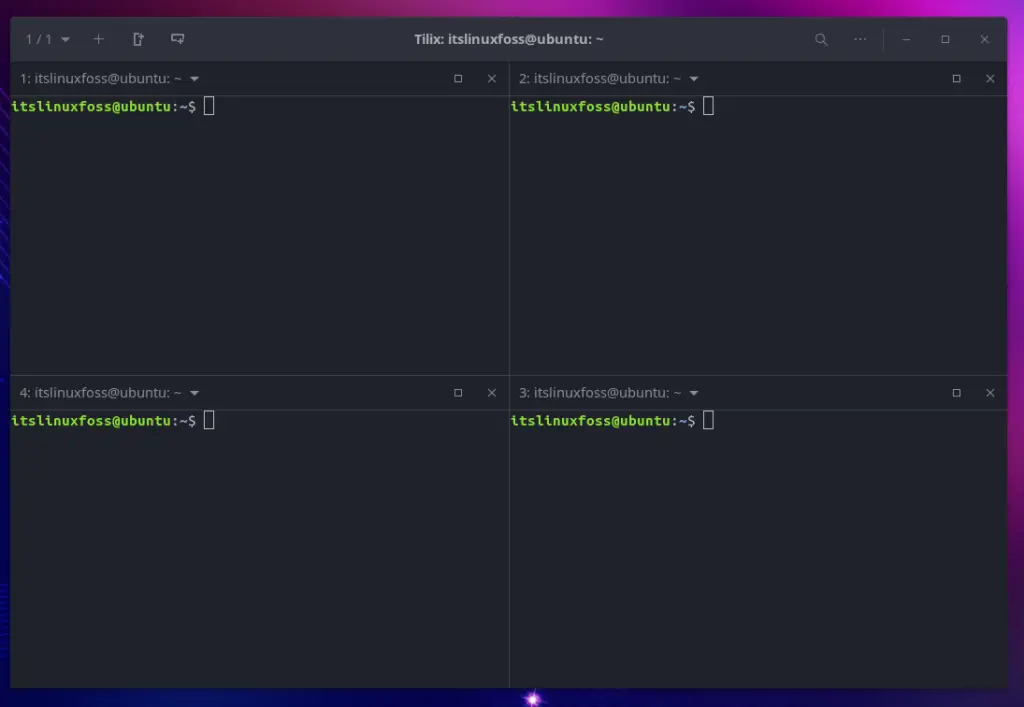
- Ubuntu Budgie comes with tiling terminal support. With the help of that, the users can add terminal sessions to the right side and below the side. The example snippet is shown below:
Gaming Experience:
If Ubuntu Budgie is installed on the machine, Steam is ready for you. Just log in to your Steam account and play your favorite games. Again the desktop environment will enhance your experience of playing games on Ubuntu Budgie.
Note: For a better gaming experience, the hardware of your computing machine has a notable impact. Thus, a simple Budgie system is not enough for the best gaming experience if the system hardware is not good.
Updates:
Similar to Ubuntu, the development team of Ubuntu Budgie is working to provide users with the best experience. They release different updates to provide a more secure and fast operating system every time.
Release Cycle of Budgie:
Ubuntu Budgie is a flavor of the Ubuntu desktop, and its releases are synchronized with Ubuntu. After every two years, the LTS (current LTS is 22.04) is released. However, the rolling release is available for the users after every 6 months (Current Latest is 22.10).
Customization:
Ubuntu Budgie is easy to customize and provides customized options for a better user experience. The following customizations can be performed:
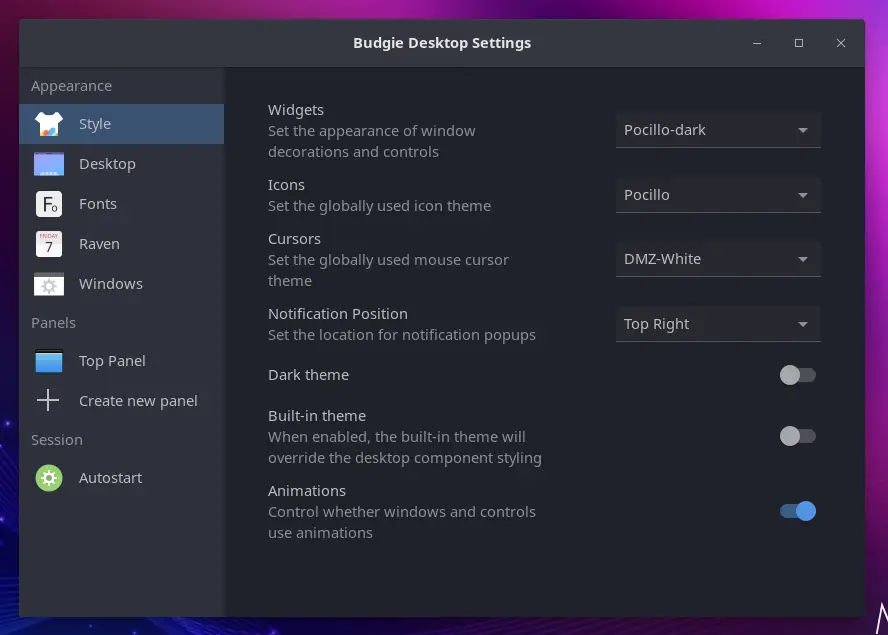
Go to the Desktop settings, where you can set the styles for widgets and icons, cursors, notification positions, themes, and much more, as shown in the following image:
Community Support of Budgie:
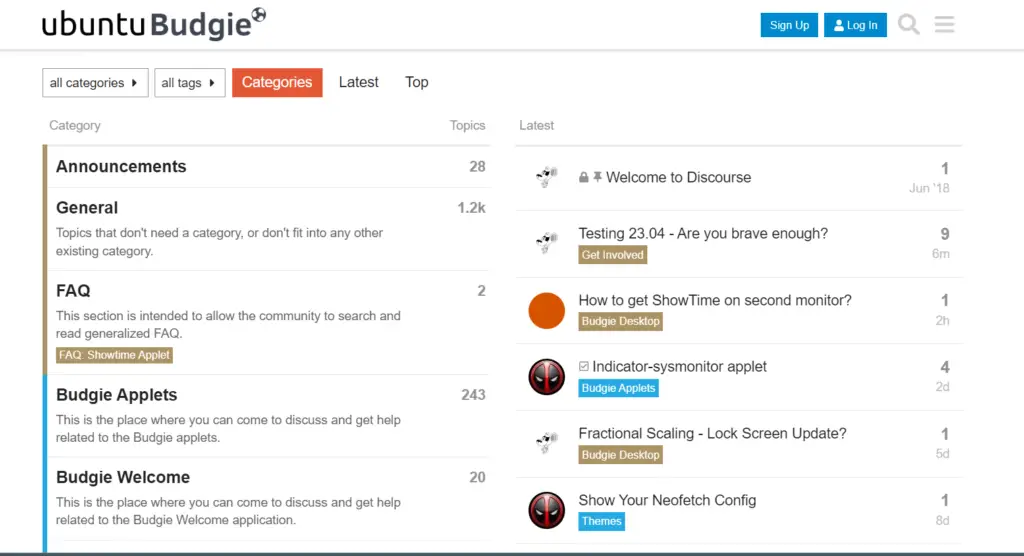
Ubuntu Budgie Community is quite active in addressing the concerns of the users. Regular updates on FAQs (Frequently Asked Questions) and other queries can be followed by joining the Budgie community at the following Link.
Minimum System Requirements for Installing Ubuntu Budgie
To install and run the Ubuntu Budgie operating system on the machine, the machine should support the below-mentioned specifications:
| Component | Requirement |
| RAM | Minimum requirement is 2GB, while recommended is 4GB. |
| Processor | Intel or AMD With the base frequency of a Minimum of 1.5GHZ |
| Graphic Card | Not Necessary, but it is recommended to have support for 3D graphics |
| Hard Disk | Recommended Hard Disk Space is 50GB |
How to Install Ubuntu Budgie?
The Ubuntu Budgie can be installed following the simple steps provided below;
Step 1: Download the ISO file of the Ubuntu Budgie from the Link.
Step 2: Now, follow the steps in this link to make the USB Bootable.
Step 3: Restart and boot the system with that USB.
How to Install Budgie Desktop Environment on Ubuntu?
Alternative to the complete installation of the Ubuntu Budgie, the users can install the Budgie Desktop Environment on Ubuntu to have the user experience of the Budgie system.
Step 1: Update the Packages
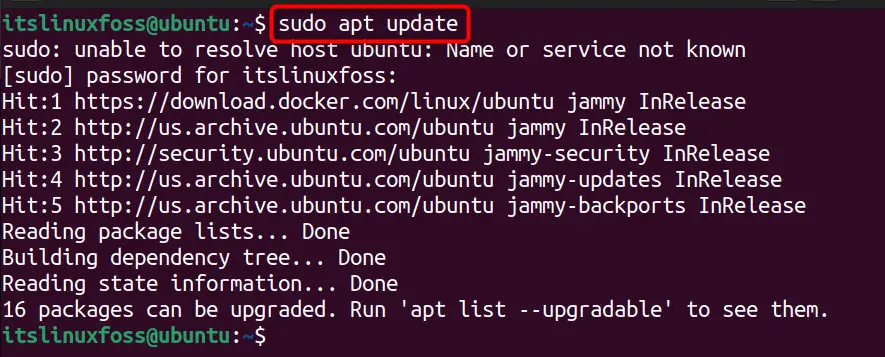
It is recommended to get the updated list of packages via the following command:
$ sudo apt update
Step 2: Install Budgie
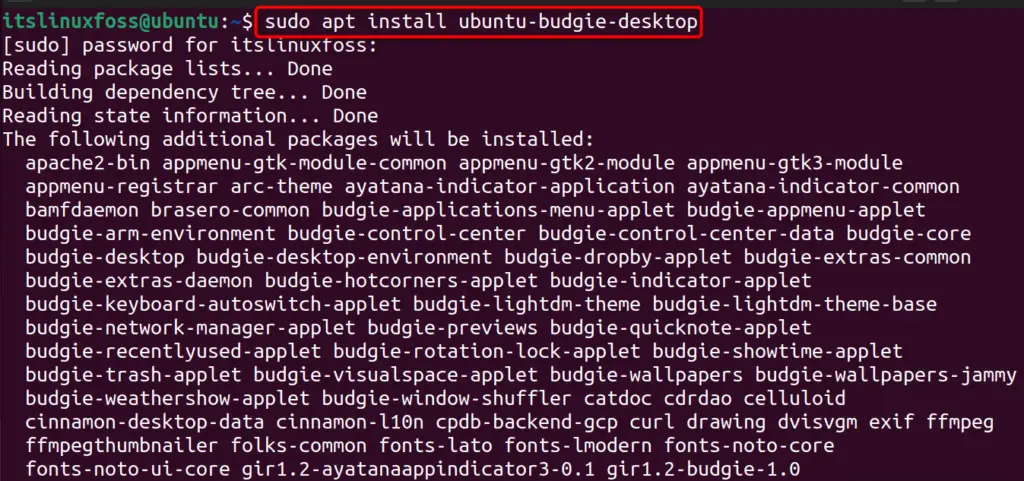
The Budgie Desktop Environment is named “ubuntu-budgie-desktop” on the apt and can be installed as follows:
$ sudo apt install ubuntu-budgie-desktop
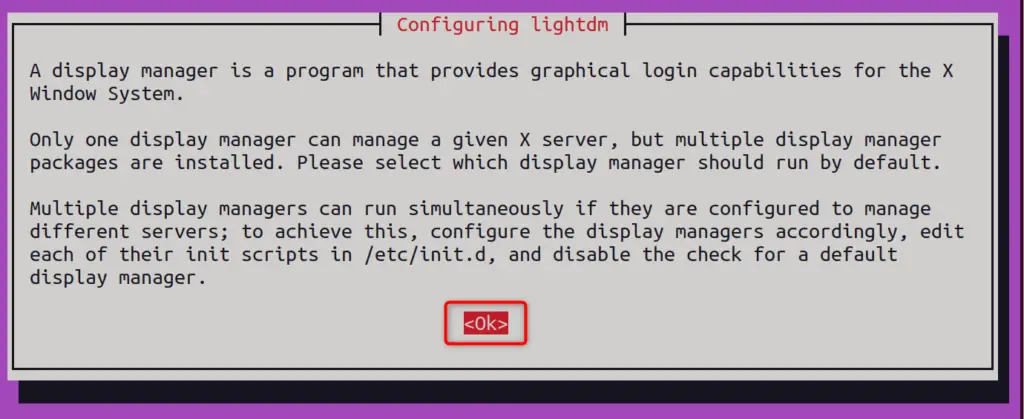
Next, it will ask you to configure the display manager:
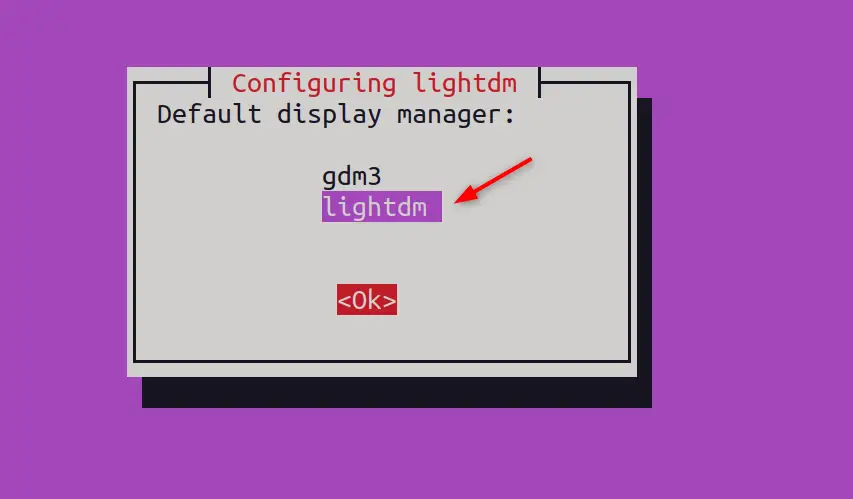
Choose “lightdm” and navigate to the “OK” option:
Step 3: Reboot the System
To apply the changes, restart your system, and you will get the beautiful login screen of the Budgie Desktop as seen below:

Conclusion
Budgie is a well-known Ubuntu-based distribution with Ubuntu as its core system and Budgie as the Desktop Environment. Budgie Ubuntu offers a variety of support for users of different communities, i.e., students and gamers. This article has explained the overview of the Ubuntu Budgie alongside its installation method.
